Advertisement
Quick Links
Advertisement

Related Manuals for Askia Kameleon K2


Summary of Contents for Askia Kameleon K2
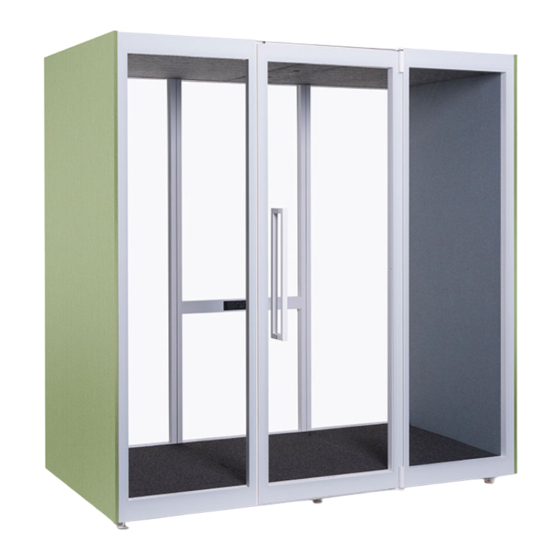
- Page 1 Kameleon K2/K2+ - Solid Back ASSEMBLY INSTRUCTIONS ACOUSTIC PODS...
- Page 2 Info. ASSEMBLY INSTRUCTIONS Steps. Main Ethernet supply. Pay attention to. Bag with screws. Main Power supply. Unlocked. Pay attention to. Lock. Ventilation coupling. Level check. Power coupling. Allen key needed. Allen key and screws needed. Don’t. Ethernet coupling. T-Handle hex key needed. Pay attention not T-Handle hex key and screws needed.
- Page 3 Assembly in 65 min. with 3 people Included x1 Allen Key 2 x1 Allen Key 3 x1 T-Handle Hex Key 4 x1 T-Handle Hex Key 5 x1 T-Handle Hex Key 7 x1 Ceiling Panels Adjuster x2 Sucction cups...
- Page 4 Elements x2 Middle x2 Back Structure Panels x1 Middle Structure Panel x2 Exterior Back x1 Exterior Middle x2 Back Panels Back Panels Panels Panel x2 Interior Panels x1 Left & x1 Right Structure Panels x2 Exterior Panels x1 Door Frame x1 Left &...
- Page 5 Elements x1 Ceiling x2 Media adjuster x3 Acoustic Felt Ceiling Panels x1 Door Handle x3 Carpet, x2 Dividers x1 Floor...
- Page 6 T-Handle Hex Key 4...
- Page 7 x16 with T-Handle Hex Key 4...
- Page 8 Recommendation It is recommended to start with the Middle Structural Panel. T-Handle Hex Key 7 Sucction cup handles Inside...
- Page 9 T-Handle Hex Key 7 Sucction cup handles Inside Outside...
- Page 10 x8 with T-Handle Hex Key 4...
- Page 11 Recommendation It is recommended to start with the Door Frame. Sucction cup handles The door opening can be oriented Left or Right just by rotating the frame.
- Page 12 x6 with T-Handle Hex Key 4 x2 with Allen Key 3 Exterior Interior Exterior Interior...
- Page 13 Pay attention not to break the glass door. Pay attention not to break the glass door. Adjust the glass door if Check if the glass door necessary. hits the frame edge before closing it. Allen Key 3 Allen Key 2 Bottom To adjust the glass door the height must be calibrated.
- Page 14 T-Handle Hex Key 7 Sucction cup handles Inside Outside...
- Page 15 Orange Black Main Power & Ethernet supply at the back of the pod. Check if the lighting, ventilation and power sockets are connected properly.
- Page 16 How to remove the Interior Panel.
- Page 17 How to remove the Interior Panel.
- Page 18 Ceiling Panels Adjuster How to place the Acoustic Felt Ceiling Panels. How to remove or adjust the Acoustic Felt Ceiling Panels.
- Page 20 If you want to reposition the If you are satisfied with the pod’s pod, you have to remove the carpet, if needed, and unlock the legs. When you are satisfied position, you can place the carpets. with the pod’s position, lock the legs and place the carpets.
- Page 21 Adjustable FAN and LED 100%...
- Page 22 Scan You can watch an instructional video of the K2 assembly process. Thanks to the modular design and limited number of components used for each pod, many steps are similar between different Kameleon pods. Optional VESA Adapter Coat Hanger Exterior Hanging Interior Hanging Whiteboard or Pinboard Whiteboard or Pinboard...
- Page 23 Eliade Tower, Mircea Eliade No.18 RO-Bucharest, 012015 T +40 212 121 381 contact@askiafurniture.ro www.askiafurniture.ro Last update: 06.02.2023...
Need help?
Do you have a question about the Kameleon K2 and is the answer not in the manual?
Questions and answers