
Related Manuals for Q-Pumps QIS Series


Summary of Contents for Q-Pumps QIS Series
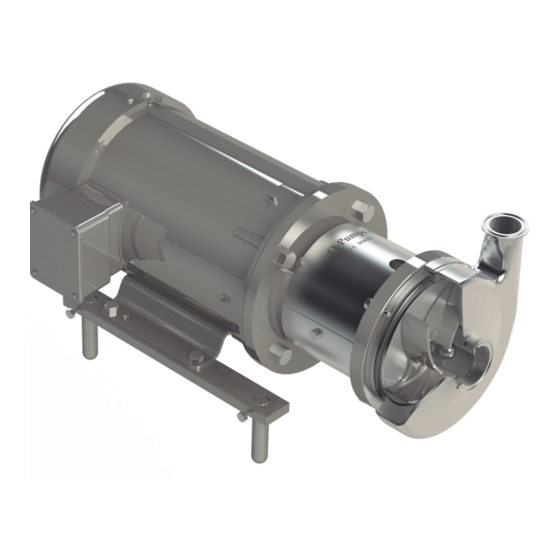
- Page 1 OPERATION AND MAINTENANCE MANUAL Q I S S E R I E S INTERNAL BALANCED MECANICHAL SEAL CENTRIFUGAL PUMP e n . q - p u m p s. c om s u p p o r t @ q p u m p s . c o m 02-11...
-
Page 2: Table Of Contents
OPERATION AND MAINTENANCE MANUAL Centrifugal Pump QIS SERIES Thank you for purchasing a Q-Pumps product. This manual contains installation, operation, cleaning and maintenance instructions for the QIS Series. It also includes a part list as well as a troubleshooting chart to assist in determining pump malfunction and practical advices for the maintenance and operation of the equipment. -
Page 3: About This Manual
Unless they are approved in advance, Q-Pumps does not assume any costs related to parts and / or service. Q-Pumps disclaims any responsibility for modifications or conversions to the pump and the system. For security reasons and functionality use original parts only. -
Page 4: Safety
S AFET Y IMPORTANT SAFETY INFORMATION DO NOT attempt to modify any Q-Pumps product, the QIS series centrifugal pumps have been designed to be safe and reliable, to do so could create unsafe conditions and void all warranties. DO NOT place any Q-Pumps product in an application where general product service ratings are exceeded. -
Page 5: Instalation
Before servicing pump, disconnect electrical power source. The QIS series closed-coupled pumps are made up of two sections, power or drive section and the liquid end or pump section. The pump is mounted to the frame of the drive motor by means of an adapter and is coupled to the motor shaft. -
Page 6: Assembly Preliminaries
OPERATION AND MAINTENANCE MANUAL Centrifugal Pump QIS SERIES The pump unit, as received from the factory, is ready for installation. To install it, attach a hoist if necessary, loosen the set screws in the adjusting leg brackets, and individually adjust the legs until the pump is leveled. -
Page 7: Qis General Diagram
OPERATION AND MAINTENANCE MANUAL Centrifugal Pump QIS SERIES Q IS GENE RAL D IA G RAM QIS SERIES-M03... -
Page 8: Qis Part List
OPERATION AND MAINTENANCE MANUAL Centrifugal Pump QIS SERIES Q IS PA RT L IST ITEM DESCRIPTION ITEM DESCRIPTION Casing Stubsahft Casing o-ring Stubshaft key Impeller nut plus Stubshaft collar 1 OR 2 Impeller nut gasket Collar bolt Impeller QIS Adapter... -
Page 9: Assembly
OPERATION AND MAINTENANCE MANUAL Centrifugal Pump QIS SERIES A SSE MBLY START THE ASSEMBLY It is highly recommended that you use the general diagram to identify the components and thus be able to carry out the assemblies and sub-assemblies that will be explained below. -
Page 10: Assembly The Adapter To The Motor
OPERATION AND MAINTENANCE MANUAL Centrifugal Pump QIS SERIES 2. ASSEMBLY THE ADAPTER TO THE MOTOR Place the stainless adapter (15) on the motor flange and fix it with hexagonal screws and tighten to the torque values recommended in chart 1. -
Page 11: Spacing Of The Impeller And Stub Shaft
OPERATION AND MAINTENANCE MANUAL Centrifugal Pump QIS SERIES 3. SPACING OF THE IMPELLER AND STUB SHAFT The correct operation of the pump depends on the separation of the impeller from the backplate and the fixation of the stub shaft on the motor shaft. Follow the next steps to fix the stub shaft on the motor shaft: 3a. - Page 12 OPERATION AND MAINTENANCE MANUAL Centrifugal Pump QIS SERIES 3c. Now place only the rotary holder of the mechanical seal (6A) together with its respective O- ring (6H) until it seats on the shoulder of the stub shaft. Put the impeller key (12) on the keyway of the stub shaft.
- Page 13 OPERATION AND MAINTENANCE MANUAL Centrifugal Pump QIS SERIES 3d. Once the assembly is tightened place a shim of 0.025” (0.63 mm) or 0.030” (0.76 mm) between the back of the impeller and the front of the backplate. You may use a caliper or some shims to set the critical distance for the correct performance of the mechanical seal.
-
Page 14: Assembling The Mechanical Seal
OPERATION AND MAINTENANCE MANUAL Centrifugal Pump QIS SERIES Take the impeller nut, impeller gasket, impeller and impeller key off. Do not forget to remove also the shim used to determinate the stub shaft position. Finally remove the backplate and continue assembling the mechanical seal (6). - Page 15 OPERATION AND MAINTENANCE MANUAL Centrifugal Pump QIS SERIES the stationary face; the static face has a gutter in the middle between both O-rings, do not block this, and remember that you can use water or dishes soap to lubricate or glue O-rings and gaskets to the metal elements to ease assembly.
- Page 16 OPERATION AND MAINTENANCE MANUAL Centrifugal Pump QIS SERIES 4d. For double mechanical seal it is necessary to add the inside O-ring (6G); place it into the rotary holder (6A) before placing the spring inside the rotary holder. Figure M. O-ring 6G Figure M 4e.
-
Page 17: Assembling The Casing
OPERATION AND MAINTENANCE MANUAL Centrifugal Pump QIS SERIES 4f. For single mechanical seal do not forget to install the plugs (8) on the flush holes as protection and for double mechanical seal do not forget to install the flush nipples (9) on the flush holes; use a pressure around the 5-psi (ideal) to 15 psi (maximum) for the lubrication of double mechanical seal only. - Page 18 OPERATION AND MAINTENANCE MANUAL Centrifugal Pump QIS SERIES 5b. Check turning by hand the impeller it does not rubs against the casing. The assembly may turn easily without restriction. If there is any sound or sensation of rubbing, you need to check the whole assembly, disassembly and repeat it again.
-
Page 19: Quick Guide For Solving Common Problems
QIS SERIES QUICK GUIDE FOR SOLVING COMMON PROBLEMS Q-Pumps products are relatively easy to maintain with the exception of the sanitary process. Just as with any other element of machining, problems may arise. This section offers a guide for identifying and correcting most of the pumping problems. For problems with you motor, contact the manufacturer directly for best assistance. - Page 20 1220 77073 Bammel Road, Houston, TX, Call: + (832) 957 37 06, (832) 205 2885 Q-Pumps S.A. de C.V. Acceso A # 103 Fracc. Industrial Jurica Querétaro, Qro. México. 76130 Call: +52 (442) 103 31 00 For Technical support contact: support@qpumps.com...
Need help?
Do you have a question about the QIS Series and is the answer not in the manual?
Questions and answers