Advertisement
Quick Links
www.pollardbros.com
Includes:
Brackets
Maple Seat
#14 - 1" Hex
Head Lag Screw
Large Bracket
3'-6' Benches (2)
7'-9' Benches (3)
Tools Needed:
wrench
3
x
Per Large Bracket
2
x
Per Small Bracket
1" Lag Screws attach
through top holes
into bench seat
⁄ " x 2"Hex Head Screws
attach through rear holes
into wall studs.
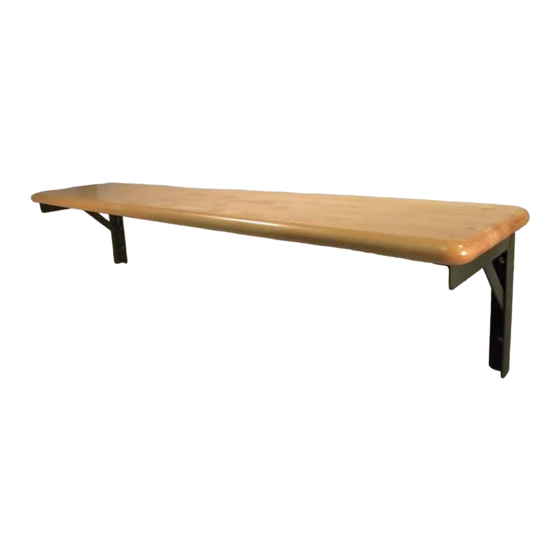
334 - Wall Mount Bench
Assembly Instructions
power drill
at head screwdriver
3/8" x 2" Hex Head
Machine Screw
3
x
2
x
Small Bracket
1" Lag Screws attach
through top holes
into bench seat
⁄ " x 2"Hex Head Screws
attach through rear holes
into wall studs.
6' Benches (1)
7-10' Benches (2)
Per Large Bracket
Per Small Bracket
Advertisement

Related Manuals for Pollard 334


Summary of Contents for Pollard 334
- Page 1 334 - Wall Mount Bench Assembly Instructions www.pollardbros.com Tools Needed: power drill wrench at head screwdriver Includes: Brackets Maple Seat Per Large Bracket Per Large Bracket #14 - 1” Hex 3/8” x 2” Hex Head Per Small Bracket Per Small Bracket...
- Page 2 LRB should be 78-1/2” apart with overhang of approximately 2”. The 3rd angle bracket on one of center studs. 8’ LRB should have outer brackets 94-1/2” apart with center bracket splitting the di erence and mounted to the stud approximately 46-1/2” in from each side. Pollard Brothers Manufacturing 5504 N. Northwest Highway Chicago IL 60630 (773)763-6868...
Need help?
Do you have a question about the 334 and is the answer not in the manual?
Questions and answers