Sign In
Upload
Download
Table of Contents
Contents
Add to my manuals
Delete from my manuals
Share
URL of this page:
HTML Link:
Bookmark this page
Add
Manual will be automatically added to "My Manuals"
Print this page
×
Bookmark added
×
Added to my manuals
Manuals
Brands
Yamaha Manuals
Outboard Motor
F150D
Owner's manual
Yamaha F150D Owner's Manual
Hide thumbs
Also See for F150D
:
Owner's manual
(80 pages)
1
2
3
Table Of Contents
4
5
6
7
8
9
10
11
12
13
14
15
16
17
18
19
20
21
22
23
24
25
26
27
28
29
30
31
32
33
34
35
36
37
38
39
40
41
42
43
44
45
46
47
48
49
50
51
52
53
54
55
56
57
58
59
60
61
62
63
64
65
66
67
68
69
70
71
72
73
74
75
76
77
78
79
80
81
82
83
84
85
86
87
88
89
90
91
92
93
94
95
96
97
98
99
100
page
of
100
Go
/
100
Contents
Table of Contents
Troubleshooting
Bookmarks
Table of Contents
Table of Contents
Safety Information
Outboard Motor Safety
Propeller
Rotating Parts
Hot Parts
Electric Shock
Power Trim and Tilt
Engine Shut-Off Cord (Lanyard)
Gasoline
Gasoline Exposure and Spills
Carbon Monoxide
Modifications
Boating Safety
Alcohol and Drugs
Personal Flotation Devices (Pfds)
People in the Water
Passengers
Overloading
Avoid Collisions
Weather
Passenger Training
Boating Safety Publications
Laws and Regulations
General Information
Identification Numbers Record
Outboard Motor Serial Number
Key Number
EC Declaration of Conformity (Doc)
CE Marking
Compliance Mark Label
Read Manuals and Labels
Warning Labels
Specifications and Requirements
Specifications
Installation Requirements
Boat Horsepower Rating
Mounting Outboard Motor
Remote Control Requirements
Battery Requirements
Battery Specifications
Propeller Selection
Counter Rotation Models
Start-In-Gear Protection
Engine Oil Requirements
Fuel Requirements
Gasoline
Muddy or Acidic Water
Anti-Fouling Paint
Outboard Motor Disposal Requirements
Emergency Equipment
Emission Control Information
Star Labels
Components
Components Diagram
Optional Items
Yamaha Security System (Y-COP)
Remote Control Box
Remote Control Lever
Neutral Interlock Trigger
Neutral Throttle Lever
Free Accelerator
Throttle Friction Adjuster
Engine Shut-Off Cord (Lanyard) and Clip
Main Switch
Power Trim and Tilt Switch on Remote Control
Power Trim and Tilt Switch on Bottom Cowling
Power Trim and Tilt Switches (Twin Binnacle Type)
Trim Tab with Anode
Tilt Support Lever for Power Trim and Tilt Model
Cowling Lock Lever
Flushing Device
Fuel Filter
Instruments and Indicators
Digital Tachometer
Tachometer
Trim Meter
Hour Meter
Low Oil Pressure-Alert Indicator
Overheat-Alert Indicator
Digital Speedometer
Speedometer
Fuel Gauge
Trip Meter / Clock / Voltmeter
Fuel Level-Alert Indicator
Low Battery Voltage-Alert Indicator
Fuel Management Meter
Fuel Flow Meter
Fuel Consumption Meter / Fuel Economy Meter / Twin Engine Speed Synchronizer
Water Separator-Alert Indicator
6YC Multifunction Meter
6Y8 Multifunction Meters
Engine Control System
Alert System
Overheat Alert
Low Oil Pressure Alert
Water Separator Alert
Installation
Mounting the Outboard Motor
Operation
First-Time Operation
Fill Engine Oil
Breaking in Engine
Getting to Know Your Boat
Checks before Starting Engine
Fuel Level
Removing Top Cowling
Fuel System
Controls
Engine Shut-Off Cord (Lanyard)
Engine Oil
Engine
Flushing Device
Installing Top Cowling
Checking Power Trim and Tilt System
Battery
Filling Fuel
Operating Engine
Sending Fuel
Starting Engine
Checks after Starting Engine
Cooling Water
Warming up Engine
Procedure for Warming up Engine
Checks after Engine Warm up
Shifting
Stop Switches
Stopping Boat
Stopping Engine
Procedure
Trimming Outboard Motor
Adjusting Trim Angle (Power Trim and Tilt)
Adjusting Boat Trim
Tilting up and down
Procedure for Tilting up
Procedure for Tilting down
Shallow Water
Cruising in Shallow Water
Cruising in Other Conditions
Maintenance
Transporting and Storing Outboard Motor
Storing Outboard Motor
Procedure
Lubrication
Flushing Cooling Water Passage
Cleaning the Outboard Motor
Checking Painted Surface of Outboard Motor
Periodic Maintenance
Replacement Parts
Severe Operating Conditions
Maintenance Chart 1
Maintenance Chart 2
Greasing
Inspecting Spark Plug
Inspecting Idle Speed
Changing Engine Oil
Inspecting Wiring and Connectors
Checking Propeller
Removing Propeller
Installing Propeller
Changing Gear Oil
Inspecting and Replacing Anode(S)
Checking Battery (for Electric Start Models)
Connecting the Battery
Disconnecting the Battery
Trouble Recovery
Troubleshooting
Temporary Action in Emergency
Impact Damage
Running Single Engine (Twin Engines)
Replacing Fuse
Power Trim and Tilt will Not Operate
Water Separator Alert Is Activated after Leaving Port
Treatment of Submerged Motor
Index
Advertisement
Quick Links
1
Maintenance Chart 1
Download this manual
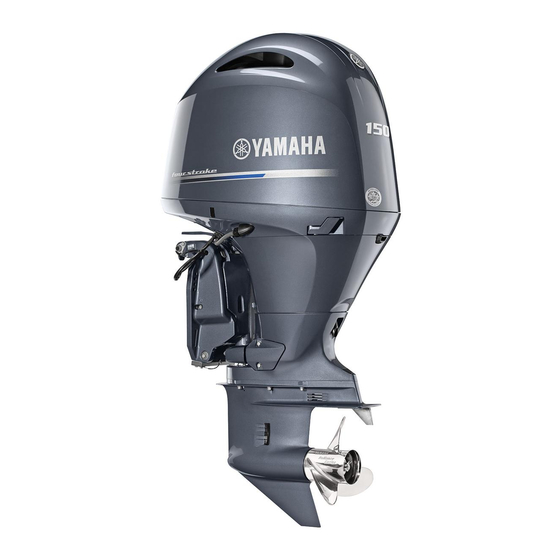
F150D
FL150D
F150F
OWNER'S MANUAL
Read this manual carefully before operating this
outboard motor.
63P-28199-7K-E0
Table of
Contents
Previous
Page
Next
Page
1
2
3
4
5
Advertisement
Table of Contents
Need help?
Do you have a question about the F150D and is the answer not in the manual?
Ask a question
Questions and answers
Related Manuals for Yamaha F150D
Outboard Motor YAMAHA F150D Owner's Manual
Outboard motor f150d; lf150d (80 pages)
Outboard Motor Yamaha F150 Owner's Manual
(110 pages)
Outboard Motor Yamaha F150 Owner's Manual
(92 pages)
Outboard Motor Yamaha F150 Owner's Manual
(234 pages)
Outboard Motor Yamaha V-MAX SHO VF250 Maintenance Manual
(36 pages)
Outboard Motor Yamaha F150 Owner's Manual
(120 pages)
Outboard Motor Yamaha F115 Owner's Manual
(126 pages)
Outboard Motor YAMAHA F150C Owner's Manual
Outboard motor f150c; lf150c (80 pages)
Outboard Motor Yamaha F150TJR Info Sheet
F150 jet drive (4 pages)
Outboard Motor Yamaha F150A Service Manual
(313 pages)
Outboard Motor Yamaha F70AET Rigging Manual
(329 pages)
Outboard Motor Yamaha FL150A Owner's Manual
(90 pages)
Outboard Motor Yamaha F115A Owner's Manual
(124 pages)
Outboard Motor Yamaha 2CMH Rigging Manual
(226 pages)
Outboard Motor Yamaha F150G Owner's Manual
(104 pages)
Outboard Motor Yamaha F150F Owner's Manual
(100 pages)
This manual is also suitable for:
Fl150d
F150f
Table of Contents
Print
Rename the bookmark
Delete bookmark?
Delete from my manuals?
Login
Sign In
OR
Sign in with Facebook
Sign in with Google
Upload manual
Upload from disk
Upload from URL


Need help?
Do you have a question about the F150D and is the answer not in the manual?
Questions and answers