Table of Contents
Advertisement
Quick Links
Advertisement
Table of Contents

Subscribe to Our Youtube Channel
Related Manuals for Modena ED 0810 UCWH


Summary of Contents for Modena ED 0810 UCWH
- Page 1 User Manual Book Dryer ED 0810 UCWH...
-
Page 3: Table Of Contents
Cleaning the Humidity Sensor Cleaning the Door Part 6: Troubleshooting Error Code Part 7: Specification This guide book explains everything you need to know about your new product. Please contact our Customer Care should you need further assistance trhough www.modena.com... -
Page 4: Part 1: Safety Information
PART 1: SAFETY INFORMATION Safety Precaution When installing, maintaining and using the dryer, please read these instructions carefully and operate with caution so as to make full use of the functions of the dryer and prolong the service life of the dryer. The Company shall not be liable for any loss caused by improper use. - Page 5 Please install the product in a This product is only applicable to place where the plug can be 220V. To ensure your safety, you easily plugged in and out when must use a three-core socket cleaning the product or store the and be careful to check that your product for a long time.
- Page 6 Please protect the power cord. Please grab the body when Do not place the power cord removing the plug. Do not pull carelessly so it is not trampled the cable as it may result in fire on, pressed, or clamped by other or electric shock caused by a objects.
- Page 7 Do not sprinkle the water directly Please be careful not to allow to the product during cleaning. pets or children to enter in the May result in short circuits or machine. May cause death due electric shocks. to suffocation or other injury. Do not put wet clothes that have If there is a dirt on the power not been spun or squeezed.
- Page 8 Do not attempt to repair the If there is a gas leak, open the air dryer by yourself or allow ventilation immediately and do inexperienced and unqualified not touch the power plug. personnel to do so. May cause Possible sparks leading to serious damage to the dryer and explosions or fires.
- Page 9 Please manage your If the product produces abnormal surroundings to prevent pets, sound, taste, smoke and other rats, insects, etc. from entering phenomenon, please contact the the product. Risk of damage to call center. May cause fire or power cords or fires. electric shock.
- Page 10 Do not place objects on top of This product is only used for the product because of the high drying. Using the product for temperature on the top and door other purposes may cause when the product is running. abnormal vibrations and may Please do not place objects on it, result in damage to product, which may cause deterioration or...
-
Page 11: Grounding Instruction
Grounding Instruction • This appliance must be grounded. When malfunction or breakdown occurs, grounding will reduce the risk of an electric shock by conducting the electric current to the ground. This appliance is equipped with a grounding-equipped conductor cord and a grounding plug. -
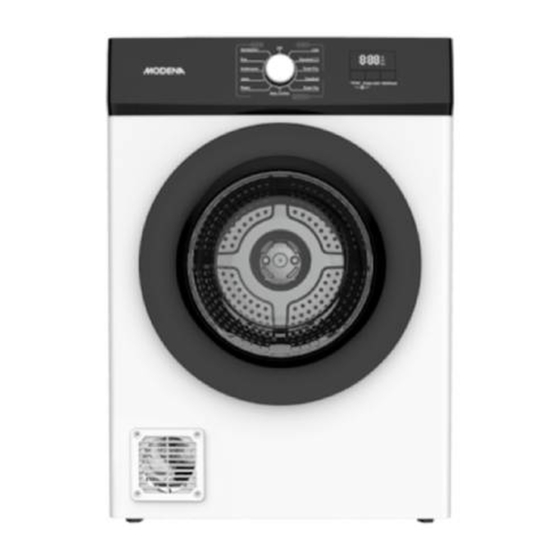
Page 12: Part 2: Name Of Parts
PART 2: NAME OF PARTS Door 5. Front Ventilation 2. Control Panel 6. Power Cord 3. Stainless Tub 7. Reset Button 4. Lint Filter PART 3: INSTALLATION GUIDE Pre-Installation Consideration In order to avoid unnecessary fire, electric shock or personal injury hazards, all electrical wiring and grounding must be set in accordance with the national electrical standards. -
Page 13: Adjusting The Leg
• After installing the equipment in the desired position, adjust the horizontal foot of the dryer if the ground is uneven (do not insert wood chips or any other items under the foot). • Avoid direct sunlight and ensure that the room has good ventilation. •... -
Page 14: Part 4: How To Use
PART 4: HOW TO USE Pre-Use Check Before first use, please check the following: Make sure that the power plug is plugged in 2. Make sure that the product is installed horizontally (Vibration and noise may occur if not installed properly) Please always check your cloth for the following symbols and use the dryer according to instructions Symbol... -
Page 15: Cloth Classification
Cloth Classification • Please confirm the laundry label and select the drying mode as recommended. • Drying times and level depending on the type of clothing. • Do not dry the clothes that will shrink. • Please classify the clothes according to their type, size, color and material. -
Page 16: Control Panel
Pull off power plug. Clean the lint filter ATTENTION! • Please make sure the filter is clean before usage • Please classify the clothes that will be dried • Do not place any object that may obstruct the air ventilation •... -
Page 17: Drying Programs
Anti-Crease After drying program is finished and the clothes are not taken out in time, the drum will spin slowly to prevent crease Start/Pause Press this button to start or pause the drying program Child lock function is active Drying process is underway Lint Filter must be cleaned Drying Programs Please follow the table below for optimum drying experience... -
Page 18: Reset Button
Rated Program Capacity Type of Clothes (kg) Delicates Wool, silk, and other delicate clothes Sterilization Cotton, linen blended, etc. 90’ Wash timing 90 minutes 70’ Wash timing 70 minutes 50’ Wash timing 50 minutes 30’ Wash timing 30 minutes Reset Button If it is found that the dryer does not dry or the drying effect is not very good, please first check whether the filter is clean. -
Page 19: Cleaning The Filter
dangerous substance such as gasoline, bleach, etc. cause discoloration or damage to the product. Do not sprinkle the water on the machine surface. Do not clean the product directly with water, it can leads to electric shock and product failure. Clean the top of the dryer. -
Page 20: Cleaning The Humidity Sensor
Clean each filters with a brush and wash it with clean water. Put the dried filter back to its place. • Be careful when handling filter, damaged. Please attention to the direction when putting the filter back. • Do not use the dryer without filters! The color of the filters may change, but does not affect the normal... -
Page 21: Cleaning The Door
Cleaning the Door Dust or fluff may accumulate inside the door. Please clean with a soft cloth and brush. Note: Do not remove the rubber seal from the door! After every use After every use, turn off the power and unplug the power plug from the socket. -
Page 22: Part 6: Troubleshooting
PART 6: TROUBLESHOOTING Before contacting service center, check the following table: Problem Possible Cause Recommended Action The dryer is not • • Power plug Check if the power plug is plugged into working. unplugged the power supply. • Broken fuse •... -
Page 23: Error Code
Problem Possible Cause Recommended Action Wrinkled • • Incorrect Select the drying program according to clothes program the type of fabric • • Overloaded Reduce the amount of clothes Residual • • Overloaded Reduce the amount of clothes moisture occurs •... -
Page 24: Part 7: Specification
PART 7: SPECIFICATION Model ED 0810 UCWH Type Vented Dryer Dry capacity (kg) Color White No. of programs Control panel Knob + Button Shoe Rack Ambient operating temperature (°C) 5-35 Power Input (Watt) 2000 Voltage & Frequency 220V~50Hz Product dimension W×D×H (mm) 598×555×845... - Page 25 08/22 PT MODENA INDONESIA Jl. Industri Raya I Blok D-8, Jatiuwung, Tangerang 15135...
Need help?
Do you have a question about the ED 0810 UCWH and is the answer not in the manual?
Questions and answers