LEXIBOOK RL800UNI - Night Light Radio Alarm Clock Manual
- Instruction manual (3 pages)
Advertisement
When unpacking, ensure that the following elements are included:
- 1 x Night Light Radio Alarm Clock
- 1 x Instruction manual

All packaging materials, such as tape, plastic sheets, wire ties and tags are not part of this product and should be discarded.
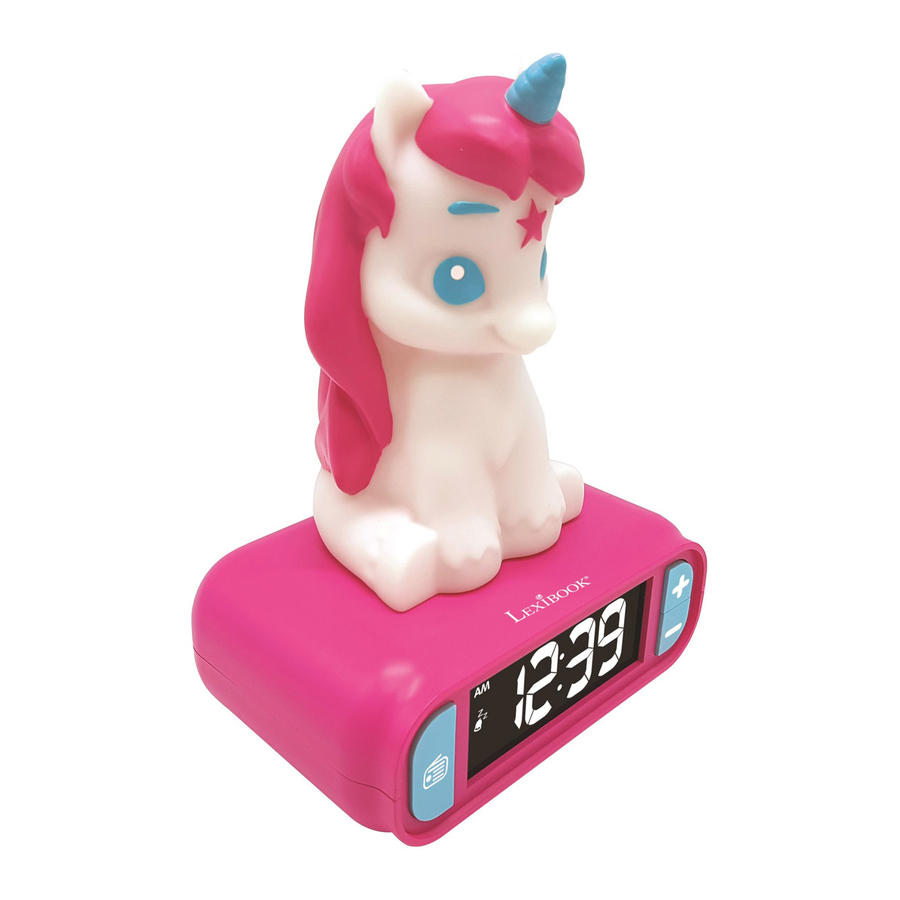
PRODUCT DESCRIPTION

- Radio
- LCD screen
- Clock icon
- Alarm icon
- Snooze icon
- Radio icon
- Time display
- MHz icon
- PM/AM icon
- PM/AM icon
- Low battery icon
- +
- -
- Night light
- Night Light on/off
- Battery compartment
- Clock set up
- Alarm set up
- Speaker
SET UP
Your alarm clock operates with 3 x 1.5V  AA / LR6 type batteries (not included).
Before first use
- Open the battery compartment cover located at the bottom of the unit.
- Install the 3 x AA/LR6 1.5V
![]() batteries (not included) observing the polarity markings inside the battery compartment.
batteries (not included) observing the polarity markings inside the battery compartment.
![]()
- Close the battery compartment.

Low battery indicator
It is recommended to change the batteries once the  icon appears on the screen.

NOTE: For better performance, it is recommended to use alkaline batteries with this product.
Non-rechargeable batteries are not to be recharged. Rechargeable batteries are to be removed from the product before being charged. Rechargeable batteries are only to be charged under adult supervision. Different types of batteries or new and used batteries are not to be mixed. Only batteries of the same or equivalent type as recommended are to be used. Batteries are to be inserted with the correct polarity. Exhausted batteries are to be removed from the product. The supply terminals are not to be short circuited. Do not throw batteries into a fire. Remove the batteries if you are not going to use the product for a long period of time. Batteries shall not be exposed to excessive heat such as sunshine, fire or the like.
Malfunction or loss of memory may be caused by strong frequency interference or electrostatic discharge. Should any abnormal function occur, remove the batteries and insert them again.
- Keep a minimum distance around the device for sufficient ventilation;
- The openings should never be blocked by newspapers, curtains, tablecloths, etc.;
- No naked flame sources, such as lighted candles, should be placed on the apparatus;
- Batteries should be disposed safely. Take them to the collection container in order to protect the environment;- Device for use in a temperate climate;
- Use a soft, clean cloth moistened with plain, lukewarm water to clean the exterior of the unit.
TIME AND ALARM
When batteries are inserted, the device turns on and will automatically enter time and alarm set up successively. The 1st step of the two following paragraphs can be ignored.
Time setting
- Long press Clock set up button (8).
- Press - & + buttons (3 & 4) to change the setting value and Clock set up button (8) to confirm. The setting sequence is displayed in the following order:
12/24h mode > Hours > Minutes - After the minutes setting, the clock will exit time setting mode and display the set up time.
Alarm setting
- Long press Alarm set up button (9).
- Press - & + buttons (3 & 4) to change the setting value and Alarm set up button (9) to confirm. The setting sequence is displayed in the following order:
Hours > Minutes > Ringtone > Alarm volume > Snooze
| Ringtones
Snooze
| Alarm volume
|
Note: If no button is pressed, the clock will automatically exit time and alarm setting.
Alarm operation
- Short press Alarm set up button (9) to see the alarm time and press again to activate or deactivate the alarm. When activated, the alarm icon (
![]() ) appears on the screen.
) appears on the screen. - When the alarm rings, press any button to stop it. The alarm will ring again the next day.
- If the Snooze function has been activated during alarm set up, the snooze icon (
![]() ) will appear above the alarm icon. When the alarm rings:
) will appear above the alarm icon. When the alarm rings: - Short press any button to launch the snooze function (the
![]() icon will blink) and the alarm will ring again 9 minutes later.
icon will blink) and the alarm will ring again 9 minutes later. - Long press to stop both alarm and snooze function for the current day (the
![]() icon will stop blinking). The alarm will ring again the next day.
icon will stop blinking). The alarm will ring again the next day.
- Short press any button to launch the snooze function (the
 ) appears on the screen.
 ) will appear above the alarm icon. When the alarm rings:
Note: the alarm will stop automatically after 5 minutes if no button is pressed (30 minutes if the FM radio is used as the alarm). If the snooze function is activated, all alarms will stop after 1 minute.
RADIO OPERATION
- Press the Radio button (1) to turn on/off the radio. The radio frequency (87~108 MHz) will appear for a few seconds.
- Short press - & + buttons (3 & 4) to change the radio frequency manually.
- Long press any button - & + buttons (3 & 4) to use the scan function. The scan will stop at next available radio station.
- Press Clock set up button (8) and Alarm set up button (9) to adjust the volume.
NIGHT LIGHT OPERATION
The night light turns on when the top of the device is pressed or if the alarm rings. It will automatically turn off after 2 minutes or if the top of the device is pressed again.
SIMPLIFIED EU DECLARATION OF CONFORMITY
We, Lexibook® S.A.
6 avenue des Andes Type
91940 Les Ulis
France
Kind of product: Night Light Radio Alarm Clock
Type designation: RL800UNI
Hereby, Lexibook Limited declares that the radio equipment type RL800UNI is in compliance with Directive 2014/53/EU.
The full text of the EU declaration of conformity is available at the following internet address: http://www.lexibook.com/doc/rl800/rl800_1.pdf
WARRANTY
This product is covered by our 2-year warranty.
For any claim under the warranty or after sale service, please contact your distributor and present a valid proof of purchase. Our warranty covers any manufacturing material and workmanship defect, with the exception of any deterioration arising from the non-observance of the instruction manual or from any careless action implemented on this item (such as dismantling, exposition to heat and humidity, etc.). It is recommended to keep the packaging for any further reference. In a bid to keep improving our services, we could implement modifications on the colors and the details of the product shown on the packaging.
NOTE: Please keep this instruction manual, it contains important information.
Reference: RL800UNI
Designed and developed in Europe – Made in China
© Lexibook®
United Kingdom & Ireland
For after-sales service, please contact us at customerservice@support.lexibook.com or
+33 1 84 88 58 59.
This product is not a toy.

 Environmental Protection:
Unwanted electrical appliances can be recycled and should not be discarded along with regular household waste! Please actively support the conservation of resources and help protect the environment by returning this appliance to a collection centre (if available).

Documents / Resources
References
Download manual
Here you can download full pdf version of manual, it may contain additional safety instructions, warranty information, FCC rules, etc.
Download LEXIBOOK RL800UNI - Night Light Radio Alarm Clock Manual
Advertisement


Need help?
Do you have a question about the RL800UNI and is the answer not in the manual?
Questions and answers