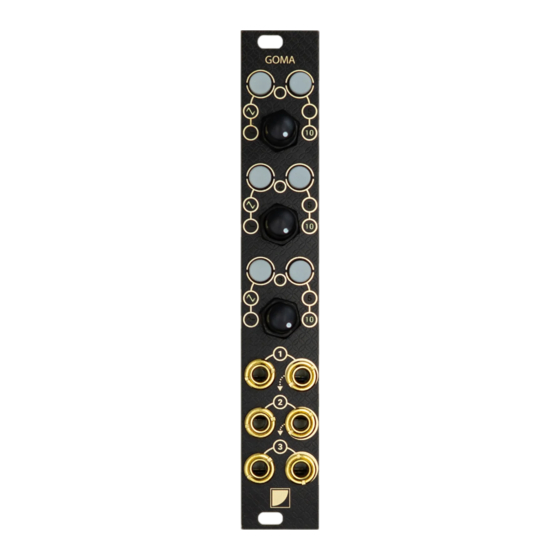
Summary of Contents for BLACK NOISE GOMA
-
Page 2: Contents Of Kit
Warranty BLACK NOISE warrants the contents of this kit to be free of defects in materials or workmanship and to be conform with the specifications at the time of shipment for a period of two years from the date of purchase. - Page 3 GOMA GOMA Build instructions Build instructions Clean the PCB Place the dual LEDs Cut off the trimmer tabs of the diode and Place the LEDs as shown in the picture clean flux residue with isopropyl alcohol. but not solder them yet.
- Page 4 GOMA GOMA Build instructions Build instructions Place the jack connectors Identify the orientation of the switches Before placing the jacks make sure that Look under the switch you will see a none of the legs of the sockets are bent round mark.
- Page 5 GOMA GOMA Build instructions Build instructions Place the faceplate Solder the jack connectors Place the faceplate and screw the nuts on Solder the jack connectors. Before the potentiometers and jack connectors. soldering them make sure they are flush against the PCB.
- Page 6 GOMA GOMA Build instructions Build instructions Cut the tabs of the white LEDs Cut the tabs of the dual LEDs Once soldered, cut the white LED tabs. Be Once soldered, cut the dual LED tabs. Be careful when cutting the tabs, some are...
- Page 7 GOMA GOMA Build instructions Build instructions Solder the potentiometers Clean the PCB Finish by soldering the potentiometers. Clean the PCB of flux and solder residue Once the potentiometers are soldered, using Isopropyl alcohol. check the PCB to spot any solder bridges, unsoldered pins, etc.
- Page 8 GOMA Build instructions test your GOMA For more information on connecting to your rack and the possibilities of your GOMA, consult the user manual accessible by scanning the QR code. Scan the QR code to access the user manual...


Need help?
Do you have a question about the GOMA and is the answer not in the manual?
Questions and answers