
Subscribe to Our Youtube Channel
Related Manuals for Monte Carlo Fan Company 5CSR60AGD-L Series


Summary of Contents for Monte Carlo Fan Company 5CSR60AGD-L Series
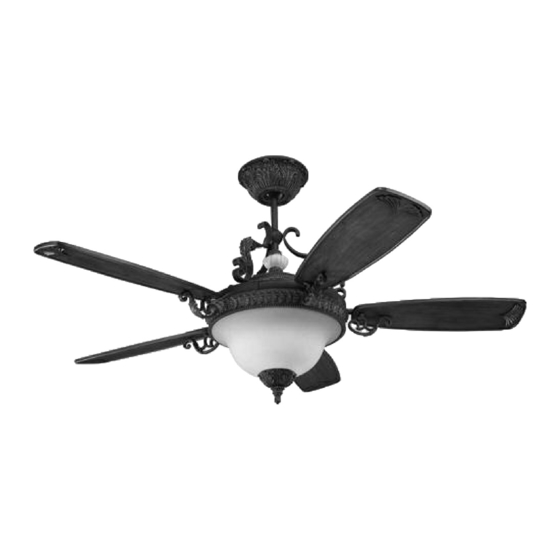
- Page 1 Owner’s Manual Ceiling Fan Installation Instructions For 5CSR60AGD-L Series Fans READ AND SAVE THESE INSTRUCTIONS Total fan weight with light...
- Page 2 Installation AFETY WARNING: TO REDUCE THE RISK OF FIRE, ELECTRIC SHOCK, OR INJURY TO PERSONS, OBSERVE THE FOLLOWING: READ AND SAVE THESE INSTRUCTIONS Installation work and electrical wiring must be done by qualified person(s) in accordance with applicable codes and standards (ANSI/NFPA 70- 1999), including fire-rated construction.
- Page 3 Remove keeper from cross pin and Secure mounting neck to the mounting plate Lift mounting neck to mounting Plate and align with four screws to become a complete mount- screws. then cross pin from yoke. Replace ing bracket. keeper on cross pin and save. Loosen lock nuts and screws on yoke Loosen set screw that holds ball.
- Page 4 Tighten screw on arch hub into Install lower foot of arch arm with Install arch arms to arch hub using downrod to hold in place. screws to fan upper housing. screws removed step 18. Install arch hub cover onto downrod. Install canopy onto downrod.
- Page 5 white black Make wiring connections as indicated above. White from fan to white from remote marked N. Blue from fan to blue from remote marked light. Black from fan to Black from remote marked L. White from house to white from Re-install safety bar removed in step.
- Page 6 Install 3 x 40 watt incandescent candelabra bulbs. Bulbs included. WARNING: Over lamping the fan will result in the fan lights shutting down until the proper wattage of bulbs are Remove finial nut from light fitter. Remove hex nut and rubber washer installed.
- Page 7 Remote Control Transmitter Features: FAN REVERSE LED LIGHT (Press once to change direction of MEDIUM SPEED the fan)Fanmust be running to reverse. LOW SPEED HIGH SPEED FAN OFF SETTING LIGHT ON/OFF SET- (Turns fan off only) TING AND DIMMER (Press and hold to dim light infinitively) FAN SPEED Depress “l dot”...
- Page 8 Trouble Shooting If you have difficulty operating your new ceiling fan, it may be the result of incorrect assembly, installation, or wiring. In some cases, these installation errors may be mistaken for defects. If you experience any faults, please check this Trouble Shooting Chart. If a problem cannot be remedied, or you are experiencing difficulty in installation, please call our Customer Service Center at the number printed on your parts list insert sheet.
Need help?
Do you have a question about the 5CSR60AGD-L Series and is the answer not in the manual?
Questions and answers