Advertisement
Quick Links
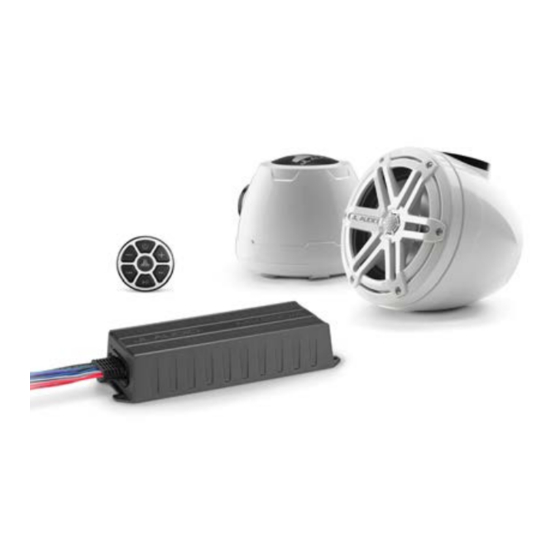
SlamPak
I N S T A L L A T I O N G U I D E
for the
SLPK-YA-VXWR-SG-TB
SKU# 94652
&
SLPK-YA-VXWR-SG-WH
SKU# 94653
2015-2019 Yamaha VX
™
If you choose to perform the installation yourself, it is absolutely
vital that the SlamPak™ be properly mounted to the vessel
according to these instructions.
Failure to mount the enclosures presents a serious safety hazard in
the event of a collision, rollover, or sudden deceleration.
Thank you for choosing a JL Audio SlamPak™ for your marine sound system.
With proper installation, your new marine audio sound system
will deliver years of listening pleasure.
We strongly recommend that you have your new SlamPak™ installed by your
authorized JL Audio dealer. The installation professionals employed by your
dealer have the necessary tools and experience to disassemble and reassemble
your vessel properly. If you prefer to perform your own installation, please read
this installation guide completely before beginning the process.
SLPK-YA-VXWR-SG INSTR_SKU# 011494
INSTALLATION
DIFFICULTY:
4
5
OUT
OF
ESTIMATED TIME:
3-4 HOURS
Continued on Next Page
Advertisement

Summary of Contents for JL Audio SlamPak SLPK-YA-VXWR-SG-TB
- Page 1 SlamPak ™ Thank you for choosing a JL Audio SlamPak™ for your marine sound system. With proper installation, your new marine audio sound system I N S T A L L A T I O N G U I D E will deliver years of listening pleasure.
- Page 2 7/16 - 14 x 1-1/4” Hex Head Bolt 7/16” Flat Washer 7/16” Split Lock Washer 2-Pin Female Receptacle 2-Pin Wedgelock 4-Pin Female Receptacle 4-Pin Wedgelock Rubber Grommet Cable Tie Heat Shrink Tubing Page 2 • JL Audio, Inc., 2020 Continued on Next Page...
- Page 3 S T E P 4 S T E P 8 Remove the accent panel from the vessel. Remove the body panel from the vessel. Page 3 • JL Audio, Inc., 2020 Continued on Next Page...
- Page 4 S T E P 12 S T E P 16 Using a 1/4” drill bit, carefully drill through the Connect the Power Harness to the Amplifier. three marks made in the previous step. Page 4 • JL Audio, Inc., 2020 Continued on Next Page...
- Page 5 - 20 Nylon Locknuts on the outside of the tray. Press the red button on the Circuit Breaker to disengage it. Connect the positive power wire to one side and the 8 AWG extension to the other side. Page 5 • JL Audio, Inc., 2020 Continued on Next Page...
- Page 6 Remove Template B. Using a 1/4” drill bit, carefully drill through the marks for Hole 1 and Hole 2. Page 6 • JL Audio, Inc., 2020 Continued on Next Page...
- Page 7 Pass the speaker cable exiting the Speaker factory hole. Enclosure through the Rubber Grommet, as shown, and align the Starboard Adaptor on the Speaker Enclosure with the Hole 2 in the trim panel. Page 7 • JL Audio, Inc., 2020 Continued on Next Page...
- Page 8 Step 29, thread the 7/16 - 14 x 1-1/4” Hex Head Bolt into the Starboard Adaptor on the Speaker Enclosure, and hand tighten. Page 8 • JL Audio, Inc., 2020 Continued on Next Page...
- Page 9 . j l a u d i o . c o m All specifications are subject to change without notice. “JL Audio®” and “How we play®” are registered trademarks of JL Audio, Inc. “Ahead of the Curve” and its respective logo are trademarks of JL Audio, Inc.


Need help?
Do you have a question about the SlamPak SLPK-YA-VXWR-SG-TB and is the answer not in the manual?
Questions and answers