Advertisement
Quick Links
I N S T A L L A T I O N G U I D E
for the
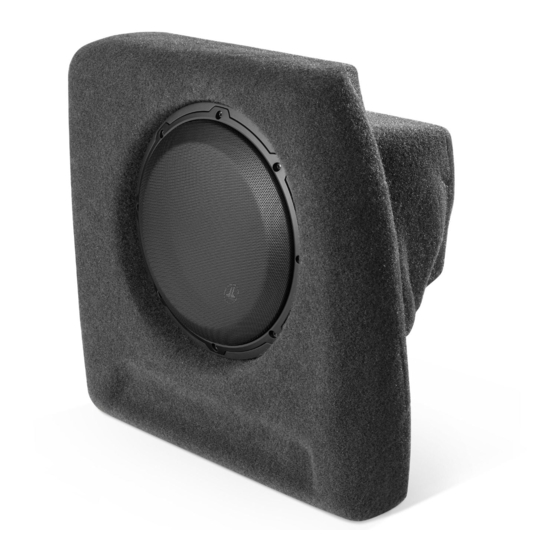
SB-F-EXPL3/10W3v3
SKU# 94520
2011
Thank you for choosing a JL Audio Stealthbox
for your automotive sound system. With proper installation, your new
®
vehicle-specific enclosed subwoofer system will deliver years of listening pleasure.
We strongly recommend that you have your new Stealthbox
installation professionals employed by your dealer have the necessary tools and experience to disassemble and
reassemble your vehicle properly. Also, keep in mind that your warranty coverage extends to 2 years if your system is
installed or approved by your authorized JL Audio dealer. If you prefer to perform your own installation, please read
this installation guide completely
before beginning the process.
installed by your authorized JL Audio dealer. The
®
If you choose to perform the installation yourself, it is absolutely vital that
the Stealthbox
®
be properly mounted to the vehicle according to these
instructions. Failure to mount the enclosure properly presents two problems:
1) The sub-bass performance will suffer due to the movement of the enclosure
caused by the force exerted by the woofer(s).
2) A loose enclosure presents a serious safety hazard in the event of a collision
or sudden deceleration.
SB-F-EXPL3/10W3v3 INSTR_SKU# 011325
INSTALLATION
D I F F I C U L T Y :
3
ESTIMATED TIME:
2 HOUR
S T E P 1
Empty out the cargo area so that you have a clean area to
work in.
S T E P 2
With the third row seats folded down, unclip the small trim
panel near the seat belt.
S T E P 3
Remove the bolt holding the seat belt in place.
Continued on Next Page
OUT
OF
5
Advertisement

Related Manuals for JL Audio SB-F-EXPL3


Summary of Contents for JL Audio SB-F-EXPL3
- Page 1 Also, keep in mind that your warranty coverage extends to 2 years if your system is installed or approved by your authorized JL Audio dealer. If you prefer to perform your own installation, please read this installation guide completely before beginning the process.
- Page 2 Begin unclippng the side panel, as shown. the indicated dotted lines. The top and bottom portions of the grille opening need to be removed, but the sides will remain. Page 2 • JL Audio, Inc 2011 Continued on Next Page...
- Page 3 Always wear eye protection when drilling! S T E P 1 5 Thread the supplied 3/8 - 16 x 2-1/4” Set Screw into the U-Nut, as shown. Page 3 • JL Audio, Inc 2011 Continued on Next Page...
- Page 4 . j l a u d i o . c o m All specifications are subject to change without notice. “JL Audio®” and the JL Audio logo, “Stealthbox” and the Stealthbox logo are registered trademarks of JL Audio, Inc. “Ahead of the Curve” and its respective logo is a trademark of JL Audio, Inc.
Need help?
Do you have a question about the SB-F-EXPL3 and is the answer not in the manual?
Questions and answers