Table of Contents
Advertisement
Quick Links
Advertisement
Table of Contents

Related Manuals for DESKHAUS APEX/2


Summary of Contents for DESKHAUS APEX/2
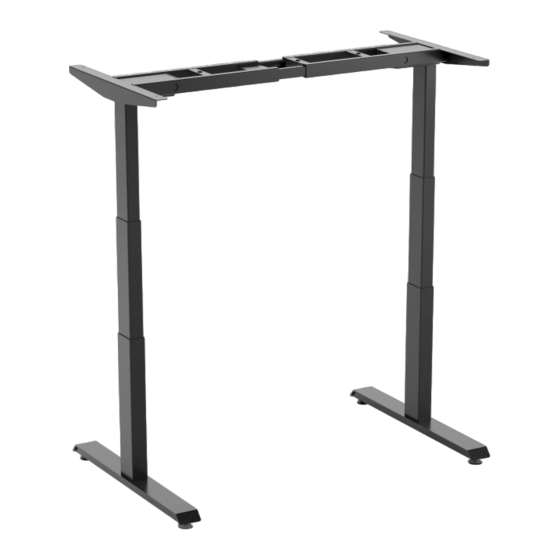
- Page 1 APEX/2 P R O D U C T A S S E M B L Y I N S T R U C T I O N S...
-
Page 2: Parts Included
APEX/2 PARTS INCLUDED: M6 14mm M6 10mm 7/8 WOOD SCREW 16mm WOOD SCREW 4mm HEX KEY CABLE TIES TOOLS NEEDED: PARTS 1. Column 2. Top Support 3. Foot 4. Collapsing Channel 5. Control box 6. Hand switch 7. Power Cord 8. - Page 3 ASSEMBLE COLUMNS TO COLLAPSING CHANNELS Assemble using the M6 10mm length screws. These are the shorter screws that are included. (4 per column) Notes *You may need to extend the channels out to expose the screw holes when attaching columns. APEX/2...
- Page 4 IMPORTANT: Do not tighten machine screws fully until the end of each step to allow for proper centering. PARTS Foot M6 14mm Screw CONNECT FEET TO COLUMNS Secure feet to columns using M6 14mm Screws. These are the longer screws that are included. (4 per foot) APEX/2...
- Page 5 IMPORTANT: Do not tighten machine screws fully until the end of each step to allow for proper centering. Top Support M6 14mm Screw ASSEMBLE TOP SUPPORTS TO COLUMNS Assemble using the M6 14mm length screws. These are the longer screws that are included. (2 per top support) APEX/2...
- Page 6 FASTEN FRAME TO DESK SURFACE Assemble using the 7/8" length wood screws. (7 screws total) *Notes - Center base on desk surface leaving 2" on right and left sides. Pre-drilling holes is required for solid wood tops and optional for HPL tops. APEX/2...
- Page 7 Assemble using the M6 10mm Screws. These are the shorter screws that are included. (8 per channel) Make sure the control box and hand switch are fastened in a location where all the cables will connect without being in tension. APEX/2...
- Page 8 (Included with hand switch) ATTACH CONTROL BOX & HAND SWITCH Secure control unit with 16mm wood screws (2 screws total) Secure hand switch with the (2) wood screws that are included with your hand switch. (Included with hand switch) APEX/2...
-
Page 9: Connect Power Cords
CONNECT POWER CORDS Connect hand switch to control box. Connect (2) column power cords to control box. Connect power cord to control box. *Note - Use column cable extensions if needed. APEX/2... -
Page 10: Operation Information
“Reset” to ensure that it is properly calibrated. To reset the handset, keep pressing the paddle down to the lowest height and release. Then press the paddle down again for 5 seconds until the display shows "Reset" and returns back to a normal digital number to finish the reset. Your handset is now ready to use. APEX/2... -
Page 11: Additional Features
If the display reads an error code, hold the paddle down until display reads "Reset" then lower frame to the lowest height and release. The frame will move slower than normal. Reset is complete once the display shows the height number displayed. (For a list of Error codes see our Troubleshooting on the next two pages.) APEX/2... -
Page 12: Troubleshooting
3. Unplug columns, turn control box around, plug columns back in, Column plugged into M4 Port if the same error code is displayed, then the control box needs replaced Column plugged into M5 Port Column plugged into M6 Port APEX/2... - Page 13 W W W . D E S K . H A U S...
Need help?
Do you have a question about the APEX/2 and is the answer not in the manual?
Questions and answers