
Related Manuals for Jaga STRADA


Summary of Contents for Jaga STRADA
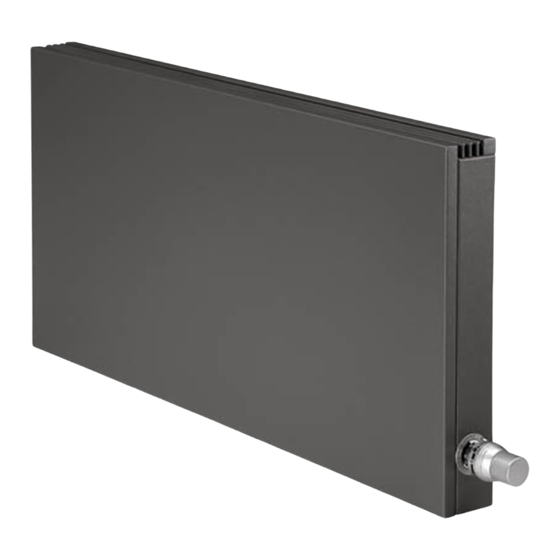
- Page 1 STRADA INSTALLATION AND MAINTENANCE INSTRUCTIONS LOW-H O RADIATOR FOR HEATING ONLY Tested in accordance with EN442...
-
Page 3: Table Of Contents
CONTENTS INTRODUCTION ......................4 COMPONENT PARTS ....................4 TOOLS REQUIRED ..................... 4 INSTALLATION ......................5 FITTING THE CASING ....................8 REMOVING THE GRILLE ..................9 OPTIONAL EXTRAS ....................10 FURTHER GUIDANCE ....................11 MAINTENANCE ......................12 10. GUARANTEE ....................... 12 11. -
Page 4: Introduction
INTRODUCTION Thank you for choosing our STRADA Low-H The installation of STRADA Low-H radiator. If installed and maintained correctly, it will radiators should be in accordance with give you many years of efficient and safe heating. these installation instructions and the work completed by a competent person. -
Page 5: Installation
• Minimum clearance from floor to underside of casing for STRADA equals ‘h’ dimension. • The supplied fixings are suitable for solid wall construction only. For other wall structures alternative fixings must be used. • If third and fourth brackets are supplied, these are to be fitted to the central plates of the heat exchanger. Fixing centres to be marked at time of installation. - Page 6 10mm protruding. Depending on the wall construction, other fixings may be required. Example with Jaga valve: to the wall. Fit the air vent to the top 1/8th connection and moderately tighten. The valves can now be fitted as per the option chosen;...
- Page 7 Example with Jaga valve: to the floor. Connection Connection It is important for correct operation that the thermostatic radiator Type to floor d (mm) to wall A (mm) valve is fitted to the flow, into the higher connection of the element.
-
Page 8: Fitting The Casing
5. FITTING THE CASING CLICK CLICK Hook casing onto bottom of bracket. Lift casing up and over Locate the grille into front panel, lower down into position towards back. Line up cut out with valve. Push casing down onto and fix back bar. brackets to secure. -
Page 9: Removing The Grille
6. REMOVING THE GRILLE Remove the top grille by gently tapping a wedge in to the back bar Remove the back bar. with a rubber mallet - do not use a screwdriver! Remove the top grille. Replace top grille. Replace the back bar. Secure the back bar by gently tapping with a rubber mallet - do not use a hammer! -
Page 10: Optional Extras
OPTIONAL EXTRAS Arthritic Aid Simply push over the end of TRV. NOTE: Arthritic aid only suitable for use with Jaga White (JW) TRV head. -
Page 11: Further Guidance
8. FURTHER GUIDANCE Water Treatment Balancing It is important that the water in the system is Please balance the heating system ensuring correct treated to maintain system efficiency and provide water flow to each radiator and even heat distribution longevity for the heating element and associated to each room. -
Page 12: Maintenance
MAINTENANCE 10. GUARANTEE The casing is manufactured from painted 1.25mm Component Guarantee steel and may be cleaned with any normal detergent. Heating element 30 years The heating element is manufactured from copper Valves 3 years tube, brass collectors with aluminium convector fins, Other parts 10 years all coated in a static resistant coating. -
Page 13: Fault Finding
11. FAULT FINDING Symptom Fault Solution Radiator is not working TRV installation fault Check that the TRV has been installed correctly. Remove, set to maximum and re-engage TRV closed Open TRV and set to a higher setting TRV faulty Replace TRV Lockshield closed Open lockshield No hot water... -
Page 14: Terms & Conditions
12. TERMS & CONDITIONS 1. The guarantee is only valid if the equipment is 7. The Company shall not in any circumstances be correctly installed in accordance with the installation liable for any loss (direct or indirect) of profits, instructions and current industry standard practices. business, reputation or goodwill. - Page 15 NOTES...
- Page 16 +44 1531 631 533 JAGA UK jaga@jaga.co.uk Jaga House, Orchard Business Park, www.jaga.co.uk Bromyard Road, Ledbury, Herefordshire HR8 1LG STRADAINST1222 - JAGA UK...
Need help?
Do you have a question about the STRADA and is the answer not in the manual?
Questions and answers
how to remove heater cover to access monobock valve