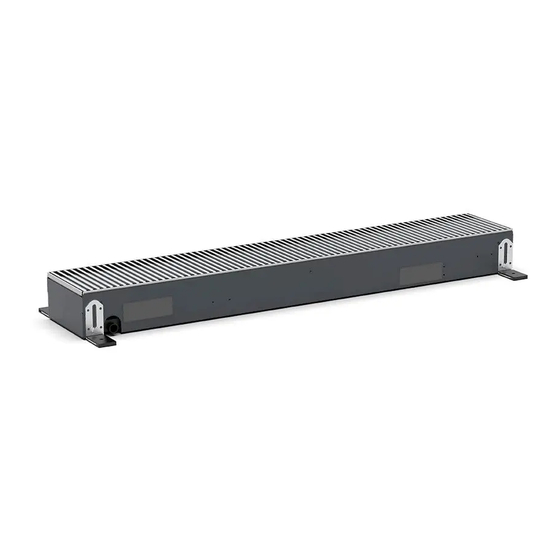
Jaga Clima Canal H8 Installation Instructions Manual
Hide thumbs
Also See for Clima Canal H8:
- Installation instructions manual (48 pages) ,
- Installation instructions manual (48 pages)
Table of Contents
Advertisement
Advertisement
Table of Contents

Summary of Contents for Jaga Clima Canal H8
- Page 1 Clima Canal H8 Clima Canal Hybrid H10 INSTALLATION INSTRUCTIONS...
-
Page 2: Table Of Contents
10. MAINTENANCE ......................16 11. WARRANTY .......................17 12. DISSASSEMBLY INSTRUCTIONS ................17 DECLARATION OF CONFORMITY JAGA N.V. - Verbindingslaan 16 - B 3590, declares under its sole responsibility that the CEO JAGA N.V. product to which this declaration relates: CLIMA CANAL H8, CLIMA CANAL HYBRID H10... -
Page 3: Used Symbols
1. USED SYMBOLS the DANGER sign warns the operator and maintenance staff about risks that may cause death, physical injury or illnesses of any kind. DANGER: ELECTRICAL HAZARD DANGER: SHARP EDGES DANGER: HOT SURFACES DANGER: MOVING PARTS ATTENTION: IMPORTANT WARNING the ENVIROMENTAL SAFEGUARD sign provides instructions on how to use the unit in an ECO-friendly manner. -
Page 4: Warnings And Safety
2. WARNINGS AND SAFETY Handling guidelines: The unit must be handled with care in order to avoid damage to the unit’s interior and exterior parts. The unit might have sharp edges; use gloves during installation/adjustment. All the operations listed below must be carried out in accordance with local health and safety regula- tions. -
Page 5: General Information
5. GENERAL INFORMATION DANGER! The unit is not intended for industrial applications. Do not insert objects into the supply and return air openings. IMPORTANT! – the unit will only function correctly if the installation and operation manual is strictly followed. – ... -
Page 6: Product Description
6. PRODUCT DESCRIPTION The Clima Canal is simultaneously a powerful heater, cooling unit and ventilation system. The dyna- mic high-tech 2-pipe coil and the thermal fan ensures that the switch-over from heating to cooling is effortless. These units are specially designed to emit a lot of heat and the cooling goes well with both sensible and total cooling systems. -
Page 7: Technical Datat
⁄ ⁄ ⁄ ⁄ ⁄ ⁄ ⁄ ⁄ ⁄ H*: 8.5cm heating / 10cm hybrid CLIMA CANAL H8 / H10 . cm L (INCH) X (INCH) 28 15/32 9 1/16 42 41/64 9 1/16 56 13/16 7 9/32 70 63/64 5 29/32 Max. - Page 8 7.4. LEAVE SOME ROOM 7 ⁄ Ø Ø . . (*) . cm When installing the trench fancoil in front of a window, make sure to allow sufficient space for curtains. The curtain should never cover the grill of the trench fancoil unit. 7.5. MAX CABLE LENGHT - 24 VDC ELECTRICAL CONNECTION DISTANCE FROM POWER SUPPLY IN FT.
-
Page 9: Installation
8. INSTALLATION ALWAYS SWITCH OFF THE MAINS SUPPLY BEFORE INSTALLATION Remove the valve cover plate before installing the device. Fit the brackets with the acoustic insulation. Secure the brackets to the outer trench ( but do not completely Screw the adjustment screws in the bottom of the trench and place tighten). - Page 10 Make sure that the unit is correctly positioned and that grille Place the ends on the sides. holders are tightly connected. Use the provided connectors to connect the different units with each other. Min. 77/8 in Position the units correctly, with the coil towards the wall. Mark the drill holes.
- Page 11 Secure the brackets. Final adjustment to be done with screws. Fill the cavities under the trench with a s solid mass.
- Page 12 8.1. HYDRAULIC CONNECTION An overview of the incoming hydraulic connections and their connection to the coil. Max. 0.8 Max. 8.5 / 10 13.8 / 15.3 Max. 4.5 Max. 0.8 3 ⁄ Max. 15.3 Max. 4.5 Connect the flexible hose connectors to the coil’s supply connec- Connect the flexible hose connectors to the coil’s return connec- Max.
- Page 13 8.3. ELECTRICAL CONNECTION For the general safety instructions see: warnings and safety- p. 5 SHUT OFF THE MAINS SUPPLY BEFORE CONNECTING The electrical connection is on the same side as the hydraulic connections. 8.3.1. Standard electrical connections without thermoelectric motor: [A] and [B] need to be connected to the unit’s electrical box. 0-10 V 24 V INPUT...
- Page 14 8.4. FINISHING THE INSTALLATION BEFORE LAYING THE FLOOR Assemble the valve cover plate and cover the trench with the With screed (concrete or cement), edge insulation will have to protective cover and the foil. be installed around the unit in order to protect it from the stress This protective cover must remain on the unit during the caused by the heating and the cooling.
-
Page 15: Initial Start
9. INITIAL START IMPORTANT! Start-up and Commissioning of the fancoil must be carried out by skilled staff, qualified to work on this type of product. DANGER! Before start-up, make sure the installation has been carried out in compliance with in this manual. Before start-up the fancoil unit, check if: 1. -
Page 16: Maintenance
10. MAINTENANCE DANGER! – maintenance must be carried out by qualified technicians. – do not insert sharp objects into the supply and return grilles – the unit has sharp edges; use gloves during maintenance! DANGER! Always use the main disconnect switch to isolate the unit from the mains before carrying out any maintenance or inspection work. -
Page 17: Warranty
– the fan coil has not been periodically cleaned, – the unit has been used in an improper or irresponsible manner, – repairs have been carried out by others than Jaga, – product modifications have been carried out by others, before or after the installation, – ... - Page 18 NOTES...
- Page 19 NOTES...
- Page 20 Jaga Canada Climate Systems www.jaga-canada.com december 20, 2018 2:46 p.m. - Jaga Inc.


Need help?
Do you have a question about the Clima Canal H8 and is the answer not in the manual?
Questions and answers