Sign In
Upload
Download
Table of Contents
Contents
Add to my manuals
Delete from my manuals
Share
URL of this page:
HTML Link:
Bookmark this page
Add
Manual will be automatically added to "My Manuals"
Print this page
×
Bookmark added
×
Added to my manuals
Manuals
Brands
SAIET Manuals
Cell Phone
SAFE SMART
User manual
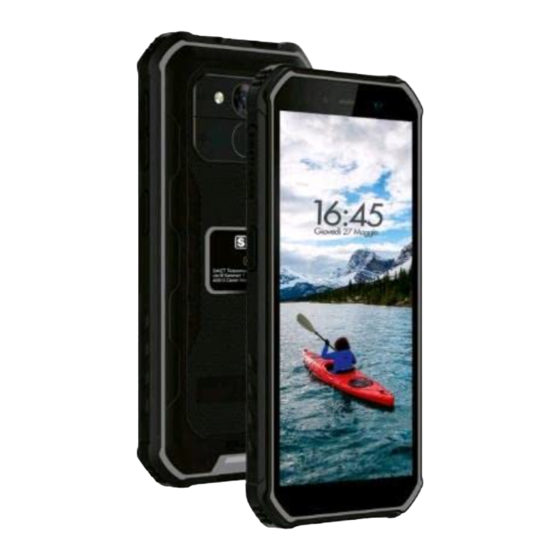
SAIET SAFE SMART User Manual
Reinforced waterproof smartphone
Hide thumbs
1
Table Of Contents
2
3
4
5
6
7
8
9
10
11
12
13
14
15
16
17
18
19
20
21
22
23
24
25
26
27
28
29
30
31
32
33
34
35
36
37
38
page
of
38
Go
/
38
Contents
Table of Contents
Bookmarks
Table of Contents
Table of Contents
Introduction
Package Contents
Insert SIM
Insert Microsd Card (Optional)
Battery Charging
Smartphone Use
Switching the Smartphone On/Off
Activating/Deactivating the Screen
Unlocking the Screen
Basic Operations
Home Screen
Notification Panel
Quick Activations
Keys on the Navigation Bar
Settings
How to Make a Call
Answering a Call
Speakerphone
Silent and Vibration Modes
Adding a New Contact to the Address Book
Calling a Contact in the Address Book
Sending and Reading SMS
Camera
Torch
Long Pressed Key (2S)
PTT Button
SOS Button
Bluetooth
Wi-Fi
Mobile Data
Appendix
Health and Safety Information
SAR Information
Protect Your Hearing
Technical Specifications
Warranty Conditions
Cleaning and Maintenance
Simplified EU Declaration of Conformity
Information on CE Marking
Restrictions or Requirements
Advertisement
Quick Links
Download this manual
SAFE SMART
REINFORCED WATERPROOF SMARTPHONE
Comes with the Google™ app and Google Chrome™
Google, Android, Google Play, YouTube and other marks are trademarks of Google LLC.
USER GUIDE
SAIET Telecommunications Srl
via M. Serenari, 1
40013 Castel Maggiore (BO), Italy
tel. +39 051 706711
STS551
Table of
Contents
Previous
Page
Next
Page
1
2
3
4
5
Advertisement
Table of Contents
Need help?
Do you have a question about the SAFE SMART and is the answer not in the manual?
Ask a question
Questions and answers
Subscribe to Our Youtube Channel
Related Manuals for SAIET SAFE SMART
Cell Phone SAIET SMART SENIOR STS550 User Manual
Android (49 pages)
Cell Phone SAIET SAFE SMART STS570 User Manual
Reinforced waterproof smartphone (37 pages)
Cell Phone SAIET SENIOR STS502 User Manual
Smartphone with android (49 pages)
Cell Phone SAIET STS551 User Manual
Reinforced waterproof smartphone (38 pages)
Cell Phone SAIET SICURO SMART STS601 Manual
(56 pages)
Cell Phone SAIET LINK 4 Manual
Smart senior mobile phone large buttons and characters amplified sound (76 pages)
Cell Phone SAIET ENERGY User Manual
Gsm mobile phone reinforced waterproof (50 pages)
Cell Phone SAIET SMART SENIOR MAX STS600 User Manual
Senior smartphone with android (41 pages)
This manual is also suitable for:
Sts551
Table of Contents
Print
Rename the bookmark
Delete bookmark?
Delete from my manuals?
Login
Sign In
OR
Sign in with Facebook
Sign in with Google
Upload manual
Upload from disk
Upload from URL


Need help?
Do you have a question about the SAFE SMART and is the answer not in the manual?
Questions and answers