Sign In
Upload
Download
Table of Contents
Contents
Add to my manuals
Delete from my manuals
Share
URL of this page:
HTML Link:
Bookmark this page
Add
Manual will be automatically added to "My Manuals"
Print this page
×
Bookmark added
×
Added to my manuals
Manuals
Brands
Teka Manuals
Washer
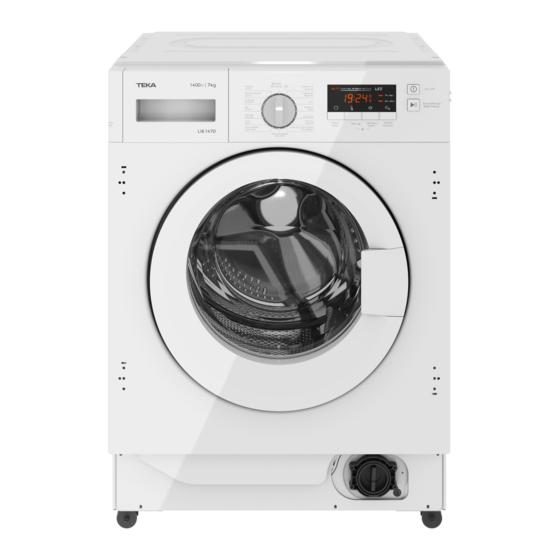
LI6 1470
User manual
Teka LI6 1470 User Manual
Hide thumbs
1
Table Of Contents
2
3
4
5
6
7
8
9
10
11
12
13
14
15
16
17
18
19
20
21
22
23
24
25
26
27
28
29
30
31
32
33
34
35
36
37
38
39
40
41
42
43
44
45
46
47
48
49
50
51
52
53
54
55
56
57
58
59
60
61
62
63
64
65
66
67
68
69
70
71
72
73
74
75
76
77
78
79
80
81
82
83
84
85
86
87
88
89
90
91
92
93
94
95
96
97
98
99
100
101
102
103
104
105
page
of
105
Go
/
105
Contents
Table of Contents
Troubleshooting
Bookmarks
Table of Contents
Table of Contents
Safety Instructions
Installation
Product Description
Installation
Operation
Quick Start
Before each Washing
Detergent Dispenser
Control Panel
Programmes
Maintenance
Cleaning and Care
Trouble Shooting
Technical Specifications
Product Fiche
Built-In Installation
Advertisement
Quick Links
Download this manual
LI6 1470/LI6 1480
Table of
Contents
Previous
Page
Next
Page
1
2
3
4
5
Advertisement
Table of Contents
Need help?
Do you have a question about the LI6 1470 and is the answer not in the manual?
Ask a question
Questions and answers
Related Manuals for Teka LI6 1470
Washer Teka LSE-1200 S Instruction Manual
Automatic drum washing machine (14 pages)
Washer Teka LSE Instruction Manual
User manual (21 pages)
Washer Teka LSI 1260 S Instructions For Use Manual
(61 pages)
Washer Teka LSI4 1400 E User Instructions
(54 pages)
Washer Teka LSI3 1300E User Instructions
(50 pages)
Washer Teka LI4 1000 E User Instructions
(41 pages)
Washer Teka LI5 User Manual
(68 pages)
Washer Teka LSI5 User Manual
(88 pages)
Washer Teka LI5 1080 User Manual
(124 pages)
Washer Teka LSI6 1480 User Manual
(101 pages)
Washer Teka LI6 1480 User Manual
(105 pages)
Washer Teka LI5 1481 User Manual
(124 pages)
Washer Teka LI2 1260-LI2 1060 Quick Start Manual
(5 pages)
Washer Teka TK5 1060 WH EU User Manual
(122 pages)
Washer Teka TK2 1480 User Manual
Automatic drum washing machine (20 pages)
Washer Teka TKE 1260 I Manual
(20 pages)
This manual is also suitable for:
Li6 1480
Table of Contents
Print
Rename the bookmark
Delete bookmark?
Delete from my manuals?
Login
Sign In
OR
Sign in with Facebook
Sign in with Google
Upload manual
Upload from disk
Upload from URL


Need help?
Do you have a question about the LI6 1470 and is the answer not in the manual?
Questions and answers