Daikin FVXM35A3V1B Operation Manual
Split system air conditioners
Hide thumbs
Also See for FVXM35A3V1B:
- User reference manual (64 pages) ,
- Installer's reference manual (60 pages) ,
- Installation manual (16 pages)

Related Manuals for Daikin FVXM35A3V1B


Summary of Contents for Daikin FVXM35A3V1B
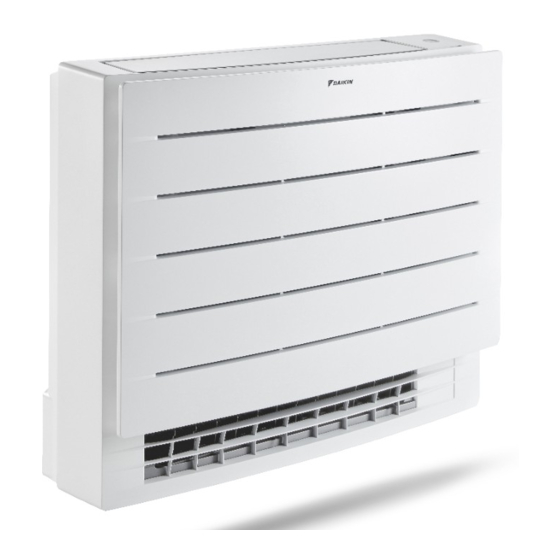
- Page 1 Operation manual Split system air conditioners CVXM20A3V1B FVXM25A3V1B FVXM35A3V1B FVXM50A3V1B CVXM20A3V1B9 FVXM25A3V1B9 FVXM35A3V1B9 FVXM50A3V1B9 Operation manual English Split system air conditioners FVXTM30A3V1B...
-
Page 2: Table Of Contents
Heat plus operation............. 10 for basic and advanced usage 5.7.3 To start/stop Powerful and Heat plus operation..10 Econo and Outdoor unit quiet operation........11 ▪ Format: Digital files on https://www.daikin.eu. Use the search function to find your model. 5.8.1 Econo operation............11 5.8.2... -
Page 3: General
2 User safety instructions ▪ Batteries are marked with the following symbol: General WARNING If you are NOT sure how to operate the This means that the batteries may NOT be mixed with unsorted unit, contact your installer. household waste. If a chemical symbol is printed beneath the symbol, this chemical symbol means that the battery contains a WARNING heavy metal above a certain concentration. - Page 4 2 User safety instructions ▪ In case of accidental refrigerant WARNING leaks, make sure there are no naked ▪ The refrigerant inside the unit is flames. The refrigerant itself is mildly flammable, but normally does entirely safe, non-toxic and mildly NOT leak.
-
Page 5: About The System 5
3 About the system ▪ Do NOT operate the unit with wet WARNING hands. In case the unit is equipped with a ▪ Do NOT place any objects containing refrigerant leakage sensor, turn off the water on the unit. unit using the ON/OFF button on the user interface only. -
Page 6: Daikin Eye Indication Lamp
10 seconds, it returns to the colour of the operation mode for 3 minutes. Example: When the timer is set during Signal transmitter cooling operation, the Daikin eye will periodically light orange for LCD display 10 seconds, and then switch to blue for 3 minutes. -
Page 7: Before Operation
4 Before operation Fan button Powerful button and Heat plus button 2 Press to set the current day of the week. Before operation 3 Press To turn on the power supply Result: blinks. 1 Turn the circuit breaker on. To insert the batteries 4 Press to set the correct time. -
Page 8: Operation Range
Indoor humidity ≤80% — Result: is displayed on the LCD. The Daikin eye A safety device might stop the operation of the system if the unit indication lamp changes colour according to the operation. See runs outside its operation range. -
Page 9: Airflow Direction
5 Operation Airflow direction When. Adjust the airflow direction as desired. What. The system directs the airflow differently, depending on the user selection. Setting Display Airflow direction Vertical auto Swinging or fixed position of the swing horizontal blades (flaps). Horizontal airflow [—] Position of the vertical blades (louvers) is set manually. -
Page 10: To Set Automatic Air Outlet Selection Or Top Air Outlet Only
5 Operation INFORMATION INFORMATION ▪ During drying operation the airflow comes from the top ▪ Floor warming operation can be used in heating air outlet only. See "5.2 Operation mode and operation mode only and with the automatic air outlet setpoint" [ 4 8] for setting. -
Page 11: Econo And Outdoor Unit Quiet Operation
5 Operation Display Operation Display Operation — Both deactivated — Both deactivated ▪ Powerful operation runs for 20 minutes; after that, operation 2 To stop operation, press until both symbols disappear returns to the previously set mode. from the LCD. ▪... -
Page 12: Hour Clock Off/On Timer Setting
Result: The set time and disappear from the LCD. and the 3 Press to confirm the setting. day of the week are displayed on the LCD. The Daikin eye stops Result: and/or and the set time are displayed on the LCD. lighting orange. -
Page 13: To Set Weekly Timer Operation
Weekly timer. Other settings are based on previous ON Result: The temperature and time are set for the ON timer. The timer setting. time is set for the OFF timer. The Daikin eye lights orange. Result: A new reservation screen will appear. 5.11.1... -
Page 14: To Confirm Reservations
This product cause electromagnetic Result: disappears from the LCD and the Daikin eye stops interference. lighting orange. ▪ Auto-control equipment. E.g. automatic doors or fire alarm 2 To reactivate the Weekly timer, press again. equipment. This product may cause faulty behaviour of the Result: The last set reservation mode will be used. -
Page 15: To Set The Wireless Connection
4 Press the WPS button on your communication device (e.g. router) within approximately 1 minute. Refer to the manual of your communication device. Result: If the connection was successful, the Daikin eye colour 2 Press to confirm the selection. alternates between blue and partly green. -
Page 16: Energy Saving And Optimum Operation
NEVER expose little children, plants or animals directly to the steps on the screen. the airflow. Result: If the connection was successful, the Daikin eye colour NOTICE alternates between blue and partly green. Do NOT place objects below the indoor and/or outdoor unit 5 Connect your smart device to the same home network as the that may get wet. -
Page 17: To Clean The Indoor Unit And Wireless Remote Control
7 Maintenance and service WARNING DANGER: RISK OF ELECTROCUTION ▪ The refrigerant inside the unit is mildly flammable, but Before cleaning, be sure to stop the operation, turn the normally does NOT leak. If the refrigerant leaks in the breaker OFF or pull out the supply cord. Otherwise, an room and comes in contact with fire from a burner, a electrical shock and injury may result. -
Page 18: To Remove The Filters
7 Maintenance and service 3 Remove the front panel. INFORMATION 4 Wipe it with a soft cloth soaked in water. ▪ If the dust does NOT come off easily, wash them with a 5 Let it dry in the shade after washing. neutral detergent diluted in lukewarm water. -
Page 19: To Re-Install The Front Panel
Turn OFF the power well. supply. To re-install the front panel The Daikin eye flashes and you can Notify your installer and 1 Insert the front panel into the grooves of the unit (3 places) and check the error code by the wireless report the error code. - Page 20 3P477071-2M 2022.09 Verantwortung für Energie und Umwelt...
Need help?
Do you have a question about the FVXM35A3V1B and is the answer not in the manual?
Questions and answers