Zoom H4n Instructions Manual
Hide thumbs
Also See for H4n:
- Operation manual (156 pages) ,
- User manual (7 pages) ,
- Quick start (3 pages)
Table of Contents
Advertisement
Advertisement
Table of Contents

Related Manuals for Zoom H4n


Summary of Contents for Zoom H4n
- Page 1 Digital Recorders as shown by the example of H4n and H4N Pro...
- Page 2 Digital Recorders 2022 IMPRESSUM Herausgeber: Radiofabrik - Verein Freier Rundfunk Salzburg Ulrike-Gschwandtner-Straße 5 A-5020 Salzburg www.radiofabrik.at Projektleitung: Alf Altendorf Redaktion: Carla Stenitzer Illustrationen & Layout: Annika Statkowski Übersetzungen: Ronnie Rohrecker Lizenz: CC BY–NC–ND Namensnennung – Nichtkommerzielle Nutzung – Keine Bearbeitung Gefördert aus den Mitteln des...
-
Page 3: Table Of Contents
DIGITAL RECORDERS STEP 1: ASSEMBLING THE DEVICE � � � � � � � � � � � � � � � � � � � � � � � � � � � � � � � � � � � � � 4 STEP 2: TURNING ON THE DEVICE AND FORMATTING THE SD-CARD �... -
Page 4: Step 1: Assembling The Device
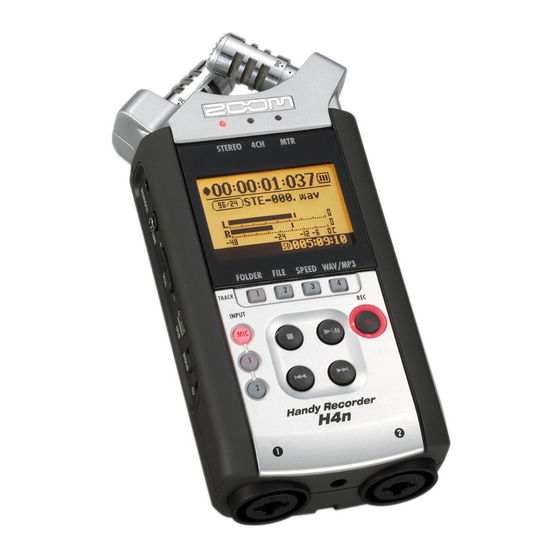
Mobile recorders can be used for recording audio without a studio and creating radio shows from lots of different locations. H4n and H4n Pro are both affordable devices with a wide array of functions. In this manual, we will use these devices as examples to describe the use of digital audio recorders. -
Page 5: Step 2: Turning On The Device And Formatting The Sd-Card
STEP 2: TURNING ON THE DEVICE AND FORMATTING THE SD-CARD All the way down on the left side of the device you will find the “On/Off” switch. Press it for 1-2 seconds until the display lights up. If this is your first time turning on the recorder, we would advise you to format the SD-Card in order to delete old recordings made by the people who used it before you. -
Page 6: Step 4: Choosing Your Mic
Audio format: Press the button all the way on the right under the display MP3s: small files; if they are marked “WAV/MP3”. processed a lot (e.g. EQ) the Choose either MP3 320kbps for small audio files of good quality or lower quality, as compared to WAV44.1kHz/24bit for an uncompressed audio file of excellent quality. -
Page 7: Step 6: Recording
You can adjust this level with the buttons mar- Important: Check the sound ked “Rec Level +/-” located on the right side level before every recording! of the device. If it’s clipping (“Input” buttons The spoken word should register between are flashing red), decrease the -12dB and -6dB. -
Page 8: Step 7: Transferring Files
There are also some handy tricks for the positioning of interviewers and interviewees: When positioning people, make sure that any interfering sources of noise (like roads, fridges, computers…) are off to the side. This way, both people can talk into the mic and the background noise from the side will be toned down by the handheld mic. -
Page 9: Troubleshooting
TROUBLESHOOTING The device won’t switch on? Are the batteries in? The right way around? Have they been charged? You can’t press any buttons? All that the display shows is the icon of a lock? That means that key lock is active. This happens when the “On/Off” switch is in the up position. -
Page 10: Tips For Recording
TIPS FOR RECORDING Before the Recording • Double check your recorder and the functions you’re gonna need (Do you have everything? Extra batteries? Do you need a tripod?). • Use wind screen/pop screen for indoor and outdoor mics • Outdoor interview: avoid busy roads, construction sites, crowds of people and other unwanted sources of noise/don’t record in their direction. - Page 11 After the Recording • Save the recording (by pressing “Stop”) and always turn off the mic. • Before giving back the equipment: save the files to your own compu- ter and delete them from the recorder! • Never transfer the files directly from the recorder to the editing pro- gram.
- Page 12 Digital Recorders / Seite 12...
Need help?
Do you have a question about the H4n and is the answer not in the manual?
Questions and answers