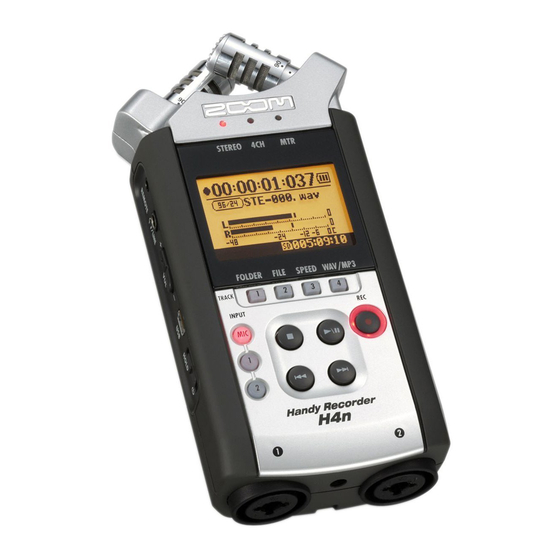
Zoom H4n Quick Start
Hide thumbs
Also See for H4n:
- Operation manual (156 pages) ,
- Instructions manual (12 pages) ,
- User manual (7 pages)
Advertisement
Zoom H4n QuickStart
Thrown together by David Tamés,
(v.5, September 29, 2020)
Part 1 walks you through using the Zoom H4n recorder for the first time using the built-in stereo microphone; Part 2 covers
recording with an external mono microphone for the first time; Part 3 covers recording with an external stereo microphone
for the first time. Refer to the
recorder. In this guide we will stick to the essential for location
sound recording, which is probably all you will need.
Warnings: The Zoom likes to consume batteries, so always have a
backup set of AA batteries available. The Zoom is a treacherous
device with a confusing menu structure and indicator system; as a
result, it's easy to do things like record mono when you want stereo
(and with the stereo light on!). The steps in this guide will help you
avoid these problems.
Part 1: Recording with the built-in stereo
microphone
1. In the battery compartment, set the Stamina switch to OFF.
When it's ON the range of configuration options is limited
and the menus are different, but we're going to to use some
features that require Stamina mode to be turned off.
2. Insert two fresh AA batteries in the battery compartment,
the door slides on and off, be careful with the battery door
since it is fragile, if you have a broken door secure it with a
piece of gaffer tape (not just any sticky tape).
3. Insert an SD card into the SD card slot (on the right side
panel) if a card is not already inserted. Before inserting the
card make sure the "write protect" tab is disabled, otherwise
you will not be able to format and write to the card.
4. Power on the recorder (switch is located on the left side
panel), slide it towards the power icon, do this again when
you want to turn off the recorder, holding the switch for a
couple of seconds, otherwise the recorder will not turn off.
5. Check the battery level indicator on the LCD display to make sure you're
starting with fresh batteries, if not, you should find an extra pair in the
kit (make sure of this when you check out the gear).
6. If the recorder is reporting "No card" try removing and replacing the
card. The H4n can be finicky with SD cards. Repeated removal and
insertion should resolve the issue. Make sure the contacts on the SD card
are clean and free of contaminants.
7. If the recorder is reporting "Card protected" then the write-protect tab
on the card is set to not allow recording, remove the SD card and disable
the write-protect tab.
8. Select MENU => SD CARD => FORMAT to format the SD card, it will ask if
you are sure just in case, this wipes out what was there so you can start with a fresh, empty
card. It's a good idea to always format prior to using the recorder so you don't have to deal
with other people's recordings on the device. This also reduces the chance of problems due to
a corrupt file system.
9. Select MENU => REC SETTINGS => REC FORMAT to set the recording format WAV 48KHz 16-
bit (WAV file format, 48KHz sampling rate, 16 or 24 bit-depth, in other words, you want
to record uncompressed audio following the digital video standard); Note: the decision
to record 16-bit or 24-bit depends on factors beyond the scope of this guide, in most
cases, either one is fine.
10. Select MENU => REC SETTINGS => FILE NAME => DEFAULT so that file names will start
with "STE" for stereo files and "MONO" for mono files; since it's easy with this recorder to
record in mono by mistake, file names on the LCD called STE provide confirmation you
are recording in stereo.
https://kino-eye.com/contact/
Zoom H4n Manual
(PDF) manual for more details on the operation and configuration of the
Advertisement
Table of Contents

Related Manuals for Zoom H4n


Summary of Contents for Zoom H4n
- Page 1 (v.5, September 29, 2020) Part 1 walks you through using the Zoom H4n recorder for the first time using the built-in stereo microphone; Part 2 covers recording with an external mono microphone for the first time; Part 3 covers recording with an external stereo microphone for the first time.
- Page 2 Zoom H4n QuickStart v.5 / 2 3 11. Select MENU => MODE => STEREO to set the recorder to Stereo Mode so that it will record two track audio files. This does not, in and of itself, mean it will record in stereo, the next step is very important.
- Page 3 Zoom H4n QuickStart v.5 / 3 3 an SD card reader to a unique folder in your media folder inside your project folder. The Microphone cables and iMacs in Shillman 205 and 225 have card readers on the back. connectors 26.
Need help?
Do you have a question about the H4n and is the answer not in the manual?
Questions and answers