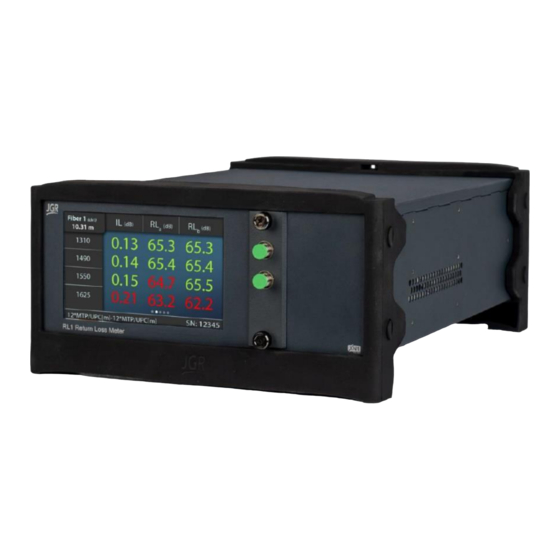
Summary of Contents for JGR XN1 RL1
- Page 1 Connecting XN1 Ready Products Directly to PC via Ethernet www.jgroptics.com © 2020 JGR Optics Inc. All Rights Reserved...
- Page 2 This guide will show you how to directly connect XN1 Ready products such as the RL1, SX1, PT1 and OA1 to PC via Ethernet. For more information, please visit www.jgroptics.com or email support@jgroptics.com www.jgroptics.com © 2020 JGR Optics Inc. All Rights Reserved...
- Page 3 The drivers are available on: https://www.ni.com/cs-cz/support/downloads/drivers/download.ni-visa.html 3. Connect your XN1 Ready device to PC using the following cables: USB 2.0 A (PC) to USB B (XN1 device) Ethernet RJ-45 cable Step 3. www.jgroptics.com © 2020 JGR Optics Inc. All Rights Reserved...
- Page 4 Connecting XN1 Ready Products Directly to PC via Ethernet 4. Open the XN1 Terminal software and click Detect Devices 5. Open the Connect to: dropdown menu and select your device on USB Step 4. Step 5. www.jgroptics.com © 2020 JGR Optics Inc. All Rights Reserved...
- Page 5 Enter (confirm communications) SYST:COMM:LAN:ADDR “192.168.99.24” then press Enter (set the static IP address) 7. In the Setup page on your device, confirm the IP address has been set Step 6. Step 7. www.jgroptics.com © 2020 JGR Optics Inc. All Rights Reserved...
- Page 6 Connecting XN1 Ready Products Directly to PC via Ethernet 8. Change your computer to a static IP Address. In Windows 10, go to Settings then click Network & Internet 9. Click Change adapter options Step 8. Step 9. www.jgroptics.com © 2020 JGR Optics Inc. All Rights Reserved...
- Page 7 11. Select Internet Protocol Version 4 (TCP/IPv4) and click on Properties 12. Select Use the following IP address: and enter the following information: 192.168.99.3 IP Address: 255.255.255.0 Subnet Mask: Default gateway: (Leave Blank) Step 10. Step 11. Step 12. www.jgroptics.com © 2020 JGR Optics Inc. All Rights Reserved...
- Page 8 Click Add device 15. You now have a terminal window connected to the device via Ethernet. The USB cable is no longer required and can be disconnected. Step 14. Step 15. Step 13. www.jgroptics.com © 2020 JGR Optics Inc. All Rights Reserved...
- Page 9 Connecting XN1 Ready Products Directly to PC via Ethernet 192.168.99.24 16. To access your device and check if your internal webserver is set correctly, enter any web browser (recommended: Google Chrome). The webpage should load within a few seconds. www.jgroptics.com © 2020 JGR Optics Inc. All Rights Reserved...
- Page 10 NOTE: To reset the Ethernet connection back to DHCP (default dynamic IP address) a) Log onto the device webpage by typing the IP address in any browser b) Go to Settings -> Network Settings c) Enable Use DHCP d) Click Save www.jgroptics.com © 2020 JGR Optics Inc. All Rights Reserved...


Need help?
Do you have a question about the XN1 RL1 and is the answer not in the manual?
Questions and answers