Table of Contents
Advertisement
Quick Links
Tools required for assembly (Not Included): Pliers, Philips & Flathead Screwdrivers and Adjustable Wrench.
⚫
This instruction manual contains important information necessary for the proper assembly and
safe use of the appliance.
⚫
Read and follow all warnings and instructions before assembling and using the appliance.
⚫
Follow all warnings and instructions when using the appliance.
⚫
Keep this manual for future reference.
Never use grill indoors. Carbon Monoxide poisoning that can lead to death.
OG2001901-GS English
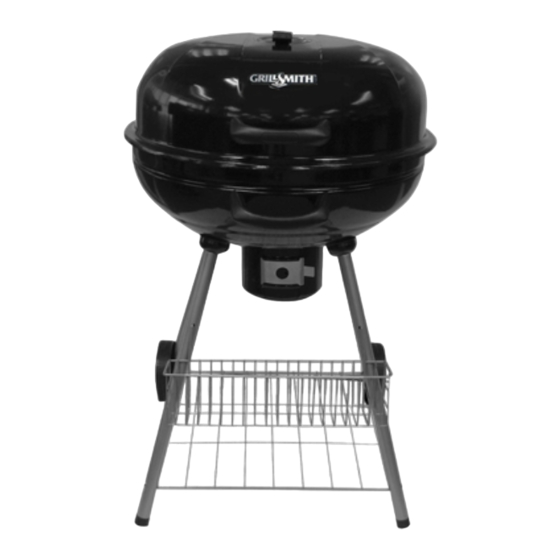
Pioneer 22.5 Inch Charcoal Grill
Owner's Manual
Assembly and Operating Instructions
Model # OG2001901-GS
WARNING
OUTDOOR USE ONLY!
1 of 17
20221107 Ver1
Advertisement
Table of Contents

Subscribe to Our Youtube Channel
Related Manuals for GrillSmith Pioneer OG2001901-GS


Summary of Contents for GrillSmith Pioneer OG2001901-GS
- Page 1 Pioneer 22.5 Inch Charcoal Grill Owner’s Manual Assembly and Operating Instructions Model # OG2001901-GS Tools required for assembly (Not Included): Pliers, Philips & Flathead Screwdrivers and Adjustable Wrench. ⚫ This instruction manual contains important information necessary for the proper assembly and safe use of the appliance.
- Page 2 WARNING ⚫ Only use this grill on a hard, level, non-combustible, stable surface (concrete, ground, etc.) capable of supporting the weight of the grill. Never use on wood or other surfaces that could ignite. ⚫ DO NOT use grill without charcoal grid in place. DO NOT attempt to remove charcoal grid while coals are hot.
-
Page 3: California Proposition 65 Warning
WARNING ⚫ When grilling, grease from meat may drip into the charcoal and cause a grease fire. If this should happen, close lid to suffocate the flame. Do not use water to extinguish grease fires. ⚫ Use caution when opening the lid, keeping hands, face and body a safe distance away. Flash flare ups may occur when air comes into contact with fire or hot coals. -
Page 4: Product Diagram
Thank You for Purchasing Pioneer 22.5 Inch Charcoal Grill Read all safety warnings & assembly instructions carefully before assembling or operating your grill. STOP! DO NOT RETURN TO RETAILER. For assembly assistance, missing or damaged parts, please call RANKAM customer service at 1–888–837–1380, 8:00 am to 5:00 pm, Pacific Standard Time, Monday –... -
Page 5: Components List
Components List 1. Air Vent 2. Lid 3. Warming Rack Part Number: MET-KG0001 Part Number: MET-KG0075 Part Number: MET-KG0003 4. Cooking Grate 5. Charcoal Grid 6.1L. Left Lid 6.1R. Right Lid Hinge Hinge Part Number: MET-KG0004 Part Number: MET-KG0005 Part Number: Part Number: MET-KG0006 MET-KG0007... -
Page 6: Hardware List
Hardware List Bolt (M6 x 10) 8pcs Bolt (M5 x 12) Attention: This bolt is pre-assembled Bolt (M6 x 24) on each grill leg. 4pcs Nut (M6) 14pcs Nut (M5) Nut (M8) 2pcs Washer (M6 x 12mm Dia.) 14pcs Washer (M6 x 19mm Dia.) 4pcs Washer... -
Page 7: Assembly Instruction
Assembly Instruction Step 1: Assemble Leg Bowl (8), Front Leg (13) and Back Leg (10) to Grill Body (7) by inserting 4pcs bolt (C) and 4pcs washer (I). Step 2: Insert the short end of Wire Rack (11) into the hole of Front Leg (13) by using 2pcs washers (G) and 2pcs nuts (D). - Page 8 Step 3: Align holes in Left Lid Hinge (6.1L) with holes in Left Body Hinge (6.2L), insert hinge pin (K) to connect hinges and insert cotter pin (L) in holes of hinge pin. Repeat this step for Right Lid Hinge and Right Body Hinge (6.1R & 6.2R). Assemble the Left and Right Hinge to Grill Body (7) by inserting 4pcs bolts (A), 4pcs washers (G) and 4pcs nuts (D).
- Page 9 Step 5: Attach the Lid (2) to the Hinge by using 4pcs bolts (A), 4pcs washers (G) and 4pcs nuts (D). Step 6: Place Charcoal Grid (5) and Cooking Grate (4) into the Grill Body. Insert the end of the Warming Rack (3) into holes of the Grill Body and Lid. Attach Ash Catcher Handle (9B) to Ash Catcher (9A) by using 2pcs bolts (M).
- Page 10 Step 7: 1. Attach the Condiment Rack (15) to Front Legs. 2. Tighten All Hardware. Step 8: Finished. 10 of 17 OG2001901-GS English 20221107 Ver1...
-
Page 11: Preparation For Use & Lighting Instructions
WARNING DO NOT use grill without charcoal grid in place. DO NOT attempt to remove charcoal grid while grill contains hot coals. WARNING Place the grill outdoors on a hard, level, non-combustible surface away from roof overhang or any combustible material. Never use on wood or other surfaces that could burn. Place the grill away from open windows or doors to prevent smoke from entering your house. - Page 12 NOTE: To extend the life of your grill, make sure that hot coals and wood do not touch the walls of grill. IF USING CHARCOAL CHIMNEY STARTER, PROCEED TO STEP 5. If you choose to use charcoal lighting fluid, ONLY use charcoal lighting fluid approved for lighting charcoal. Do not use gasoline, kerosene, alcohol or other flammable materials for lighting charcoal.
- Page 13 WARNING DO NOT use grill without charcoal grid in place. DO NOT attempt to remove charcoal grid while grill contains hot coals. NOTE: To extend the life of your grill, make sure that hot coals and wood do not touch the walls of grill.
-
Page 14: Flavoring Wood
Flavoring Wood To obtain your favorite smoke flavor, experiment by using chunks, sticks or chips of flavor producing wood such as hickory, pecan, apple, cherry, or mesquite. Most fruit or nut tree wood may be used for smoke flavoring. Do not use resinous wood such as pine as it will produce an unpleasant taste. Wood chunks or sticks 3”... -
Page 15: After-Use Safety
Step 4 When charcoal is burning strong again, wear oven mitts / gloves and carefully return charcoal grid to grill body with lifter. Extinguish any hot ashes, coals or embers which may have fallen from the grill or beneath and around grill. AFTER-USE SAFETY WARNING ⚫... -
Page 16: Limited Warranty
LIMITED WARRANTY 1. Manufacturer warrants this Product to be free from defects in workmanship and materials for a period of 90 days from the date of purchase, PROVIDED claims are submitted, in writing, with proof of purchase. 2. If any part of this item fails because of a manufacturing defect within the Limited Warranty Period, Manufacturer offers to replace such part(s) provide that such parts have not been improperly repaired, altered, or tampered with or subject to misuse, abuse or exposed to corrosive conditions. - Page 17 17 of 17 OG2001901-GS English 20221107 Ver1...
Need help?
Do you have a question about the Pioneer OG2001901-GS and is the answer not in the manual?
Questions and answers
Where can I purchase a replacement? Cooking Grate Part Number: MET-KG0004