Advertisement
Available languages
Available languages
SENSITRON
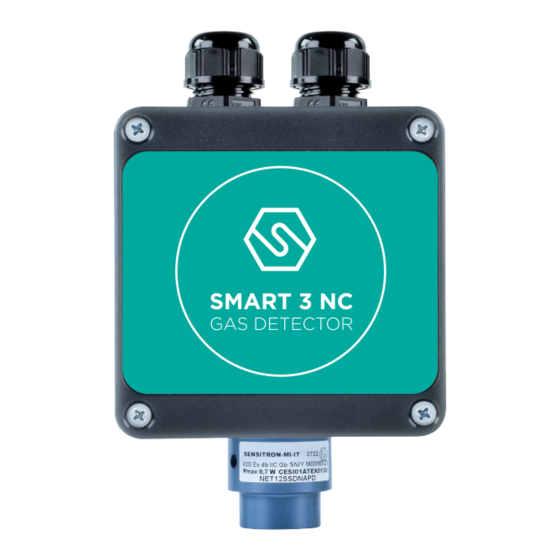
SMART 3 NG
A Halma Company
Quick Guide
Manuale installazione rapido / Short installation manual
MT4811 rev.2 05/08/2022©
Sensitron S.r.l., Viale della Repubblica 48, Cornaredo (MI)
sales@sensitron.it
TEL. +390293548155 FAX. +390293548089
SMART 3 NC
MT4811
SENSITRON S.R.L. - All rights reserved - www. sensitron.it
Advertisement
Table of Contents

Related Manuals for Halma Sensitron SMART 3 NC


Summary of Contents for Halma Sensitron SMART 3 NC
- Page 1 SENSITRON SMART 3 NG MT4811 A Halma Company Quick Guide SENSITRON S.R.L. - All rights reserved - www. sensitron.it SMART 3 NC Manuale installazione rapido / Short installation manual MT4811 rev.2 05/08/2022© Sensitron S.r.l., Viale della Repubblica 48, Cornaredo (MI) sales@sensitron.it...
-
Page 2: Etichetta Identificativa
SENSITRON MT4811 Quick Guide (IT) A Halma Company SMART 3 NC P. 2/10 Il presente manuale è una rapida guida all’installazione dei rilevatori della serie SMART3 NC, impiegati per rilevare la presenza di sostanze combustibili (%LEL) e tossiche (ppm) in aree sicure. Si raccomanda la lettura dello specifico manuale del rilevatore. - Page 3 SENSITRON MT4811 Quick Guide (IT) A Halma Company SMART 3 NC P. 3/10 Manuali accessori Scheda RS485 Scheda 3 relè Scheda 1 relè Protocollo modbus Tastierino di calibrazione Kit di calibrazione Display LED Display OLED Predisposizione sito Durante le operazioni di montaggio e installazione, gli impianti devono essere messi in sicurezza.
-
Page 4: Installazione
SENSITRON MT4811 Quick Guide (IT) A Halma Company SMART 3 NC P. 4/10 Installazione MODALITÀ PER IL CORRETTO MONTAGGIO Il rivelatore deve sempre essere installato con l’elemento sensibile (testa di rivelazione) rivolta verso il basso. Il contenitore del rivelatore per nessuna ragione deve essere forato.Per il fissaggio a muro, utilizzare i tasselli da 6x40... - Page 5 SENSITRON MT4811 Quick Guide (IT) A Halma Company SMART 3 NC P. 5/10 Collaudo e uso ACCENSIONE Al momento in cui il rivelatore viene alimentato, si accende ad intermittenza lenta il LED rosso sulla scheda base. L’uscita in corrente è 1,5 mA circa.
-
Page 6: Identification Label
SENSITRON MT4811 Quick Guide (EN) A Halma Company SMART 3 NC P. 6/10 This manual is a short installation guide for gas detectors of SMART3 NC series, used to detect the presence of combustible (%LEL) and toxic (ppm) gases in non classified areas. - Page 7 SENSITRON MT4811 Quick Guide (EN) A Halma Company SMART 3 NC P. 7/10 Accessories manual links RS485 board 3 relays board 1 relays board Modbus protocol Calibration kaypad Calibration Kit Display LED Display OLED Installation site At the mounting and installation phase be sure all safety precautions have been considered.
-
Page 8: Installation
SENSITRON MT4811 Quick Guide (EN) A Halma Company SMART 3 NC P. 8/10 Installation CORRECT POSITIONING MODE The gas detector is always to be mounted with the sensing element placed downward. For no reasons at all the enclosure can be drilled. During installation step, the user has to fix the detector with two plugs of 6x40 mm. - Page 9 SENSITRON MT4811 Quick Guide (EN) A Halma Company SMART 3 NC P. 9/10 Testing and use POWER ON When the detector is powered on, the red LED on the motherboard starts blinking at slow intermittence. Output current is nearly 1.5 mA.
- Page 10 SENSITRON SMART 3 NG MT4811 A Halma Company Quick Guide SENSITRON S.R.L. - All rights reserved - www. sensitron.it Contatti/Contacts Viale della Repubblica, 48 20007 Cornaredo (MI) – ITALY +39 0293548155 sales@sensitron.it sensitron.it Sensitron S.r.l. MT4811 Sensitron S.r.l., Viale della Repubblica 48, Cornaredo (MI) sales@sensitron.it...
Need help?
Do you have a question about the Sensitron SMART 3 NC and is the answer not in the manual?
Questions and answers