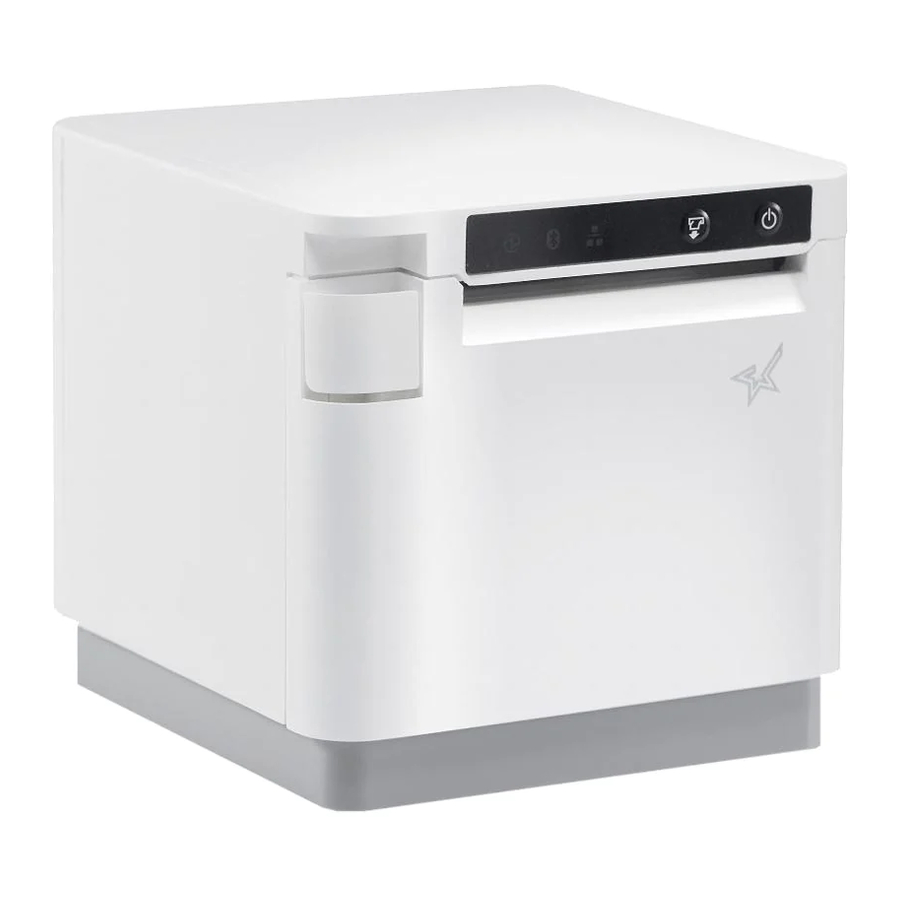
Star mC-Print3 MCP31CB Quick Setup Guide
- Setup (11 pages) ,
- Easy setup manual (2 pages) ,
- Command specifications (173 pages)
Advertisement
Introduction
This document explains the procedure for use of mC-Print3. Please store it carefully after reading it.
Check the Supplied Accessories
If any of the package contents are missing or damaged, contact the dealer where the product was purchased.
* Accessories vary depending onthe region where the printer was purchased

 What the utility can do
The utity can be used to change the settings ofthe printer and peripheral devices
Examples:
- Bluetooth® pairing
- Memory switch changes. logo registration
- Bluetooth settings, LAN settings
- Checking f connected device supports USB PD (Power Delvery)
- Firmware update/diagnosis
- Sample printing etc.
- To use the utility, download it from the site.
mC-Print3 Utility Download
www.star-m.jp/mcprint-app.html
![]()
- To perform setup using this manual, proceed to Step 1.

Installing the Printer
- Installing the paper roll
Pull the open lever![]() and open the printer cover
and open the printer cover ![]() .
.

Take the slack of the paper roll before paper setting, insert the paper roll as shown in the illustration.

Pull the end of the paper roll out straight![]() , and use both hands to close the printer cover
, and use both hands to close the printer cover ![]() .
.

![information]() When using a 58 mm roll, install the provided paper roll guide.
When using a 58 mm roll, install the provided paper roll guide.
With the notch part A (triangle mark) of the paper roll guide facing down, angle the guide to the right and insert it![]() .
.
Position so that the notch part A is aligned with the main unit rib B, then slide the guide from the right![]() .
.

When the slid paper roll guide stops, stand it up vertical![]() , and press until it clicks into place
, and press until it clicks into place ![]() .
.

To change the paper width, it is necessary to change the memory switch setting. For details, refer to the Online Manual.

 .
.

 ,
, 

 .
. .
.


- Turning ON the main unit power
Place your nails into the gaps in the right and left sides of the rear cover on the back of the printer, and then remove the cover.

Connect the power cable to the AC adapter![]() , and connect the cable connector to the printer as shown in the illustration
, and connect the cable connector to the printer as shown in the illustration ![]() . Insert the plug into the outlet
. Insert the plug into the outlet ![]() .
.

Press the power button![]() and confirm that the LED (blue) illuminates
and confirm that the LED (blue) illuminates ![]() .
.
![]()


-
Connecting a Tablet or PC to the Printer
-
Connecting an Android terminal to the printer
-
Bluetooth interface
Open the smartphone/tablet Settings - Connection screen and select Bluetooth.

Turn on Bluetooth. Select the displayed device USB PD (Power Delivery). Follow the procedure below and switch the USB-C name (mC-Print3-XXXXX). mC-Print3-XXXXX mC-Print3-XXXXX function to "Data only".
 The device name that is displayed during pairing varies depending on the product. It can be checked from ***Bluetooth Information*** [Dev Name] in the list that is printed at printer test printing (For test printing, turn power ON while holding down the FEED button.)

When the selected device name is displayed in "PAIRED DEVICES", pairing is completed.

USB interface
You will need:
- USB cable (C-C provided with the printer
![]()

Connect the USB cable to the printer USB-C® connector  .
.

Connect the other plug to the smartphone/tablet  .
.

 If your Android device cannot connect to the printer, it may not support USB PD (Power Delivery). Follow the procedure below and switch the USB-C function to "Data only".
Wired LAN interface
You will need:
-
Commercially-available LAN cable
![]()

Connect the LAN cable to the printer LAN connector  .
.

Connect the other plug to the connector of the router, hub, or other LAN device  .
.


DHCP is enabled by default for the the wired LAN settings. To continually use the same IP address, set a static IP 2 address before use.
For the static IP address setting procedure, refer to the Online Manual.
 Switching the USB-C function manually (For using the USB interface)
If the communication connection is not successful, follow the procedure below and switch the USB-C function.

- Turn on the printer power.
- Pull the open lever, and then open the printer cover.
- Press the FEED button for 5 seconds (LED red flashes).
- Press and release the FEED button to select the USB-C function.
LED USB-C function Description of test printing Red flashing Data only USB-C: Data Only Blue flashing Power supply only USB-C: Power Supply Only Purple flashing Power supply and data USB-C: Power Supply / Data -
Close the printer cover, and then save the selected function in step
![]() .
. -
Check the status of the saved function on the test printing.
-
Connecting a Windows tablet or PC terminal to the printer
Installing the Windows driver

- Download [mCollection Printer Software].
- Extract the downloaded software and execute "Setup.exe".
- Follow the wizard instructions and complete software installation. settings and perform an operation test.
The Windows driver is included in the mCollection Printer Software. The mCollection Printer Software can be used to configure the printer settings and perform an operation test.
Download the StarPRNT for mCollection Windows driver

www.star-m.jp/mcprint-wsw.html
Bluetooth interface
Windows 10
*For the procedures on Windows 7 or 8.1, refer to the online manual.
Open Settings  and select [Devices] - [Bluetooth & other devices].
Turn on Bluetooth.

Select [Printers & scanners] - [Add printer or scanner].

Select the displayed device name (mC-Print3- XXXXX) and click or tap [Add device].
The device name that is displayed during pairing varies depending on the product. It can be checked from ***Bluetooth Information*** [Dev Name] in the list that is printed at printer test printing (For test printing, turn power ON while holding down the FEED button.)

When the device appears in "Printers & Scanners", pairing is completed.

After a few moments, the message "Driver is unavailable" will be displayed, however pairing is completed.
USB interface
You will need:
- USB cable (C-C) provided with the printer
![]()

Be sure to install the Windows driver before connecting the USB cable.
Connect the USB cable to the printer USB-C connector  .
.

Connect the other plug to the connector of the Windows tablet/PC  .
.

 If your Windows device cannot connect to the printer, it may not mCollection Windows driver support USB PD (Power Delivery).
Refer to "Switching the USB-C function manually" on the front page of this manual, and then switch the function to "Data only".
Wired LAN interface
You will need:
- Commercially-available LAN cable
![]()

Connect the LAN cable to the printer LAN connector  .
.

Connect the other plug to the connector of the fore connecting the USB cable. router, hub, or other LAN device  .
.


DHCP is enabled by default for the wired LAN settings. To continually use the same IP address, set a static IP address before use.
For the static IP address setting procedure, refer to the Online Manual.
-
Connecting a Mac/Linux terminal to the printer
Download the Mac CUPS driver or Linux CUPS driver.
For details, refer to the Online Manual.
- Download the Mac CUPS driver
www.star-m.jp/mac-cps.html - Download the Linux CUPS driver
www.star-m.jp/linux-cps.html
-
Connecting the iOS device and the printer via wired LAN
USB/Bluetooth connection with iOS devices is not supported.
Wired LAN interface
You will need:
- Commercially-available LAN cable
![]()
Image of connection


DHCP is enabled by default for the wired LAN settings. To continually use the same IP address, set a static IP address before use.
For the static IP address setting procedure, refer to the Online Manual.
Connect the LAN cable to the printer LAN connector  .
.

Connect the other plug to the connector of the router, hub, or other LAN device  .
.

Installing the rear cover
- Installing the rear cover onto the back of the printer
Press the hooks A at the bottom of the rear cover into the notches in the printer main unit![]() , then fit the hooks B on the left and right of the rear cover into the printer main unit until they click into place
, then fit the hooks B on the left and right of the rear cover into the printer main unit until they click into place ![]() .
.

- Initializing the communication settings (For Bluetooth and Wired LAN Interface)
If the communication connection is not successful, follow the procedure below and initialize the communication setting.
After initialization, perform connection again starting from the beginning of 3-A, B, or D.
<Procedure>
Check that the printer power is OFF. Insert a pen with a small tip or similar item and press the RESET switch on the back![]() .
.
At the same time, press the power switch on the front of the printer until the POWER LED turns on (power ON)![]() .
.
Keep pressing RESET switch until the Network LED (green) on the front of the printer flashes![]() .
.
Press the FEED button![]() and select the type of communication setting to initialize*, then press and hold the FEED button
and select the type of communication setting to initialize*, then press and hold the FEED button ![]() to confirm.
to confirm.

![]()
Initializing the wired LAN settings ![]()
Initializing the Bluetooth settings ![]()
Initializing the wired LAN and Bluetooth settings


Documents / Resources
References
![www.star-m.jp]() Global Support Site - Star Micronics Global Support Center
Global Support Site - Star Micronics Global Support Center![www.star-m.jp]() Global Support Site - Star Micronics Global Support Center
Global Support Site - Star Micronics Global Support Center![www.star-m.jp]() CUPS Driver for macOS - Global Support Center
CUPS Driver for macOS - Global Support Center![www.star-m.jp]() CUPS Driver for Linux - Global Support Center
CUPS Driver for Linux - Global Support Center
Download manual
Here you can download full pdf version of manual, it may contain additional safety instructions, warranty information, FCC rules, etc.
Advertisement


Need help?
Do you have a question about the mC-Print3 and is the answer not in the manual?
Questions and answers