Advertisement
Table of Contents
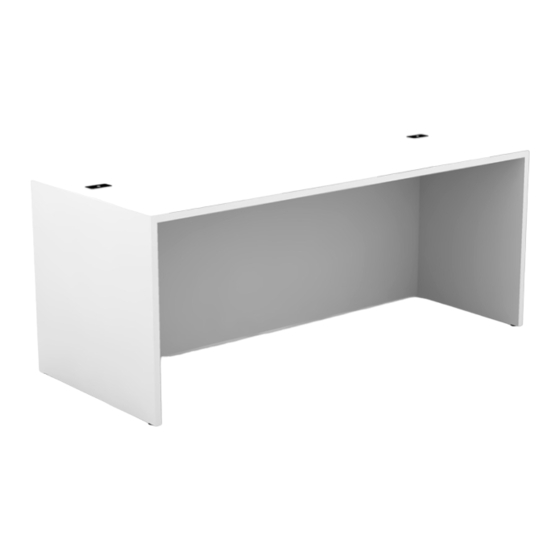
PARTS INCLUDED
A
HARDWARE INCLUDED
12X
12X
TOOLS REQUIRED
#2 Phillips screwdriver
DISCLAIMER
•
Two people are recommended for the assembly of this product.
•
Use hardware provided and tools recommended to avoid any product faults.
•
Always assemble product on a clean soft surface to avoid scratching.
B
12X
DESK SHELL
ASSEMBLY INSTRUCTIONS
C
If desk has a data modesty back,
then extra brackets are required
2X
D
8X
1
Advertisement
Table of Contents

Subscribe to Our Youtube Channel
Related Manuals for Belair SHELL


Summary of Contents for Belair SHELL
- Page 1 DESK SHELL ASSEMBLY INSTRUCTIONS PARTS INCLUDED If desk has a data modesty back, HARDWARE INCLUDED then extra brackets are required TOOLS REQUIRED #2 Phillips screwdriver DISCLAIMER • Two people are recommended for the assembly of this product. • Use hardware provided and tools recommended to avoid any product faults.
- Page 2 DESK SHELL STEP 1 Lay top A upside down to start. Connect gable D to top as shown. Tighten all hardware except for cam closest to back connection. STEP 1 Attach back B . Fasten all pins and cams connected to gable.
- Page 3 DESK SHELL STEP 4 If desk back is a 10” data modesty, then L brackets with screws will be provided to add extra stability to the desk. Attach one L bracket to both sides of the back to ends.
Need help?
Do you have a question about the SHELL and is the answer not in the manual?
Questions and answers