Advertisement
Quick Links
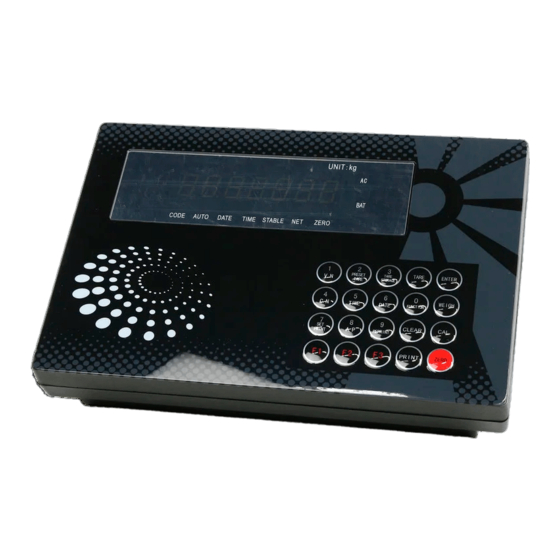
XK3118K9-R
WEIGHING INDICATOR
USER MANUAL
JAN. 2011
Please read this manual carefully before use
●
Please keep this manual properly for reference
●
INDICATOR USING NOTES
▲ The load cell and indicator should be reliably connected. The shield cable of load cell should
be reliably grounded.
▲ All of the wire connections are not allowed to plug in or out when the indicator is in the electrify
status to avoid the static electricity damaging the indicator or load cells.
▲ Load cell and indicator are static sensitive devices, so static-proof measures should be taken
▲ In the season of thunder, credible thunder-proof measures should be taken, in order to avoid
devices' damage and operators' physical safety.
▲ Do not use in the areas of flammable or explosive gases, and pressure vessel.
▲ The indicator and load cells should be far away from strong electric field, magnetic field,
Advertisement

Related Manuals for KeLi XK3118K9-R


Summary of Contents for KeLi XK3118K9-R
- Page 1 XK3118K9-R WEIGHING INDICATOR USER MANUAL JAN. 2011 Please read this manual carefully before use ● Please keep this manual properly for reference ● INDICATOR USING NOTES ▲ The load cell and indicator should be reliably connected. The shield cable of load cell should be reliably grounded.
- Page 2 Note: the printing version maybe a little different from the real products due to new function improvement, please contact our company for the latest E-Version Dear User, Thank you very much to choose Keli products. Please read the user manual carefully before use...
-
Page 3: Installation
1)Technical Parameter Execute Standard: GB/T 7724-2008 n=3000 Accuracy Class: pi =0.5 ≥1.5uV/e Input Sensitivity: adopt Δ-Σ technology, 24bit A/D Conversion Mode: DC +5V, 1 to 12pcs 350Ω resistance stain gauge load cell can be connected. Load Cell Bridge Voltage: Load Cell Connection Mode:6 wires (long distance compensation, compensation distance ≤50 meters) Display:... - Page 4 ▲ During the thunder storm season, proper lightning protection should be taken to ensure the operator and the weighing device safety. 2.3 Connection to Printer Instruction Description Code 8 digits parallel data “Busy” signal BUSY Connect to ground Printing Notice: Printing Function can only be used after correct set-up;...
-
Page 5: Operation
Under Weighing Status INPUT SET PASSPORT Display Display Input“1” Display Press[Set Print] [P000000] [Adr **] 98+ [ENTER] [bt *] + [Enter]★ Input “1” Input “0” Setting Complete Display [tF *] Back to weighing Status + [Enter]★ + [Enter]★ ★1: Choose Communication Address 01~26 ★2: Serial Communication Baud Rate( 0~4 ) stands for Baud Rates separately:600,1200,2400,4800,9600 ★3: Serial Communication Mode( 0~1 ):0—Continuous sending mode,... - Page 6 3.6 Inner Code Display Under weighing display state, press [SET PRINT] key, then input [2][8], the indicator will start code display state, and the light of code display bright press [WEIGH] can exit from code display state., and the code display light turn off.
- Page 7 Display Input“0” Display Input“0” Display Input“0011” Print Parameter [y ****] [odE *] + [Enter] [dct *] + [ENTER] + [ENTER] Setting End ★ ★ ★ Back to weighing Status ★1:Choose auto or manual printing (0-Manual 1- Auto) ★2:Choose printer type。The tens digit is default 0,please do not change. You can choose the printer type by changing the single digit value:0—no printer connection;1--TPup16 micro printer(English);...
- Page 8 Ways to input memory tares 3.11 The indicator can long time keep 200pcs tare value. Three ways to input tare data: Input tare in digit: (*:is original setting value) 1、 Remarks Step Operation Display Press [Vehicle No.] In the state of weighing Enter vehicle [o *****]...
- Page 9 PROM is changed for please input the former calibration setting and turn on the indicator or calibrate it again. Connection Error Notice Display Note Lack of paper, printer connection error or printer error. Please press any key Err P to exit. Please add paper, reconnect the printer or change with a new printer :Serial communication data mode Appendix 1 All data are the ASCII code.
- Page 10 No. X Byte Contents and Notes 02(XON) Start A~Z Address Serial No. A~I Command A:Handshake Command B:Send Gross Weight Command C:Send Tare Command D:Send Net Weight Command E:Send Vehicle Command F:Send Cargo No. Command G:No Data Command H:No Data Command I:No Data Output Corresponding Data according to the Commands :...
- Page 11 Gross 8.000(kg Gross 8000(kg) Gross 8000(kg) Tare 1.300(kg Tare 1300(kg) Tare 1300(kg) Weight Weight Weight Net Weight 6.700(kg Net Weight 6700(kg) Net Weight 6700(kg) Record Format: Weight Bill Data:08-08-08 Serial No. Time Vehicle Cargo Gross Tare(kg) Net Weight(kg) 0001 20.08.00 12345 Weight(kg) 8000...
- Page 12 Appendix 4: Example for Printing Operation I. Once Manual Preset Tare Printing Weight Bill Step Condition Operation Display Instructions Cargo Loading Press[Tare [P00.000] Preset] Send Preset Such as[1000] [P1. 000] Tare Weight Press[Enter] [ *****] Tare off Press[Print] [o *****] Former Cargo No.
- Page 13 IV. Preset Tare Auto Printing Weight Bill Steps Condition Operation Display Instructions Press[Print [Auto *] Choose 1 for auto printing Setting] Press[1] [Auto 1] Press[Enter] [type *] Hereinafter need amend Press[Weighing] [ 0000 ] Back to weighing status Press[Preset [P ***] Tare] Tare Presetting Send...
- Page 14 weight Press[Print] [o *****] Required Cargo no. Press[Enter] Former Cargo no. Send New Cargo Such as[ 11 ] If same as former Cargo then press [Enter] directly. No need to send new Cargo no. Press[Enter] [ Prnt ] Print weight bill There is minus on Press[Tare] [ 000 ]...
-
Page 15: Appendix 5:Packing List
Appendix 5:Packing List S/N. Name and Specifications Quantity Remarks Weighing Indicator User Manual Calibration Manual Eligible Certificate 9 Pin D Type Connector(Pin) 9 Pin D Type Connector Plastic Cover Fuse 0.5A Two head AC cable 6V/10Ah Battery Optional Φ2.1 Plug battery connector wire Optional...
Need help?
Do you have a question about the XK3118K9-R and is the answer not in the manual?
Questions and answers