Advertisement
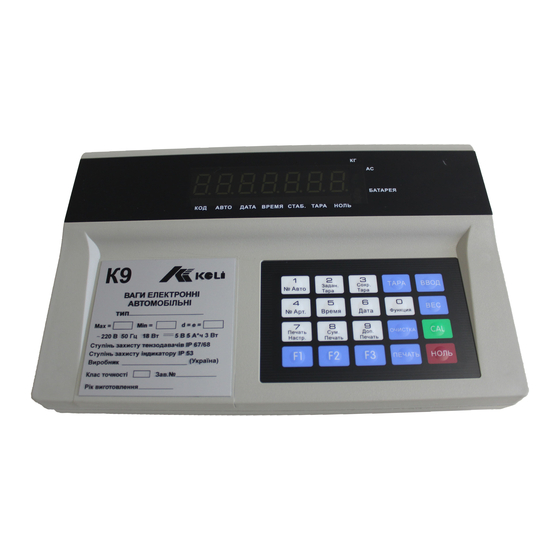
XK3118K9 Weighing Indicator Calibration Manual
I. Main Technical Parameters:
Load cell excitation: DC +5V, can connect 1~12 pieces of 350 ohm strain gauge type load cells
Minimum input voltage of each calibration division value: ≥1.5uV/e
Error Distribution coefficient: p
Load cell connection mode: 6 wires (long wire auto compensation), compensation distance ≤50 meter
Power supply: AC 110-220V, 50-60Hz,
DC 6V/10Ah free maintenance lead-acid battery, can be charged by the indicator
II. Analog Load Cell Connection:
E+ with F+, E- with F- must be short connected if you use 4 wire shield cable.
III. Calibration
Indicator enters weighing status after self-check. When calibration is needed, open the cover of calibration case on the
back side of indicator, press the calibration touch switch. Then the beep sounds and calibration lamp lights up, which
indicates that the calibration mode can be entered. Then press the calibration button on the front panel. Then the
calibration lamp goes out and enters calibration mode. Detailed calibration steps are as below:
Step
Operation
1
Press【Calibration】
Press 【 1】 【0】
2
【Input】
Press 【 0 】
3
【Input】
Press【1】 【2】 【2】 【4】
4
Press【Input】
Press【3】 【0】 【0】 【0】
【0】
5
Press【Input】
6
Press【Input】
★★★!!! When indicator displays 【noLoAd】, press 【Weigh】button, skip zero calibration, enters to
Press【2】 【0】 【0】 【0】
【0】
7
Press【Input】
=0.5
i
Display
After calibration is finished or interrupted, if need to calibrate again,
【d
*】
the calibration switch should be pressed one more time.
Input division, 1/2/5/10/20/50/100 optional, (factory default setting:
10)
Press
If need compensation calibration, press 【0】press【Input】enters
【d
10】
to step 7, indicator displays 【AdloAd1】, input weight value of
weights loaded, press 【Input】to confirm
Press
Input decimal bits ( 0~4 ), default setting: no decimal 0
【dC 0 】
Input system parameter (details reference to the table below) (factory
default setting: 01224)
【Pn 01224】
V: application (0: non-business scale 1: business scale)
〖0 1 2 2 4
W: stability range
Corresponding
X: zero tracing range
VWXYZ 〗
Y:manual zero-setting range
Z:power on zero-setting range
Input full capacity value (factory default setting:3000)
If need calibration, input F value,then press 【Input】;if press【input】
directly then it enters to step 8;if press【weight】,return back to
【F 30000】
weighing status.
(note: full capacity value add 9 division value equals to system preset
Zero position confirmation, no object on the scale, press 【Input】 after
【 noLoAd】
stability symbol light becomes bright
compensation calibration directly
Add weights, not less than 50% of full capacity, more accurate when it
【AdloAd1】
is near full capacity.
【 20000】
e.g.:20000
Pins
1
2
6
7
8
9
5
overload alarming value.)
Specification
Name
Excitation -
Feedback -
Excitation +
Feedback +
Signal -
Signal +
Shield
Remarks
Code
E-
F-
E+
F+
S-
S+
SHIELD
Advertisement
Table of Contents

Related Manuals for KeLi XK3118K9


Summary of Contents for KeLi XK3118K9
- Page 1 XK3118K9 Weighing Indicator Calibration Manual I. Main Technical Parameters: Load cell excitation: DC +5V, can connect 1~12 pieces of 350 ohm strain gauge type load cells Minimum input voltage of each calibration division value: ≥1.5uV/e Error Distribution coefficient: p =0.5 Load cell connection mode: 6 wires (long wire auto compensation), compensation distance ≤50 meter...
- Page 2 Press【Input】to confirm after the stability symbol light becomes bright Press 【 1】 Press Communication address ( 01~26 ) (factory default setting: 1) 【Adr 01】 【Input】 Press 【 1】 Press Serial communication baud rate ( 0~4 ), respectively corresponds to 【bt 1】...
- Page 3 “888888”. If the due period of use is expired and password is lost. The indicator can be unlocked by random password. Detailed operation is as below. Function Operation Input 【 1】 to display 【SECU 1】 →Press 【Input】 to display 【P000000】 →Input 【 888888】 →Press【INPUT】to display 【N888888】→...
Need help?
Do you have a question about the XK3118K9 and is the answer not in the manual?
Questions and answers