
Related Manuals for SUMERAIN S1400CI


Summary of Contents for SUMERAIN S1400CI
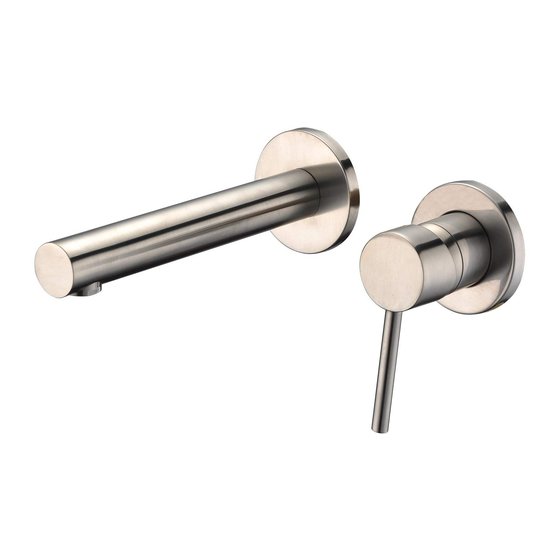
- Page 1 Version: 2.0 INSTALLATION GUIDE WALL MOUNTED VESSEL BATHROOM SINK FAUCET MODEL FINISH S1400CI CHROME S1400NI BRUSHED NICKEL S1400DI MATTE BLACK S1400BGI BRUSHED GOLD SUMERAIN SANITARY GROUP WWW.SUMERAIN.COM...
-
Page 2: Before Proceeding
THANK YOU Dear Valued Customer, SUMERAIN would like to take this opportunity to thank you for purchasing SUMERAIN products. It is our sincere hope that you are completely satisfied with your new purchase. All SUMERAIN products are carefully engineered, and factory tested to provide long trouble-free use under normal conditions. This product is easy to install using basic tools and our easy to follow illustrated instructions. -
Page 3: Limited Lifetime Consumer Warranty
This warranty covers only your SUMERAIN manufactured product. SUMERAIN warrants this product against defects in material or workmanship as follows: SUMERAIN will repair at no charge for parts only or, at its option, replace any product or part of the product that proves defective because of improper workmanship and/or material, under normal installation, use, service and maintenance. - Page 4 SUMERAIN product, or this warranty, please call or email us at +86-750-2731579, supports@sumerain.com FUNCTIONS AND SPECIFICATION Function Bathroom Sink Faucets Feature Wall mount Theme Modern ,Contemporary Configuration Vessel...
- Page 5 DIMENSION FRONT VIEW OF FAUCET SUMERAIN SANITARY GROUP WWW.SUMERAIN.COM...
- Page 6 LEFT SIDE VIEW OF FAUCET SUMERAIN SANITARY GROUP WWW.SUMERAIN.COM...
- Page 7 Bonnet nut 1PCS 1400003 1400004 Escutcheon 1PCS Escutcheon 1PCS 1400005 1400006 Escutcheon 1PCS Spout 1PCS 1400007 1400008 Handle(Lever) 1PCS Set screw 1PCS 1400009 1400010 Screw cover 1PCS Allen wrench 1PCS 1400011 1400012 Supply nipple 1PCS 1400013 SUMERAIN SANITARY GROUP WWW.SUMERAIN.COM...
-
Page 8: Installation Steps
INSTALLATION STEPS 1. BEFORE PROCEEDING WARNING: Read all the instructions completely before proceeding.SUMERAIN recommends calling a professional if you are uncertain about installing this product!, this product should be installed in accordance with all local and state plumbing and building codes. - Page 9 If any of these items are missing, please contact SUMERAIN consumer service at +86-750-2731579 or email to: supports@sumerain.com 4. VALVE TRIM SET INSTALLATION 4.1 Make a mounting rack (normally use woods as materials) for preparing install the rough-in valve. The mounting rack’s face should be 44mm (1-23/32”) at least and 54mm (2-1/8”) behind the finish wall surface.
- Page 10 4.3 Turn on your shut-off valve for cleaning the hot and cold water supply tube before connect to the valve trim, allow the water flush 3~5 minutes to flush out dirt and debris. Shut off the water supply again after finish. SUMERAIN SANITARY GROUP WWW.SUMERAIN.COM...
- Page 11 4.4 Apply Teflon tape on the thread of supply tube outlet and then connect to rough-in valve with elbow. Rough-in Valve thread for Hot&Cold water inlet: G1/2” [1/2 BSPP], US, CA customers may require NPT cover to BSPP adapter for connecting (if you could find this adapter please inquiry SUMERAIN support center). 4.5 Install the finished wall.
- Page 12 4.6 Apply Teflon tape on the thread of nipple and then connect to rough-in valve 4.7 Attach the escutcheon to nipple. SUMERAIN SANITARY GROUP WWW.SUMERAIN.COM...
- Page 13 4.8 Slide the spout over the nipple and attached to the nipple and fasten by the set screw. 4.9 Slide the escutcheon over the sleeve and attached to the finished wall SUMERAIN SANITARY GROUP WWW.SUMERAIN.COM...
- Page 14 4.10 Place handle onto the valve stem and tighten set screws by using the Allen wrench that is provided.(Please don’t over tighten), Then attach the screw cover onto handle. ASSEMBLE FINISHED SUMERAIN SANITARY GROUP WWW.SUMERAIN.COM...
-
Page 15: Function Inspection
6.1 Turn on the handle, the water outflow from the spout and then turn off the handle, the water stop out flowing. 6.2 Turn right the handle, the cold water coming, on the contrary way, turn left the handle, hot water coming. INSTALL FINISH SUMERAIN SANITARY GROUP WWW.SUMERAIN.COM... - Page 16 CLEARNING RECOMMENDATION FOR SUMERAIN PRODUCTS Modern lavatory faucets, kitchen faucets, and showers consist of very different materials to comply with the needs of the market with regard to design and functionality. To avoid damage and returns, it is necessary to consider certain criteria when cleaning.
-
Page 17: Troubleshooting
SUMERAIN INTERNATIONAL GROUP – AMERICA Branch Address: 13455 Harper Dr. Saratoga, CA 95070 Tel: +1-408-867-8884 FAX: +1-408-867-4272 E-mail: us@sumerain.com SUMERAIN INTERNATIONAL GROUP – Verkaufsniederlassung in Deutschland [EUROPE] Adresse: Der Ecke,Moellendorffstr. 108, 10367 Berlin Deutschland Tel: +49 (0)30/23975898 E-mail: de@sumerain.com SUMERAIN SANITARY GROUP...
Need help?
Do you have a question about the S1400CI and is the answer not in the manual?
Questions and answers