Advertisement
Table of Contents
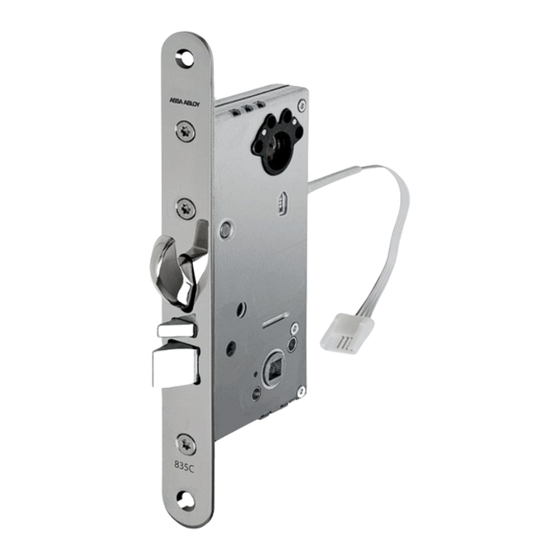
- 1 Table of Contents
- 2 Installation
- 3 Reversing the Latch
- 4 Setting Handle Operation
- 5 Door Position Sensor
- 6 Setting up the Lockcase
- 7 Factory Reset
- 8 Technical Data
- 9 Important Information and Maintenance
- 10 Class 3
- 11 Dac564
- 12 Connecting Override Open Button
- 13 Connecting Standalone with I/O Box
- Download this manual
Advertisement
Table of Contents


Need help?
Do you have a question about the 813C-50 and is the answer not in the manual?
Questions and answers