Table of Contents
Advertisement
Quick Links
Advertisement
Table of Contents

Summary of Contents for Easypix DVC5127
- Page 1 User’s Manual...
-
Page 2: Product Overview
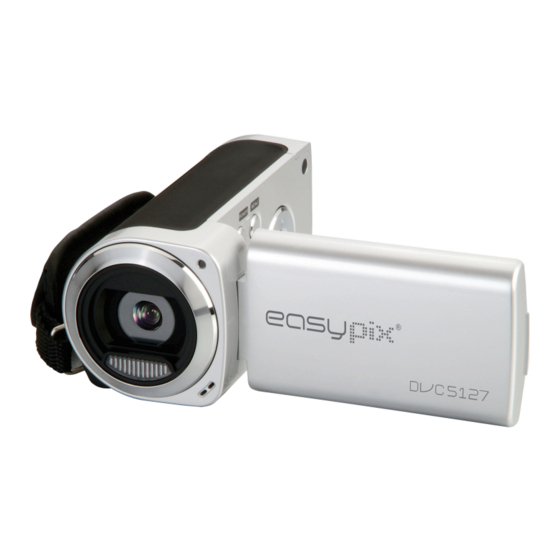
Display button LED On / Off button 1. Product Overview Mode button Power button Menu button UP button SD card slot Power LED Shutter button USB jack AV jack Right/Selftime button OK button Down button Left button Speaker LCD screen Tripod socket Lens Wrist strap... -
Page 3: Monitor Screen Display
2. Monitor Screen Display Capture mode... - Page 4 Video record mode Playback mode...
-
Page 5: Installing The Battery
3. Preparations Installing the Battery Open the video camera battery door. 2. Insert three AAA-size batteries with the positive (+) and negative (-) poles matching the directions indicated on the battery cover. Close the battery door. -
Page 6: Inserting The Memory Card
Inserting the Memory Card This digital video camera has no internal memory, it can’t take pictures and video clips. if you want to record files please use a SD or MMC card. Turn off the camera before inserting or removing the memory card. Be sure to orient the card correctly when inserting it. -
Page 7: Turning The Camera On And Off
4. Using This Video Camera Turning the Camera On and Off Open the LCD panel. To turn on the camera, hold the POWER button until the LCD screen turns on. Hold the POWER button again will turn the camera off. Taking still images Turn on the video camera. -
Page 8: Recording Video Clip
Use the LCD screen to frame your subject. Hold the video camera steady and then press the SHUTTER button completely down to take a picture. Recording Video Clip 1: Turn the video camera on and set it to video record mode. 2: Press the SHUTTER button to start recording. -
Page 9: Playback Still Image
the video camera will stop recording automatically. 5. Playback Playback Still Image 1: Turn the camera on, and then press the MODE button until the camera enter playback mode. The latest recorded file appears on the LCD screen. If there are no images stored, a message [No Image] appears. -
Page 10: Playing Back Audio Files
end playing. Press the UP button to pause it and press it again to continue. Press the RIGHT button to fast forward and press the LEFT button to reverse. Playing Back Audio Files 1: Press the LEFT or RIGHT button to select the audio file you want to playback. - Page 11 on the TV and video camera. The video camera’s LCD screen turns black, and the TV screen now performs as the camera LCD screen. Connect the video camera to a TV via the TV-out cable (supplied) . Turn on the TV and the video camera, and then set the TV to “AV” mode.
- Page 12 Using a Card Reader 1: Eject the memory card from the video camera and insert it into a card reader that is connected to a computer. 2:Open [My Computer] or [Windows Explorer] and double-click the removable disk icon that represents the memory card. 3: Copy images from the card into a directory of your choice on the computer’s hard disk.
-
Page 13: Specifications
7. Specifications Sensor 5MegaPixels CMOS Display 2.7" TFT Color LCD Focus range 150cm ~ Infinity Aperture F3.2, Fixed Focus Shutter Electronic Shutter: 1/2 ~ 1/1024 sec. Resolution Still Image 12M(4000x3000)5M(2592X1944)/3M(2048X1536)/ 1.3M(1280x960)/VGA(640X480) Video: 720X480/640X480/320X240 Sensitivity Auto White balance Auto / Daylight / Tungsten / Fluorescent / Cloudy Exposure control -2EV to +2EV in 0.3 Step Burst... - Page 14 Supported Up to 8GB TV system NTSC / PAL Power Supply AAA (alkaline/ 1.5V) Battery x 3 Ambient Operating: 0° C to 40° C temperature Storage: -20 to 60° C Microphone Built-in Speaker Built-in Dimension Camera Body: 4.43” x 2.2” x 2.13” Weight Camera Body w/o battery: 0.42 lbs Note: The product design and the specifications are subject to change...


Need help?
Do you have a question about the DVC5127 and is the answer not in the manual?
Questions and answers