Musical Fidelity NU-VISTA Series Installation Manual
Hide thumbs
Also See for NU-VISTA Series:
- Installation manual ,
- Manual (19 pages) ,
- Installation manual (17 pages)
Table of Contents
Advertisement
Quick Links
Advertisement
Table of Contents

Related Manuals for Musical Fidelity NU-VISTA Series


Summary of Contents for Musical Fidelity NU-VISTA Series
- Page 1 Installation Guide...
- Page 2 The new Nu-Vista PRE and its PSU were a continued labour of love for Musical Fidelity. We are passionate about what we do and passionate about Nuvistor tubes as we have always been. We hope that you derive as much pleasure listening to the Nu-Vista PRE as we had creating it.
- Page 3 * UK English “valve” mentioned hereafter, refers to the ‘electron valve’ kind, also known as electron “tube” in other parts of the world. P a g e...
-
Page 4: Table Of Contents
CONTENTS Section Page – Safety Information Mains plug (UK only), modification warning – General advice Installation precautions – Introduction, cleaning, installation, power connections, audio Installation connections, spike feet – Facilities and connections Illustrations, front & rear panels – Remote control handset Operation and illustration –... -
Page 5: Safety Information
SAFETY INFORMATION IMPORTANT! (U.K. only) This unit is supplied in the U.K. with mains lead fitted with a moulded 16 amp plug. If, for any reason, it is necessary to remove the plug, please remove the fuse holder and dispose of the plug safely, out of reach of children. -
Page 6: General Advice
Do not remove any covers or try to gain access to the inside. There are no internal adjustments or fuses you can replace yourself. Refer all service work to an authorised Musical Fidelity agent. * Note: Unauthorised opening of the equipment will invalidate any warranty claim. -
Page 7: Installation
INSTALLATION Introduction Congratulations on the purchase of the new Nu-Vista PRE pre-amplifier. Great attention has been paid to internal layout, isolating each circuit section to prevent possible interaction. The unit features a finely tuned and tweaked Nu-Vista valve design, for smooth sound coupled with low noise and virtually no distortion. The Nu-Vista PRE uses a balanced configuration circuit and balanced precision matched stepped attenuator for volume control. - Page 8 Mains Power Input on Nu-Vista PRE PSU Check the Nu-Vista PRE PSU back panel mains switch is set to “OFF”. Connect the supplied mains lead to the 16A IEC socket on the back panel. Connect the other end to a mains power socket. Be sure to leave the mains switch in the “OFF”...
-
Page 9: Facilities And Connections
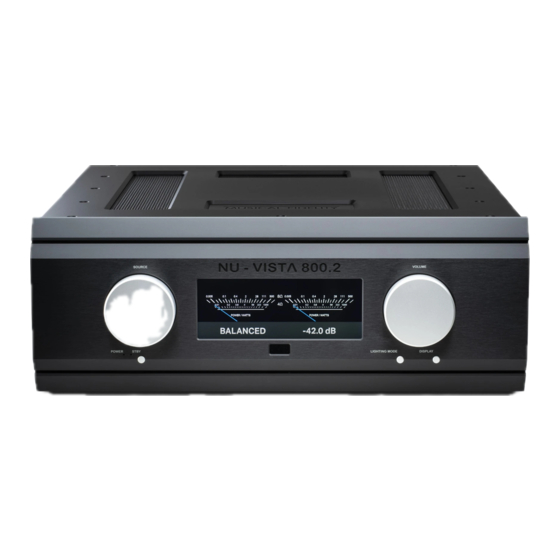
FACILITIES & CONNECTIONS INPUT selector 4 POWER / STANDBY button DISPLAY 5 +6 dB button VOLUME control 6 DISPLAY control 12 13 RCA SINGLE ENDED inputs left channel 15 RCA SINGLE ENDED inputs right channel XLR BALANCED inputs left channel 16 XLR BALANCED inputs right channel RCA SINGLE ENDED FIXED output left 17 RCA SINGLE ENDED FIXED output right... - Page 10 FACILITIES & CONNECTIONS 1 POWER/STANDBY LED’s RH POWER 5-pin XLR power output LH POWER 5-pin XLR power output CONTROL 4-pin XLR power output ON/OFF switch IEC 16A mains socket P a g e...
- Page 11 The universal remote control shown below enables functions from this and related units to be operated from a convenient distance. Equivalent buttons on the remote control have the same functions as those on the front panel of the unit. Other functions are only available by remote control.
-
Page 12: Operation
OPERATION Starting Once all connections are made, switch on the Nu-Vista PRE PSU unit, using the POWER switch on the back panel. The Standby LEDs on both the Nu-Vista PRE and PSU will light up. The Nu-Vista PRE amplifier unit may now be switched fully on using the POWER/STANDBY button on the front of the amplifier or the remote control (see page 10). - Page 13 PROBLEMS? Basic problem-solving with an amplifier is similar to troubleshooting other electrical or electronic equipment. Always check the most obvious possible causes first, such as the following examples: Problem Probable Cause Remedy power when Mains power plug is not fully inserted Plug in securely.
- Page 14 If none of these actions affect a cure, please contact the dealer, or an authorised Musical Fidelity service agent. Remember; never open the case of the Nu-Vista PRE and Nu-Vista PRE PSU, as this will invalidate the guarantee. P a g e...
- Page 15 8x Spike Foot Cup 8x Spike Foot Screw 8x Felt pad for Spike Foot Cup 8x Felt pad for Standard Foot Musical Fidelity reserves the right to make improvements which may result in specification or feature changes without notice. P a g e...
- Page 16 DISPOSAL INFORMATION RELEASE DATE CHANGES 2022 Nu-Vista PRE & PRE PSU November issue DISPOSAL The crossed out wheeled bin label that appears on the back panel of the product indicates that the product must not be disposed of as normal household waste. To prevent possible harm to the environment please separate the product from other waste to ensure that it can be recycled in an environmentally safe manner.
- Page 17 Musical Fidelity www.musicalfidelity.com S S pecifications and details are correct as we go to press, but in the interests of product improvement they may be subject to change during manufacture.
Need help?
Do you have a question about the NU-VISTA Series and is the answer not in the manual?
Questions and answers