Table of Contents
Advertisement
Quick Links
OWNER'S MANUAL
CF-X8PRO
MANUAL DEL USUARIO
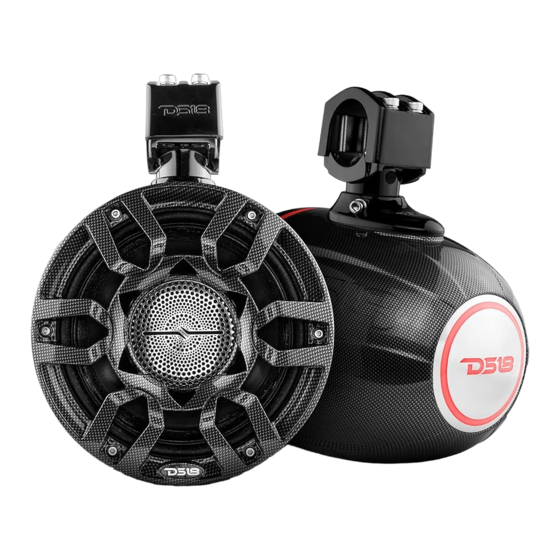
8" COMPACT WAKEBOARD
TOWER SPEAKER EQUIPPED
WITH HYBRID MID-RANGE &
COMPRESSION DRIVER
LOUDSPEAKER
RGB LED LIGHTING
ALTAVOZ DE TORRE COMPACTO PARA
WAKEBOARD DE 8" EQUIPADO
CON ALTAVOZ HÍBRIDO DE RANGO
MEDIO Y DRIVER DE COMPRESIÓN
ILUMINACIÓN LED RGB
ENGLISH | ESPAÑOL
Advertisement
Table of Contents

Related Manuals for DS18 Hydro CF-X8PRO


Summary of Contents for DS18 Hydro CF-X8PRO
- Page 1 OWNER’S MANUAL CF-X8PRO MANUAL DEL USUARIO 8" COMPACT WAKEBOARD TOWER SPEAKER EQUIPPED WITH HYBRID MID-RANGE & COMPRESSION DRIVER LOUDSPEAKER RGB LED LIGHTING ALTAVOZ DE TORRE COMPACTO PARA WAKEBOARD DE 8" EQUIPADO CON ALTAVOZ HÍBRIDO DE RANGO MEDIO Y DRIVER DE COMPRESIÓN ILUMINACIÓN LED RGB ENGLISH | ESPAÑOL...
-
Page 2: Package Includes
CF-X8PRO CARACTERÍSTICAS FEATURES •Especialmente diseñado para UTV/ATV/SxS •Specially designed for UTV / ATV / SxS o ROV. or ROV. •Par de altavoces híbridos de torre de 2 vías. •Pair of 2-Way Tower Hybrid •Altavoz híbrido de gama media con Driver de Loudspeaker System. -
Page 3: Installation Equipment
CF-X8PRO 2. Por seguridad, desconecte el terminal negativo 2. For safety, disconnect the negative de la batería de la batería antes de empezar la battery terminal from the battery prior to instalación. beginning the installation. 3. Para facilitar el montaje, le sugerimos que tenga 3. - Page 4 CF-X8PRO COMENZANDO EL MONTAJE STARTING TO MOUNT Paso 1: Retire los altavoces de torre del embalaje Step 1: Remove tower speakers from the y TODO. packaging and ALL hardware. Paso 2: Encuentre una BUENA ubicación que Step 2: Find a GOOD location that allows for permita el cableado fácil del altavoz (y las luces LED) easy wiring of the speaker (and LED lights) -ADEMÁS QUE NO perjudique su movimiento...
-
Page 5: Installation / Instalación
CF-X8PRO INSTALACIÓN INSTALLATION / Paso 7: Envuelva la almohadilla de goma alrededor Step 7: Wrap the rubber pad around the pipe de la tubería y alinee el orificio de salida del cable de and align wire out hole According to the acuerdo con el diagrama. - Page 6 CF-X8PRO Step 11: During the mounting process, you Paso 11: Durante el proceso de montaje, debería haber localizado el lugar para perforar la barra de la should have located the spot to drill your torre para la inserción del cable de 6 conductores tower bar for the 6 conductor wire (Speaker (altavoz y cableado de iluminación RGB).
- Page 7 CF-X8PRO INSTALACIÓN INSTALLATION / Paso 13: Cuando desee instalar mediante montaje Step 13: When you want to install a flat plano, retire la abrazadera y saque el núcleo de 6 a mounting, remove the clamp and take out través de él en el soporte de montaje plano, luego the 6 core through it into the flat mounting móntelo, consulte la descripción a continuación.
- Page 8 CF-X8PRO OPCIONES DE CONEXIÓN E INSTALACIÓN INSTALLATION & CONNECTION OPTIONS Para conectarse sin el módulo de control LED To connect without LED Control Module (LED-BTC), conecte como se muestra en el (LED-BTC), Connect as Shown in the siguiente diagrama: Following Diagram: •...
- Page 9 CF-X8PRO SPECIFICATIONS / ESPECIFICACIONES GENERALES GENERAL / Diámetro Nominal Nominal Diameter / .................8" / 203 mm Impedancia Nominal Nominal Impedance / ..................4 Ohm Manejo de Potencia RMS RMS Power Handling / ..............250 Watts Manejo de Potencia MAX MAX Power Handling / ..............
- Page 10 CF-X8PRO CARACTERÍSTICAS DEL DRIVER DRIVER FEATURES / Diámetro de la Bobina de Voz Voice Coil Diameter / ............1" / 25.4 mm Tipo Type/ ............ Compression driver with Injection molding ABS horn / Driver de Compresión con Difisor ABS moldeado por inyección Material del Diafragma Titanio Diaphragm Material /...
- Page 11 CF-X8PRO DIMENSIONES DIMENSIONS / 2.32”/ 58.97 mm Ø8.6”/ 218 mm...
-
Page 12: Warranty
To Ø1.0”/ 25.4 mm 9.4”/ 238 mm GARANTÍA WARRANTY Visita nuestra página web DS18.com para obtener más Please visit our website DS18.com for more información sobre nuestra garantía information on our warranty policy. Nos reservamos el derecho de cambiar productos y We reserve the right to change products and especificaciones en cualquier momento sin previo aviso.
Need help?
Do you have a question about the Hydro CF-X8PRO and is the answer not in the manual?
Questions and answers