Advertisement
Quick Links
64434 / 01
816
Required tools
Additional tools (if needed)
wood block
Operating Features
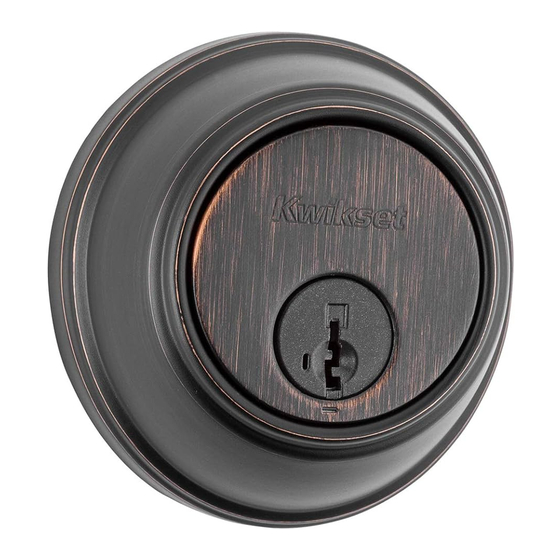
The Key Control™ deadbolt has two SmartKey
cylinders: the property manager cylinder
and the tenant cylinder. The property
manager cylinder has its own key.
WARNING: To reduce the risk of unauthorized
entry or access to property and consequential
property loss or personal injury, this key must
be kept in a secure location at all times or only
in the possession of authorized personnel.
To access the property manager
cylinder, insert the SmartKey tool in the
bottom hole and rotate the faceplate.
Note: Install the deadbolt on the
door before rekeying the lock.
1
Prepare door and check dimensions
2
Extend latch bolt
3
Adjust the backset of the latch (if needed)
A
Hold the latch in front of the
door hole, with the latch face
flush against the door edge.
B
If the D-shaped hole is centered
in the door hole, no adjustment
is required. Proceed to step 4.
If the D-shaped hole is NOT
centered, adjust latch. See "Latch
Adjustment" (step 3C).
C
Latch Adjustment (only if needed)
Drilling Template
Edge of the door
Do not use harsh chemicals or
solvents to clean your lock.
Mechanical lock
Use a damp cloth to wipe away
any excess dirt or debris.
Parts in the box
Latch
or
A
Q
o
SmartKey® tool
J
2-3/8" (60 mm)
2-3/4" (70 mm)
A / Q
180°
Rotate the front of the
latch to extend it.
Template is only needed if a new hole must be drilled in the door.
Face of the door
Fold
Centerline
2-3/8" (60 mm)
2-3/4" (70 mm)
Backset
Electronic lock
Use a damp cloth on the lock's exterior to wipe
away any excess dirt or debris. Use a dry cloth
to clean interior components.
Strike
B
C
Deadbolt
K
L
property
manager key
J
or
2-1/8"
54 mm
D-shaped hole
Instructions continue on reverse
Installation Guide
Keys
Screws
D
F
G
H
M
L
tenant
cylinder
F
1-3/4"
44 mm
1"
25 mm
A / Q
not centered
E
property
manager
cylinder
centered
Advertisement

Summary of Contents for Kwikset 816
- Page 1 Installation Guide Do not use harsh chemicals or solvents to clean your lock. Mechanical lock Electronic lock 64434 / 01 Use a damp cloth on the lock’s exterior to wipe Use a damp cloth to wipe away away any excess dirt or debris. Use a dry cloth any excess dirt or debris.
- Page 2 Install latch Latch with Latch with rectangular drive-in collar faceplate Install Retract latch. latch bolt. Install latch. “UP” is on top “UP” is on top Secure latch with screws. wood block E (2x) Extend latch bolt. Install deadbolt Install deadbolt exterior.


Need help?
Do you have a question about the 816 and is the answer not in the manual?
Questions and answers