Sign In
Upload
Download
Table of Contents
Contents
Add to my manuals
Delete from my manuals
Share
URL of this page:
HTML Link:
Bookmark this page
Add
Manual will be automatically added to "My Manuals"
Print this page
×
Bookmark added
×
Added to my manuals
Manuals
Brands
PTZOptics Manuals
Digital Camera
Move 4K
User manual
PTZOptics Move 4K User Manual
Hide thumbs
Also See for Move 4K
:
Quick start manual
(17 pages)
,
User manual
(65 pages)
1
Table Of Contents
2
3
4
5
6
7
8
9
10
11
12
13
14
15
16
17
18
19
20
21
22
23
24
25
26
27
28
29
30
31
32
33
34
35
36
37
38
39
40
41
42
43
44
45
46
47
48
49
50
51
52
53
54
55
page
of
55
Go
/
55
Contents
Table of Contents
Troubleshooting
Bookmarks
Table of Contents
Table of Contents
Preface
Precautions
Warning
Warranty
Supplied Accessories
FCC Statement
Copyright Notice
NDI®|HX with NDI® 3 Connection
Features
Technical Specifications
Dimensions
IR Remote Controller Guide
Serial Communication Control
On Screen Display
Network Connection
Web UI
Maintenance and Troubleshooting
Unqualified Applications
Troubleshooting
Advertisement
Quick Links
1
Table of Contents
2
Features
3
Technical Specifications
4
Ir Remote Controller Guide
5
Troubleshooting
Download this manual
Share Your Vision
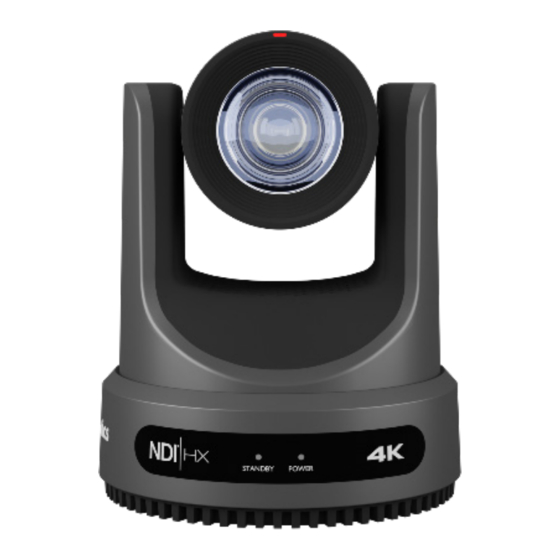
PTZOptics Move 4K
User Manual
Model No. PT20X-4K-WH-G3 / PT20X-4K-GY-G3,
(English)
Please check
www.ptzoptics.com
for the most up to date version of this document.
v1_1 rev. 10-22
Table of
Contents
Previous
Page
Next
Page
1
2
3
4
5
Advertisement
Table of Contents
Troubleshooting
Maintenance and Troubleshooting
47
Troubleshooting
54
Need help?
Do you have a question about the Move 4K and is the answer not in the manual?
Ask a question
Questions and answers
Related Manuals for PTZOptics Move 4K
Security Camera PTZOptics Move 4K User Manual
(65 pages)
Security Camera PTZOptics Move 4K Quick Start Manual
(17 pages)
Digital Camera PTZOptics PT30X-4K-WH-G3 User Manual
30x move 4k (55 pages)
Digital Camera PTZOptics Studio Pro User Manual
(67 pages)
Digital Camera PTZOptics 12X ZCAM User Manual
(42 pages)
Digital Camera PTZOptics PTEPTZ-ZCAM-G2 User Manual
(40 pages)
Digital Camera PTZOptics NDI HX PT20X-NDI-ZCAM User Manual
(50 pages)
Digital Camera PTZOptics VL NDI HX ZCAM User Manual
(43 pages)
This manual is also suitable for:
Pt20x-4k-wh-g3
Pt20x-4k-gy-g3
Table of Contents
Save PDF
Print
Rename the bookmark
Delete bookmark?
Delete from my manuals?
Login
Sign In
OR
Sign in with Facebook
Sign in with Google
Upload manual
Upload from disk
Upload from URL


Need help?
Do you have a question about the Move 4K and is the answer not in the manual?
Questions and answers