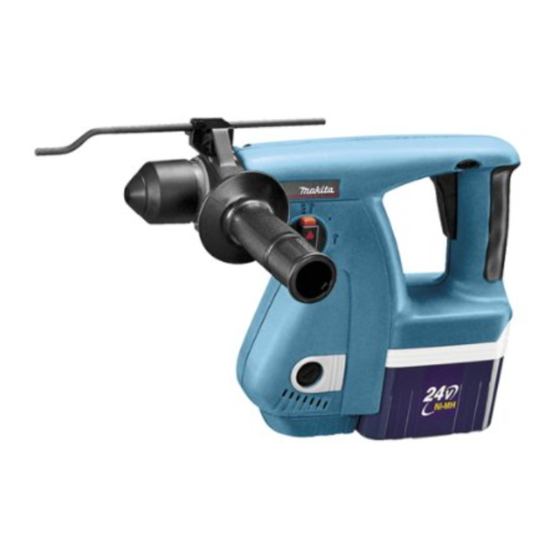
Makita BHR200 Instruction Manual
Cordless rotary hammer equipped with electric brake 20 mm (13/16”)
Hide thumbs
Also See for BHR200:
- User manual ,
- Instruction manual (76 pages) ,
- Instruction manual (53 pages)
Table of Contents
Advertisement
Advertisement
Table of Contents

Related Manuals for Makita BHR200


Summary of Contents for Makita BHR200
- Page 1 Cordless Rotary Hammer Equipped with Electric Brake 20 mm (13/16”) MODEL BHR200 003091 I N S T R U C T I O N M A N U A L WARNING: For your personal safety, READ and UNDERSTAND before using.
-
Page 2: Specifications
(FOR All BATTERY OPERATED TOOLS) WARNING: Read and understand all instructions. Failure to follow all instructions listed below, may result in electric shock, fire and/or serious personal injury. BHR200 20 mm (3/4”) 13 mm (1/2”) 27 mm (1-1/16”) 0 - 1,100/min. -
Page 3: Work Area
SAVE THESE INSTRUCTIONS Work Area 1. Keep your work area clean and well lit. Cluttered benches and dark areas invite acci- dents. 2. Do not operate power tools in explosive atmospheres, such as in the presence of flammable liquids, gases, or dust. Power tools create sparks which may ignite the dust or fumes. -
Page 4: Specific Safety Rules
18. Maintain tools with care. Keep cutting tools sharp and clean. Properly maintained tools with sharp cutting edge are less likely to bind and are easier to control. 19. Check for misalignment or binding of moving parts, breakage of parts, and any other condition that may affect the tool’s operation. - Page 5 (1) battery charger, (2) battery, and (3) product using battery. 3. CAUTION - To reduce risk of injury, charge only MAKITA rechargeable be extremely hot and could burn your skin. 15. Some material contains chemicals which may be toxic.
- Page 6 6. To reduce risk of damage to electric plug and cord, pull by plug rather than cord when disconnecting charger. 7. Make sure cord is located so that it will not be stepped on, tripped over, or other- wise subjected to damage or stress. 8.
- Page 7 (2) Avoid storing battery cartridge in a container with other metal objects such as nails, coins, etc. (3) Do not expose battery cartridge to water or rain. A battery short can cause a large current flow, overheating, possible burns and even a breakdown.
-
Page 8: Functional Description
FUNCTIONAL DESCRIPTION 003103 1. Battery cartridge 2. Red part 3. Button 001336 1. Terminal cover 2. Battery cartridge 3. Charging light 4. Battery charger CAUTION: • Always be sure that the tool is switched off and the battery cartridge is removed before adjusting or checking function on the tool. - Page 9 6. After charging, unplug the charger from the power source. NOTE: • The battery charger is for charging Makita battery cartridge. Never use it for other purposes or for other manufacturer’s batteries. • When you charge a new battery cartridge or a battery cartridge which has not been used for a long period of time, it may not accept a full charge.
- Page 10 • The cooling system is in order although no sound of cooling fan comes out, if the yellow warning light will not flash. • Always keep clean the vent on charger and battery for cooling. • The products should be sent to repair or maintenance, if the yellow warning light will frequently flash.
-
Page 11: Electric Brake
This tool is equipped with an electric brake. If the tool consis- tently fails to quickly stop after switch trigger release, have tool serviced at a Makita service center. Reversing switch action This tool has a reversing switch to change the direction of rotation. -
Page 12: Torque Limiter
003128 1. Rotation with hammering 2. Lock button 3. Pointer 4. Change lever 003131 1. Rotation only 2. Pointer 003133 1. Hammering only 2. Pointer Selecting the action mode Rotation with hammering For drilling in concrete, masonry, etc., depress the lock but- ton and rotate the change lever so that the pointer points to symbol. - Page 13 ASSEMBLY 003141 1. Side grip 003150 1. Bit shank 2. Bit grease CAUTION: • As soon as the torque limiter actuates, switch off the tool immediately. This will help prevent premature wear of the tool. CAUTION: • Always be sure that the tool is switched off and the battery cartridge is removed before carrying out any work on the tool.
- Page 14 003157 1. Bit 2. Chuck cover 003166 003170 1. Change lever 2. “O” symbol 003174 1. Change lever Insert the bit into the tool. Turn the bit and push it in until it engages. If the bit cannot be pushed in, remove the bit. Pull the chuck cover down a couple of times.
-
Page 15: Depth Gauge
003179 1. Depth gauge 2. Clamp screw 3. Grip base 003186 1. Dust cup OPERATION Depth gauge The depth gauge is convenient for drilling holes of uniform depth. Insert the depth gauge into the hole in the grip base. Adjust the depth gauge to the desired depth and then tighten the clamp screw to secure the depth gauge. - Page 16 003197 002449 1. Blow-out bulb 003203 Hammer drilling operation Set the change lever to the Position the bit at the desired location for the hole, then pull the switch trigger. Do not force the tool. Light pressure gives best results. Keep the tool in position and prevent it from slip- ping away from the hole.
-
Page 17: Maintenance
003222 1. Drill chuck 2. Change lever 3. Pointer MAINTENANCE 001145 1. Limit mark Drilling in wood or metal Use the optional drill chuck assembly. When installing it, refer to “Installing or removing the bit” described on the previous page. Set the change lever so that the pointer points to the symbol. - Page 18 1 minute. Then check the tool while running and elec- tric brake operation when releasing the switch trigger. If elec- tric brake is not working well, ask your local Makita service center for repair. To maintain product SAFETY and RELIABILITY, repairs, any...
- Page 19 CAUTION: • These accessories or attachments are recommended for use with your Makita tool specified in this manual. The use of any other accessories or attachments might present a risk of injury to persons. Only use accessory or attachment for its stated purpose.
- Page 20 Memo...
- Page 21 First-Class Postage Required Post Office will not deliver without proper postage. Makita U.S.A., Inc. 14930 Northam Street La Mirada, CA 90638-5753 Fold...
- Page 22 Paste 3. How did you learn about this product: Magazine From Dealer Newspaper Store Display Catalog 4. Most favored points are: Design Features Size Price Makita Brand MODEL NO. YEAR SERIAL NO. PHONE 20-29 30-39 40-49 Paste Paste Radio Exhibition...
-
Page 23: Factory Service Centers
Date Purchased When you need service: Send complete tool (prepaid) to one Dealer’s Name & Address of the Makita Factory Service Centers listed, or to an Authorized Makita Service Center. Be sure to attach a letter to the outside of Model No. - Page 24 MAKITA LIMITED ONE YEAR WARRANTY Warranty Policy Every Makita tool is thoroughly inspected and tested before leaving the factory. It is warranted to be free of defects from workmanship and materials for the period of ONE YEAR from the date of original purchase.
Need help?
Do you have a question about the BHR200 and is the answer not in the manual?
Questions and answers