Advertisement
F
OREWORD
Thank you for your purchase of a NAUTICAM product.
At NAUTICAM, we pride ourselves in the ability to recognize
the requirements of professional as well as amateur underwa-
ter photographers and fulfill them through the innovative de-
signs of our products. We strive to achieve a high level of
user-friendliness by allowing stress-free installation and easy
operation of all important functions of the camera.
Each product is individually inspected and water pressure
tested to ensure optimum quality.
I
M
NSTRUCTION
ANUAL
Please read this manual carefully before using the product,
this will maximize its performance as well as its lifetime.
for
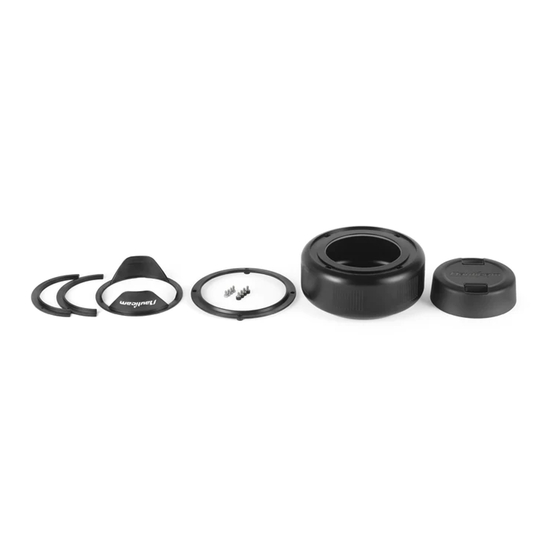
Product illustration used in this manual may differ from actual
F
C
MWL-1
LOAT
OLLAR FOR
product.
PN# 86237
Current as of 2022-7-11
Advertisement
Table of Contents

Related Manuals for Nauticam 86237


Summary of Contents for Nauticam 86237
- Page 1 OREWORD Thank you for your purchase of a NAUTICAM product. At NAUTICAM, we pride ourselves in the ability to recognize the requirements of professional as well as amateur underwa- ter photographers and fulfill them through the innovative de- signs of our products. We strive to achieve a high level of user-friendliness by allowing stress-free installation and easy operation of all important functions of the camera.
-
Page 2: Warranty
This warranty only applies to products purchased from author- Do not use lubricants from other brands with the silicone ized NAUTICAM dealers and does not extend beyond the orig- rubber O-ring on this housing, only use the lubricant pro- inal retail purchaser. -
Page 3: Specifications
A damaged O-ring should be dis- lens carded immediately and replaced only with one that is pro- vided by NAUTICAM. Please refer to "Nauticam Product Care and Maintenance Guide" for more details. Current as of 2022-7-11... - Page 4 PREPARATION OF THE PRODUCT DENTIFICATION OF ARTS 1. After verifying that the sealing silicon O-ring is in good con- dition, lightly coat it with the lubricant provided and wipe Lens cap away the excess. 2. Make sure the O-ring groove is free from any foreign mate- rial;...
-
Page 5: Preparation Before Installing
86237 REPARATION BEFORE INSTALLING Unscrew 4x screws from a shade of MWL-1and 7x Then, remove the lens shade, 2x shade fixing ring screws from bayonet mount ring of MWL-1 pieces, and bayonet mount ring as shown above. Current as of 2022-7-11... - Page 6 86237 MWL-1 NSTALLING MWL-1 Mount shade base ring on MWL-1 as shown above. Gently push the shade base ring downwards to fit on the MWL-1 as shown above. Make sure the two O-rings as shown in blue into the groove, ensuring that it lays flat and inside the entire groove.
- Page 7 Mount base fixing ring under the shade base ring as 4. Tighten them by using 4x thumb screws. shown above. Current as of 2022-7-11...
- Page 8 Mount a shade of 86237 as shown above. Place the MWL-1 downward, and install the float collar as shown above. Gently push the float collar towards the MWL-1 until it cannot go any further. Make sure the O-ring of the float collar as shown in blue into the groove, ensuring that it lays flat and inside the entire groove.
- Page 9 Re-attach the bayonet mount ring of the MWL-1 And tighten with 7x screws of the bayonet as shown above mount ring. If 86221/86222 Flip holder for MWL-1 is needed, attach the M67 adaptor ring of 86221/86222 in- stead. Current as of 2022-7-11...
- Page 10 Mount the shade cover ring on the shade as shown above. And after turn the shade to a desired location, tighten it with 4 x M3 screws provided To un-mount the float collar from the lens, reverse the above steps. Current as of 2022-7-11...
Need help?
Do you have a question about the 86237 and is the answer not in the manual?
Questions and answers