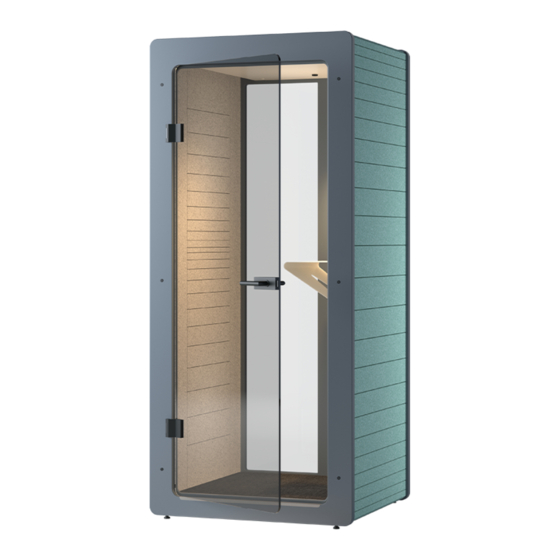
IMPACT ACOUSTIC Chatpod 185 Assembly Instructions Manual
Hide thumbs
Also See for Chatpod 185:
- Assembly instructions manual (16 pages) ,
- Assembly instructions manual (14 pages) ,
- Assembly instructions manual (9 pages)
Advertisement
Quick Links
Advertisement

Summary of Contents for IMPACT ACOUSTIC Chatpod 185
- Page 1 Chatpod...
- Page 2 Chatpod Is required in addition to the scope of delivery: Attention: Always carry the front panel in a way that the hinges are always on top, otherwise the door could accidentally open and break. Bodenhof 4, 6014 Luzern (Switzerland)
- Page 3 Chatpod Place the honeycomb cardboard blocks under the cardboard supports of the base. Make sure that the bottom sits stably on the blocks and that the blocks protrude a few centimenter to the sides. Place the two sides on the honeycomb blocks and tuck them into the bottom.
- Page 4 Insert the six connecting rods. Join the back wall with the sides, the bottom and the top. Secure the back panel by screwing the six screws a few turns into the connecting rods. Do the same with the front. Now tighten all the screws, which must be countered on the opposite side.
- Page 5 Assemble the door handle in the following order: lock, metal washer, plastic washer, door handle. Press the two halves of the door handle together while tightening the stud screw with the 3 mm hex key. Make sure that the handle is mounted with the pre- mounted square pin in the inside of the...
- Page 6 Remove the four honeycomb cardboard blocks. Align the chatpod using the four leveling feets. Insert the plug as shown. Place the two outer panels on the cover. Plug the power cord into the socket. click Well done!


Need help?
Do you have a question about the Chatpod 185 and is the answer not in the manual?
Questions and answers