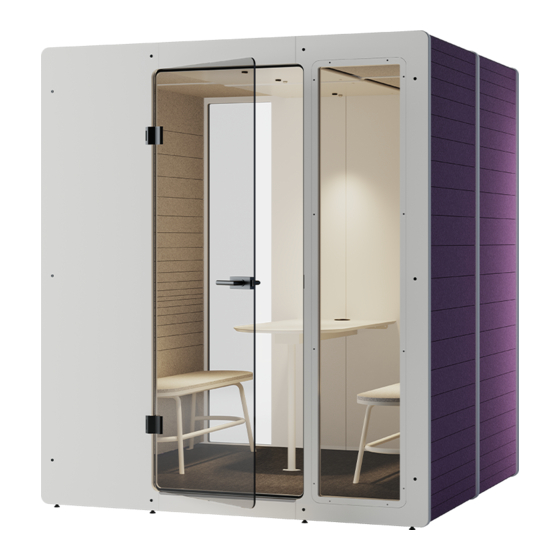
IMPACT ACOUSTIC Chatpod 700 Assembly Instructions Manual
Hide thumbs
Also See for Chatpod 700:
- Assembly instructions manual (27 pages) ,
- Assembly instructions manual (19 pages) ,
- Assembly instructions manual (19 pages)
Advertisement
Quick Links
Advertisement

Related Manuals for IMPACT ACOUSTIC Chatpod 700


Summary of Contents for IMPACT ACOUSTIC Chatpod 700
- Page 1 Chatpod...
- Page 2 Chatpod Is required in addition to the scope of delivery: Place the honeycomb cardboard blocks under the cardboard supports of the base. Make sure that the bottom sits stably on the blocks and that the blocks protrude a few centimenter to the sides. Insert the supply cable and the 3.5m cable into the H-distributor until they click into place.
- Page 3 Insert the cable of the right side into the H-distri- butor. Place the two sides on the honeycomb blocks and tuck them into the bottom. This should go easily, if not, make sure the sides and bottom are aligned. Hold the sides until the top is assembled.
- Page 4 Insert the wooden dowels into the holes. Join the two back panel elements and pull them together with the connectors. Do the same with the front elements. Join the back wall with the sides, the bottom and the top. Secure the back panel by screwing the ten screws a few turns into the connecting...
- Page 5 Place the honeycomb cardboard blocks under the cardboard supports of the base. Make sure that the bottom sits stably on the blocks and that the blocks protrude a few centime- ters to the sides. Feed the cable through the hole in the base. Place the two sides on the blocks and tuck them into the bottom.
- Page 6 Assemble the connecting frame with the wooden dowels. Pull the frame together with the connec- tors. Two connectors are needed for each of the lower corners. Place the connecting frame between the two elements. Pull the loose cable from the rear element through the slot in the connecting frame and plug it into the switch distributor.
- Page 7 Join the front with the sides, the bottom and the cover. Tighten the front with the M6x40mm screws, which must be countered on the opposite side. M6 x 40mm Remove the eight honeycomb cardboard blocks. Align the chatpod using the four leveling feets.
- Page 8 www.evolin 5,5 mm 5,5 mm 7,5 mm 5,5 mm 7,5 mm 92 mm 58 mm 58 mm Einbauanleitung | Installation Instructions | Guide d‘installation Einbauanleitung | Installation Instructions | Guide d‘installation Einbauanleitung | Installation Instructions | Guide d‘installation > 45 mm >...
- Page 9 Mount the door and fix it with the two rods. Secure them with the set screws. Assemble the door handle in the following order: lock, metal washer, plastic washer, door handle. Press the two halves of the door handle together while tightening the stud screw with the 3 mm hex key.
Need help?
Do you have a question about the Chatpod 700 and is the answer not in the manual?
Questions and answers