
Related Manuals for Brunswick Sanibel The Henderson 28675800350


Summary of Contents for Brunswick Sanibel The Henderson 28675800350
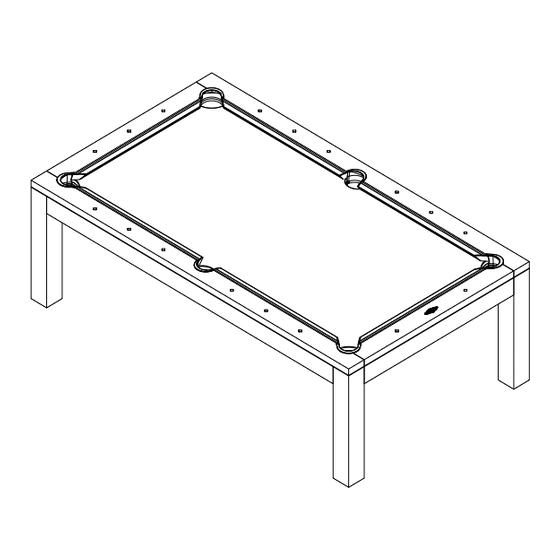
- Page 1 Sanibel™ The Henderson POCKET BILLIARD TABLE INSTALLATION MANUAL www.brunswickbilliards.com SERVICE DEPARTMENT P.O. BOX 68 BRISTOL, WI 53104 EMAIL: BRUNSWICKSERVICE@BRUNSWICKBILLIARDS.COM June 2020 51-906349-002...
- Page 2 PARSONS NOTE: Please use the instructions in this manual to assemble the table shown. Also note that careful handling of all components will assure damage-free assembly. PAGE 2 BRUNSWICK INSTALLATION MAN UAL...
- Page 3 #10 X 2 Pan Head Screws. Step #7: Repeat Steps 4-6 for assembly of the other end sill beam and two leg posts. #10 X 2 PAN HEAD SCREW FLAT WASHER LOCK WASHER 3/8-16 X 1-1/4 HEX BOLT FIGURE THREE BRUNSWICK INSTALLATION MANUAL PAGE 3...
- Page 4 3/8-16 X 3-1/4 3. (4) 3/8-16UNC X 1-1/4 Hex Bolts. HEX BOLT LOCK WASHER Step #13: Position the assembled table frame in the desired FLAT WASHER location. #10 X 2 PAN HEAD SCREW FIGURE FIVE PAGE 4 BRUNSWICK INSTALLATION MAN UAL...
- Page 5 Step #8: With all three sections leveled, the slate joints can now be lled using rock hard putty or slate joint wax. Scrape excess material away leaving a smooth surface across each joint. FIGURE FOUR BRUNSWICK INSTALLATION MAN UAL PAGE 5...
- Page 6 Step #4: Tack or staple the cloth securely to the wood ledge at #1 with two tacks or staples approximately 2” apart. Step #5: Stretch the cloth across the table and tack or staple securely at #2 with two tacks or staples 2” apart. PAGE 6 BRUNSWICK INSTALLATION MAN UAL...
- Page 7 #2 and tack or staple at #7. Step #11: Repeat Step 7, stretching from #6 and toward the side pocket from #4 and tack or staple at #8. FIGURE FOUR BRUNSWICK INSTALLATION MAN UAL PAGE 7...
- Page 8 NOTE: Occasionally cloth with stretch, leaving wrinkles on the pockets. To tighten, remove entire rail assembly. Pull cloth taut, and retack or restaple along one end and one side to restore original tightness. FIGURE SEVEN PAGE 8 BRUNSWICK INSTALLATION MAN UAL...
- Page 9 Step #6: Turn rail over and at corner pockets fold the cloth over the mitred edge as shown, stretching tightly and working out any wrinkles as you staple three places in area shown. FIGURE FIVE BRUNSWICK INSTALLATION MAN UAL PAGE 9...
- Page 10 Step #12: Hold the small fold in place with thumb and forenger and rmly hold it down over facing. Then staple at rear of facing and at bottom of rail as shown. Step #13: Trim excess cloth as required. FIGURE TEN PAGE 1 0 BRUNSWICK INSTALLATION MAN UAL...
-
Page 11: Rail Assembly
For best results, turn each Threaded Rod all the way 3/8-16UNC X 2-3/4 in until contact with wood is made, and then, back the THREADED ROD Threaded Rod out 1/4 turn. FIGURE TWO BRUNSWICK INSTALLATION MAN UAL PAGE 11... - Page 12 NOTE: Bed spots are self-adhesive. Bed spots can be applied at both head and foot end of the table, or just the foot end, whichever is preferred. HEAD SPOT FOOT SPOT FOOT FIGURE FOUR PAGE 1 2 BRUNSWICK INSTALLATION MAN UAL...
Need help?
Do you have a question about the Sanibel The Henderson 28675800350 and is the answer not in the manual?
Questions and answers