Table of Contents
Advertisement
Quick Links
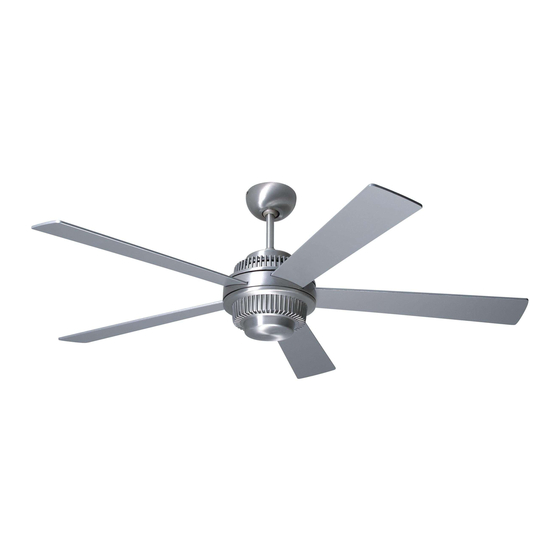
Solus Fan- Installation instructions
Should you have any questions or difficulty installing your new fan,
please contact Modern Fan Co. customer service immediately.
Note: Power supply must be turned off prior to any contact with electrical wires. It is
recommended that a licensed electrician be hired to install your ceiling fan.
(1) Remove and identify contents of carton.
fan
body
bottom
hub*
* If you ordered your fan with a light, it will include a diffuser in place of the
bottom hub as well as the LED components shown below
(2) If your fan was ordered with a light, identify all components and follow steps (a)
through (e). Depending on when your fan was produced, steps (a) through (c) may
have been completed prior to shipment using the parts referenced in those steps. If
your fan was not ordered with a light, proceed to step (3).
LED Cover
LED Board
hardware
hanging
package
bracket
balancing
down
kit
rods
Solus
THE MODERN FAN COMPANY
Customer Service
M-F 8am - 4pm (PST)
(ph) 888.588.3267
www.modernfan.com
optional
canopy
control
half
blades
ball
Bridge connector
Heat sink
Hardware pack
Advertisement
Table of Contents

Related Manuals for The Modern Fan Company Solus


Summary of Contents for The Modern Fan Company Solus
- Page 1 M-F 8am - 4pm (PST) (ph) 888.588.3267 www.modernfan.com Solus Fan- Installation instructions Should you have any questions or difficulty installing your new fan, please contact Modern Fan Co. customer service immediately. Note: Power supply must be turned off prior to any contact with electrical wires. It is recommended that a licensed electrician be hired to install your ceiling fan.
- Page 2 (a) Place fan on either piece of packing foam. Remove primary screw and loosen two keyhole screws. Carefully work wire leads through center hole (one at a time) and remove lighting plate. Join bridge connector with light wires from fan. (b) Position wire connectors in cavity above large washer.
- Page 3 (6) Run fan wires through selected down rod. Reinstall stopper screw from step (5) through down rod hole and firmly tighten set screw on fan collar against down rod. Note: If ceiling height allows, using a longer down rod will increase airflow and efficiency.
- Page 4 (14) Install wall control as described in the control installation instructions (unless using a handheld remote control only). (15) Your fan is reversible for summer and winter operation. The reverse switch is located on the top of the fan body. When reading the REVERSE label, the LEFT position is for summer and the RIGHT position is for winter.
Need help?
Do you have a question about the Solus and is the answer not in the manual?
Questions and answers