Table of Contents
Advertisement
Quick Links
Rev 22.12
User Manual
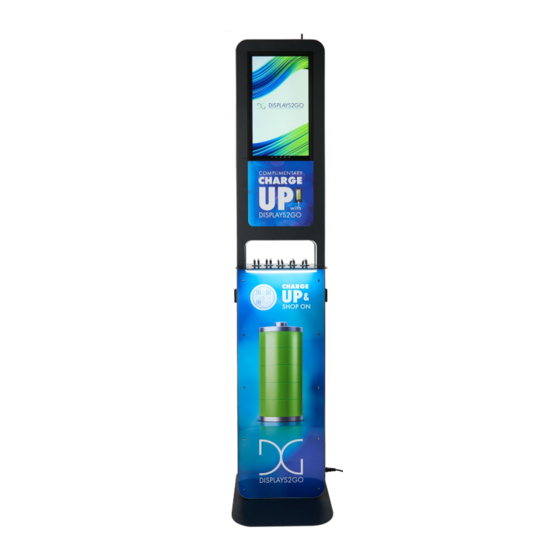
Description: Charging Station with
Double-sided 21.5" Digital LCD Screens
SKU: CHRFLMAXCP, CHRFLMACPS
Scan QR code to visit
the product page:
Operating Instructions for Digital Signage
Note: Before using the product, please read the instructions carefully!
Do not attempt to disassemble this product. If the product does not work properly, please call our Customer
Service Department at 1-844-221-3393.
1
Advertisement
Table of Contents

Related Manuals for Displays2go CHRFLMAXCP


Summary of Contents for Displays2go CHRFLMAXCP
- Page 1 Rev 22.12 User Manual Description: Charging Station with Double-sided 21.5” Digital LCD Screens SKU: CHRFLMAXCP, CHRFLMACPS Scan QR code to visit the product page: Operating Instructions for Digital Signage Note: Before using the product, please read the instructions carefully! Do not attempt to disassemble this product. If the product does not work properly, please call our Customer...
-
Page 2: Table Of Contents
Contents Features ..........................3 Safety Warnings and Precautions ................... 3 Assembly and Connection ...................... 6 Packing List ............................ 6 Installation Instructions ........................ 7 Replace Charging Cables ....................... 8 Install Graphics ..........................9 Remote Control of LCD Screen ....................10 Description of Basic Operation ..................... 11 Power on/Standby ........................ -
Page 3: Features
7. Dynamic contrast technology can significantly improve the clarity and contrast of various screens. Safety Warnings and Precautions Thank you for purchasing the Digital Charging Station with Double Sided Screens from Displays2go. We have considered the factors to ensure personal safety in product design and have done rigorous testing at the factory. - Page 4 WARNING Do not use power supply other than AC 110V, 60Hz. Cut off the power supply before connecting or disconnecting any cables. Do not place the Digital Signage on/in an unstable position, or else it may be damaged or cause fire.
- Page 5 CAUTION This charging station is for indoor use only in a dry area. Do not position in any location near water. Positioning this product outside, or inside in a location near water may cause damage to property or injury to persons. Please read and abide by the 'Safety Warning' carefully. ...
-
Page 6: Assembly And Connection
Assembly and Connection Packing List Accessory Photo Digital Charging Station AC Power Cord AC Power Cord Extension Remote Control for LCD Screen Antenna Expansion Anchor (Concrete Floor ONLY) User Manual... -
Page 7: Installation Instructions
Installation Instructions Step 1: Drill holes for expansion bolts. Step 2: Remove front panel, insert expansion bolts. Step 3: Tighten the nuts on expansion blots with adjustable wrench (Detail C). Step 4: Attach antenna on the top of the unit. Step 5: AC power can be connected in two ways: 5.1. -
Page 8: Replace Charging Cables
Charging Cable Replacement WARNING: Disconnect the power supply before servicing. 1. Remove 10x screws from the front. 2. Take off the front panel. 3. Identify the cable to be replaced and unscrew the holding plate from the bottom. 4. Remove 2x screws on both sides of the cable clip. 5. -
Page 9: Install Graphics
Install Graphics Remove 10 screws from the front panel. Take the front panel off. Remove protective film attached to the front panel. Place graphic behind the front panel. Replace 10 screws to re-attach the front panel. Replace steps 1-4 for the back panel. -
Page 10: Remote Control Of Lcd Screen
Remote Control of the LCD Screen Installing batteries for the remote control: Remove the battery cover and insert two AAA batteries (not included). Ensure that the battery polarity matches the “+”/“-” marks in the battery compartment of the remote control. Precautions for using the remote control: Aim the remote control at the receiver window. -
Page 11: Description Of Basic Operation
Description of Basic Operation Power on/Standby Insert the power plug into the outlet. In power on state, press the “ ” button on the remote control, and the Digital Signage enters sleep mode. Connect to Wi-Fi It’s recommended to use directional pad button on remote control to navigate on screen contents. Plug unit into electrical outlet. - Page 12 Select Network & Internet. Select Wi-Fi. 7. Select “Add Network” and enter your Wi-Fi network and password.
-
Page 13: Upload Content
Upload Content: NOTE: Use remote control for file transferring between USB device and internal storage. 1. Insert your USB flash drive (not included) containing files into USB port under the digital screen. 2. Select app drawer icon. (circle with six dots logo), then select “Settings”. 3. - Page 14 7. Choose the desired destination to store your files and select “Copy” in the lower right corner. 8. Push “Home” button (circle with a house logo) on the remote control and select app drawer icon. Select “VLC Player”. 9. Select video and then select “Play” button (circle with a triangle pointing right) in bottom right corner of screen.
-
Page 15: Description Of Wallpaper Switch
Changing Wallpaper We suggest using a mouse to change the wallpaper. Connect a mouse with the digital panel through USB port, then follow the steps below: Click “Setting”. At the setting menu, click “Display”. At the Display setting menu, click “Wallpaper”, then choose a folder. -
Page 16: Local Settings
Local Settings 1. Click the App Drawer icon “ ” in the Home page to enter the “APPS” menu interface (Fig. 1); 2. Click the “Settings” icon (Fig. 1) and enter “Settings” menu (Fig. 2); 3. Click “Wi-Fi” and choose options then set up the WIFI connection (Fig. 3). Description of Settings Interface (shown on the right) Icon Function... -
Page 17: Status Of Menu Bar
Status of Menu Bar 1. Click the setting (Fig. 1); 2. At the setting menu click the display menu (Fig. 2); 3. At the display setting menu unselect the display navigation check box (Fig. 3); Factory Reset: 1. Get into Settings, then click “Backup & reset” (Fig. 1); 2. -
Page 18: Choose System Language
Choose System Language: 1. Get into Settings, then click “Language & input” (Fig. 1); 2. Click “Languages”, then click “Add a language” (Fig. 2); 3. You can add the required system language (Fig. 3); 4. Drag the system language you just added up to the front (Fig. 4)-Please use a mouse to operate. -
Page 19: Technical Specifications
Technical Specifications ITEM SPECIFICATION LCD Size 21.5” Panel A-SITFT-LCD Light Source Resolution 1920(H)× 1080(V) Brightness (typ.)/(min) 250 nits (typ.) Contrast (typ.) 3000:1 (typ.) Response Time 8ms (typ.) Panel Pixel Pitch 248.25 ㎛ (H)X248.25 ㎛ (V) Refresh Rate 60Hz Viewing Angle 89°... - Page 20 Supported Audio files Player MX Player / VLC Player Functions Speaker 2X 5W Remove Control Input/Output IR/2.4G App Installation Support download and installation Ethernet (RJ45) HDMI I/O interfaces Speaker...
-
Page 21: Troubleshooting
Troubleshooting the Digital Signage Issue Probable Cause Solutions □ No picture or sound Unit not plugged into wall outlet. Confirm unit is plugged into wall outlet. Power cord not properly connected to the terminal on the □ Confirm that the power cord is connected back of the unit. - Page 22 Did you purchase the □ If you purchased DisplayIt!Xpress software installing software or DisplayIt!Xpress software from from Displays2go or from Best Wave getting content to play Displays2go? directly,please contact Best Wave at support@bestwave. com or (480) 368- Did the customer purchase or ...
-
Page 23: Cleaning And Maintenance
Issues using pre-installed Mistake in storing content to SlideShow App steps Explorer > Select NAND Flash (shown on pg. 11). apps USB > Select Multi > highlight files > App is defective. Editor > Select Copy > Home > NAND > ... -
Page 24: Names And Contents Of Toxic And Hazardous Substances Or Elements In The Product
Names and Contents of Toxic and Hazardous Substances or Elements in the Product Toxic and hazardous substances or elements Part name PBDE Display О О О О О Shell О О О О × × Circuit board assembly * О О... -
Page 25: Fcc Statement
To maintain compliance with FCC’s RF Exposure guidelines, this equipment should be installed and operated with minimum 20cm distance between the radiator and your body: Use only the supplied antenna. Visit Displays2go.com for the latest product information and User Manual updates.
Need help?
Do you have a question about the CHRFLMAXCP and is the answer not in the manual?
Questions and answers