Table of Contents
Advertisement
Quick Links
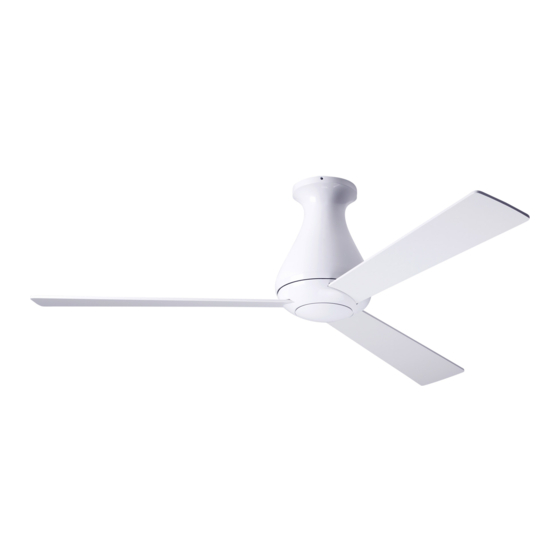
Altus Hugger Fan
- Installation instructions
Should you have any questions or difficulty installing your new fan,
please contact Modern Fan Co. customer service immediately.
Note: Power supply must be turned off prior to any contact with electrical wires. It is
recommended that a licensed electrician be hired to install your ceiling fan.
(1) Remove and identify contents of carton.
blades
(2) Carefully place fan body (bottom side up) on
work area. Remove and set aside bottom cap by
rotating counter-clockwise.
(3) Disassemble rotor from fan motor by removing
the four phillips head rotor screws. Keep rotor
screws for reinstallation in step (6). Do NOT remove
multi-point, white screws from guide plate assembly.
Altus Flush
hardware
balancing kit
package
THE MODERN FAN COMPANY
Customer Service
M-F 8am - 4pm (PST)
(ph) 888.588.3267
www.modernfan.com
fan body
ceiling
plate
control(s)
Advertisement
Table of Contents

Summary of Contents for The Modern Fan Company Altus Flush
- Page 1 Altus Flush THE MODERN FAN COMPANY Customer Service M-F 8am - 4pm (PST) (ph) 888.588.3267 www.modernfan.com Altus Hugger Fan - Installation instructions Should you have any questions or difficulty installing your new fan, please contact Modern Fan Co. customer service immediately.
- Page 2 (4) IMPORTANT: Remove packing material (foam roll) from space between motor and housing. foam roll (5) Carefully insert blades into rotor slots, and using pan head screws from hardware package, secure blades to rotor. (6) Reinstall rotor using the four rotor screws from step (3).
- Page 3 Route bridge connector through center of heatsink and place heatsink inside light cup so that fastening holes are alighed over two fastening posts. Using the long panhead screws, secure heatsink in place with screw heads recessed into milled side of heatsink. Feed bridge connector through center hole of LED board and carefully insert into two pin connector.
- Page 4 (12) Install bottom cap if your fan does not have a light kit or the glass diffuser if your fan does have a light kit. In either case, rotate clockwise until cap or diffuser comes to a stop. (13) Your fan is reversible for summer and winter operation.


Need help?
Do you have a question about the Altus Flush and is the answer not in the manual?
Questions and answers