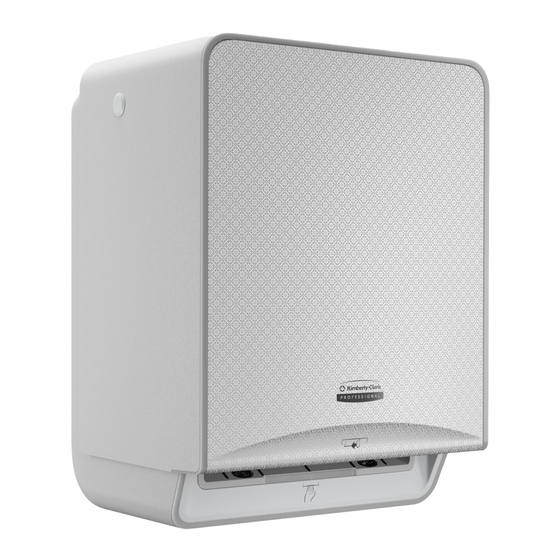
Kimberly-Clark PROFESSIONAL ICON Replacement Manual
Standard roll toilet paper dispenser 4 roll vertical faceplate
Hide thumbs
Also See for ICON:
- User manual (23 pages) ,
- Replacement manual (2 pages) ,
- User manual (18 pages)
Advertisement
Table of Contents
Face Plate Removal
Faceplate Replacement
1. Open the dispenser lid then position sliding door to
left side of dispenser opening. Align 3 teeth of bottom
sliding door to 3 notches on sliding track. Gently
support sliding door with your hand while using flat
screw driver to lift and pry each tooth one at a time to
disengage door from sliding track.
2. Rotate bottom of sliding door inwards.
3. Pull entire sliding door up vertically to disengage
top of door from upper sliding track. Door is now
completely separated from cover.
4. To unlock the dispenser, insert key into lock and
rotate the key a quarter turn. Gently pull the cover
forward. The key may be removed at this point. The
cover will automatically open, do not force.
Pour déverrouiller le distributeur, insérer la clé dans le
verrou et faire tourner d'un quart de tour. Tirer doucement
le couvercle vers l'avant. Retire la clé. Le couvercle s'ouvrira
automatiquement, ne pas forcer.
5. Locate the locking features on the faceplate on the
inside cover. Release the faceplate by lifting on the
release lever (red) and pushing up on the push tab
(blue). Brace the underside of the faceplate.
Repérer les points de verrouillage de la plaque frontale à
l'intérieur du couvercle. Dégager la plaque frontale en soulevant
le levier de dégagement (rouge) et en appuyant sur la languette
poussoir (bleue). Prendre la plaque frontale par le dessous.
Standard Roll Toilet Paper Dispenser
4 Roll Vertical Faceplate Replacement Guide
Faceplate*
Plaque frontale*
Remplacement de la
1.
2.
4.
Unlock
Cover
Couvercle
plaque frontale
3.
5.
Advertisement
Table of Contents

Summary of Contents for Kimberly-Clark PROFESSIONAL ICON
- Page 1 Standard Roll Toilet Paper Dispenser 4 Roll Vertical Faceplate Replacement Guide Faceplate* Cover Plaque frontale* Couvercle Face Plate Removal Faceplate Replacement Remplacement de la plaque frontale 1. Open the dispenser lid then position sliding door to left side of dispenser opening. Align 3 teeth of bottom sliding door to 3 notches on sliding track.
- Page 2 6. After the faceplate is released, remove it by taking it out from under the cover. Make sure to brace the underside of the faceplate so it doesn’t fall to the floor once released. Après avoir dégagé la plaque frontale, l’enlever en la tirant sous le couvercle.


Need help?
Do you have a question about the ICON and is the answer not in the manual?
Questions and answers