V-ZUG Komfort 60i Installation Instructions Manual
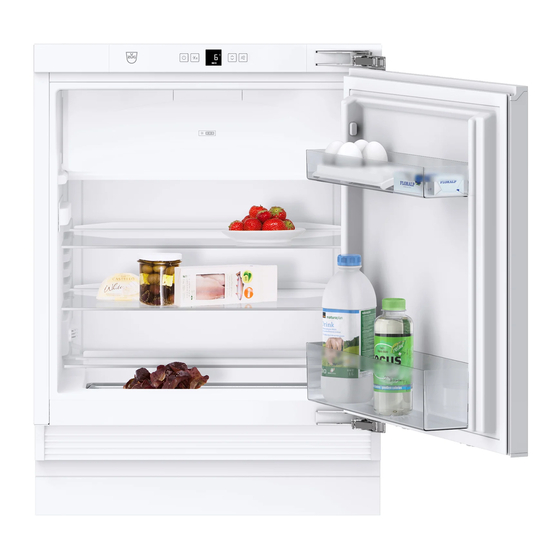
Freezer v600
Hide thumbs
Also See for Komfort 60i:
- Operating instructions manual (89 pages) ,
- Installation instructions manual (44 pages) ,
- Installation instructions manual (40 pages)
Table of Contents
Advertisement
Quick Links
Advertisement
Table of Contents

Subscribe to Our Youtube Channel
Related Manuals for V-ZUG Komfort 60i


Summary of Contents for V-ZUG Komfort 60i
- Page 1 Installation instructions Komfort 60i | Freezer V600 Refrigerator and freezer...
-
Page 2: Table Of Contents
Stand the appliance so that it is not touched by connec‐ Model name Type Model number Unit system tors or main cables. Komfort 60i KK60il 51089 Euro 60 u Do not connect any appliances to sockets in the area of the back of the appliance. -
Page 3: Appliance Dimensions
Appliance dimensions 4 Appliance dimensions NOTICE Risk of damage. An incorrect Side-by-Side- (SBS) assembly leads to conden‐ sate between the appliances. Assemble the V-Zug appli‐ ances as follows: u Install the freezer next to the refrigerator. NOTICE Covered vents! Damage. Appliance can overheat, which can reduce the service life of various parts of the appliance and lead to operational impairments. -
Page 4: Cabinet Door
Remove the closing damper: Remove the closing dampers Risk of damage due to colliding doors!* from the ball studs (1), unscrew the bracket (2). Use a If you are installing V-ZUG Side-by-Side (SBS) appliances screwdriver to remove the ball studs (3). next to another appliance: u Install the appliances so that the doors open outwards. - Page 5 Changing the door direction Fig. 6 CAUTION Risk of injury if hinges fold! u Leave hinges open. u Remove the door: Slide the door towards you and out, then lift off the brackets and put aside. Fig. 5 u Remove the covers. u Just loosen the screws on the hinges, do not remove.
- Page 6 Changing the door direction Fig. 9 u Refit the door: Hang the door with its hinges and tighten the screws. Fig. 7 u Move the hinges. Fig. 10 u Refit the closing dampers: Screw in the ball studs (1), tighten the bracket (2) and hang the closing dampers in the ball studs.
-
Page 7: Installing The Appliance In The Recess
Installing the appliance in the recess 8 Installing the appliance in the recess WARNING Fire hazard from short-circuiting! u When pushing the appliance into the recess, take care not to crush, jam or damage the mains power cable. u Do not operate the appliance with a defective mains power cable. -
Page 8: Installation
Installation 9.1 Installing the appliance Fig. 15 u If already in place, pull the plinth panel forwards. Fig. 18 u Detach the connecting cable from the rear of the u Bend both brackets at one end before installation. Insert appliance, removing the cable holder at the same the straight edge into the holder on the top of the unit time because otherwise there will be vibratory noise! and bend towards the front. -
Page 9: Fitting The Unit Door
Installation Fig. 20 u Place the foam pad in the plinth panel – this is essential for separating air flows! Fig. 23 u If affixing the unit under a worktop, use 2 screws to secure the fixing bracket under the worktop. Fig. -
Page 10: Disposing Of Packaging
Disposing of packaging Fig. 29 Fig. 26 u Align the cabinet door to the height marked Z: loosen the u Attach fastening crosspiece Fig. 26 (11) to the inside of screws at the top and bottom of the door, then adjust the the unit door using the assembly aids Fig. -
Page 11: Connecting The Appliance
Connecting the appliance WARNING Danger of suffocation due to packing material and plastic film! u Do not allow children to play with packing material. The packaging is made of recyclable materials: corrugated board/cardboard expanded polystyrene parts polythene bags and sheets polypropylene straps nailed wooden frame with polyethylene panel* u Take the packaging material to an official collecting... - Page 12 7088155-00 20221013 1066350–R03 V-ZUG AG, Industriestrasse 66, CH-6302 Zug info@vzug.com, www.vzug.com...
Need help?
Do you have a question about the Komfort 60i and is the answer not in the manual?
Questions and answers