Advertisement
Quick Links
TECHNICAL NOTE
nd
Date: 22
November 2022
Ref: 559
Raised by: TS
Distributed to: as required
DiGiCo (UK) Ltd. Unit 10 Silverglade Business Park, Chessington, Surrey, KT9 2QL, UK
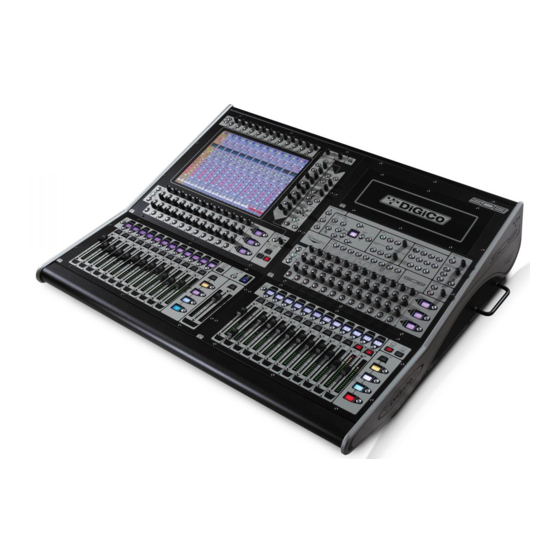
Replacing and Cleaning Faders on SD, Quantum, and S-Series Consoles
Symptoms:
Dirty or worn faders may jitter or jump, and randomly and inaccurately respond when moving to a position.
This is easiest to see when a bank is recalled and the faders should be positioning themselves at 0dB, but
instead they miss their target position and stop, or they quickly bounce until they reach their target position.
These symptoms are usually found on old and worn faders, and while cleaning may help, they will ultimately
need to be replaced.
Faders that are stiff or running rough are usually dirty and will require either careful cleaning or
replacement. It is often quicker to replace faders rather than individually clean them.
IMPORTANT: Fader Calibration never fixes faulty fader operation, and can often
Do not calibrate faders unless instructed to do so by DiGiCo Support
You will need:
•
2mm Hex driver for the fader panel retaining screws
•
5mm Hex driver for SD9/10/11 end cheeks
•
1.5mm Hex driver for the fader retaining screws
•
PZ1 screwdriver for M3 screws
•
Compressed air
•
Vacuum cleaner
•
Clean paint brush
•
Specialist electronics cleaner-lubricant such as Deoxit F5 or Servisol S10 with a thin nozzle applicator
•
Paper towels
•
Antistatic wrist or ankle strap, connected to an electrical ground/earth
Which console?
Quantum 2/3 or SD12
SD7Q/SD5Q/SD7/SD5
TN 559 – Cleaning and replacing faders - All consoles
Tel: +44 1372 845600
make the situation much worse, by calibrating to moving dirt!
Click the console type to jump to the appropriate section
SD9/10/11
email:
support@digiconsoles.com
Page 1
SD8
S-Series
Advertisement

Subscribe to Our Youtube Channel
Related Manuals for digico S Series


Summary of Contents for digico S Series
- Page 1 November 2022 Ref: 559 Raised by: TS Distributed to: as required DiGiCo (UK) Ltd. Unit 10 Silverglade Business Park, Chessington, Surrey, KT9 2QL, UK Tel: +44 1372 845600 email: support@digiconsoles.com Replacing and Cleaning Faders on SD, Quantum, and S-Series Consoles Symptoms: Dirty or worn faders may jitter or jump, and randomly and inaccurately respond when moving to a position.
-
Page 2: Appendix 1 - Fader Table
Quantum 2 / Quantum 3 / SD12 This section is for the cleaning and replacement of faders in Quantum 2, Quantum 3, and SD12 consoles only. If it feels like the faders are sticking, then either replacement or thorough cleaning is required. Part Numbers –... - Page 3 SD7Q / SD5Q / SD7 / SD5 This section is for the cleaning and replacement of faders in Quantum 7, Quantum 5, SD7 and SD5 consoles only. Part Numbers – see Appendix 1 – Fader Table for full details • Input fader: SC-SD7-FADERI 100mm Input fader with plug –...
- Page 4 14. Move the fader up and down approximately 20 times and use the paper towel to wipe up any excess or dirty liquid, then gently clip the fader cover back in place. 15. Repeat steps 11 - 14 for the remaining faders. 16.
- Page 5 SD9 / SD10 / SD11 This section is for the cleaning and replacement of faders in SD9, SD10 and SD11 consoles only. Part Numbers – see Appendix 1 – Fader Table for full details • Input fader: 686-00030 Input fader with plug – SD9, SD10, SD11 •...
- Page 6 This section is for the cleaning and replacement of faders in the SD8 only. You will also need a good quality soldering iron, solder, and solder sucker if you are replacing single faders. If you are cleaning faders, then you will also need a good quality de-greaser such as 3-In-One Professional Super Degreaser spray to perform an initial clean of the fader tracks.
- Page 7 Cleaning Faders - Follow steps 1 – 8 above 12. Use a clean paint brush and the vacuum cleaner to remove any loose dust and dirt from the fader board, then use compressed air to dislodge any dust and dirt from the inside of the fader assembly, then use the vacuum cleaner to remove the dust and dirt.
- Page 8 S-Series - S21 and S31 This section is for the cleaning and replacement of faders in S21 and S31 consoles only. Part Numbers – see Appendix 1 – Fader Table for full details • Input fader: 681-00177 Input fader with plug – S21, S31 •...
- Page 9 Appendix 1 – Fader table Part Number Section Found In Number Required Note 24 in SD12 and Q225 681-00200 Input SD12, Q2, Q3 38 in Q338 2 in SD12 681-00199 Master SD12, Q2 Longer cable version of 681-00200 1 in Q225 24 in SD9 SD9, SD10, 36 in SD10...
Need help?
Do you have a question about the S Series and is the answer not in the manual?
Questions and answers