Advertisement
Quick Links
TN198 Page 1 of 11
TECHNICAL NOTE
th
th
Date 14
Nov 08 (rev 6
Feb 09)
ref 198
Raised by: RA/DP
Distributed to: as required
Soundtracs - Digico(UK) Ltd. unit 10 Silverglade Business Park Chessington Surrey KT9 2QL England
Tel: +44 1372 845600 Fax: +44 1372 845656 email: support@digiconsoles.com
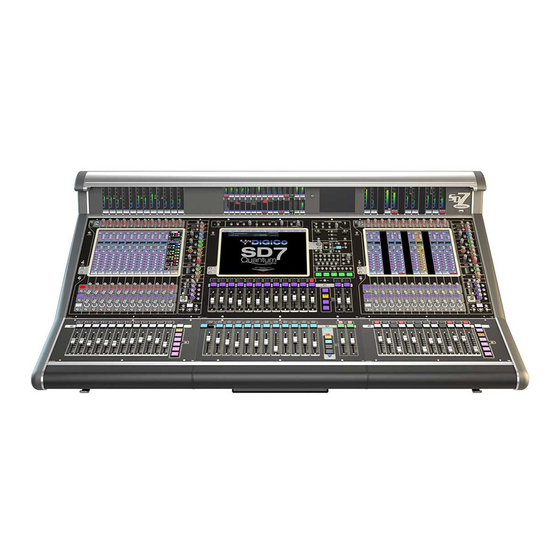
SD7 Mixer
Installing Optocore® Hardware and Software
These instructions will guide you through fitting the Optocore option to SD7 Engines.
The Standard SD7 Optocore upgrade kit (per Engine) consists of :
1 x Optocore PCB
2 x HMA to LC Duplex Fibre Cables
1 x Grey 10 Way Serial Cable
1 x RJ45 Loom : RJ45 Socket to RJ45 Plug
4 x M2.5x6mm Screws
4 x Shakeproof Washers
1 x Screwlock Assembly
1 x Length of spiral cable wrap
nd
If you have paid extra for the Optional 2
Optical Loop Option, in addition to the kit contents above,
you will receive 2 Additional HMA to LC Duplex Fibre Cables.
Tools required :
2mm Hex driver
Medium Flat blade screwdriver
Medium (1pt) Pozidrive screwdriver
34mm spanner to suit HMA optical connectors (see text)
Leave yourself plenty of time to perform this upgrade.
Read all the instructions before proceeding.
TN198.doc\
Advertisement

Related Manuals for digico SD7


Summary of Contents for digico SD7
- Page 1 198 Raised by: RA/DP Distributed to: as required Soundtracs - Digico(UK) Ltd. unit 10 Silverglade Business Park Chessington Surrey KT9 2QL England Tel: +44 1372 845600 Fax: +44 1372 845656 email: support@digiconsoles.com SD7 Mixer Installing Optocore® Hardware and Software These instructions will guide you through fitting the Optocore option to SD7 Engines.
- Page 2 TN198 Page 2 of 11 Power Down Console and remove Engine. The Engines are secured with 3 screws across the top and 3 screws across the bottom. Carefully slide the Engine out. There are 3 ribbons and 1 Power Connector to unplug. Take care as the cables may be quite tight, meaning you cannot slide the Engine out very far to unplug the connectors.
- Page 3 TN198 Page 3 of 11 Location of engine connection cables Locate the Fan Power Connector (at the rear of the Engine Chassis). This is the top connector, as shown on the picture below. Un-plug this connector. TN198.doc\...
- Page 4 TN198 Page 4 of 11 Then unscrew all the screws on the Engine Fan Plate and remove. Ensure the Fan Power Cable comes away with the Fan Panel without getting caught on other cables. Release the Engine board tray by unscrewing the following 4 screws : 2 Screws on the front of the Engine, each side of the rows of BNC connectors.
- Page 5 TN198 Page 5 of 11 Slide out engine PCB taking care of power connector. Unplug this connector when accessible. The Engine Board should now slide completely out from the Chassis. Place the Engine Tray on a flat surface with the BNC connectors furthest away from you. The Optocore Board installs onto the Engine Board on the edge closest to you, next to the Power connectors.
- Page 6 TN198 Page 6 of 11 The image below shows the Engine with the Optocore Board fitted. The Following Connections now need to be made : 1 x Serial Connection from Optocore Board to PC 2 x Optical Fibre Connections from Optocore Board to Rear Panel of Engine* * If you have ordered a 2 Loop Upgrade Kit, you will be provided with 4 HMA-LC Fibre Cables Note that the network (RJ45 / Cat 5 connections) are not implemented at this time.
- Page 7 TN198 Page 7 of 11 Next then feed the Optocore end down and out the rear to the removed Engine Card. Note that the Red trace (pin1) goes to the right looking from the connector end of the optical card. Slide the Engine tray partially back into the Engine Drawer.
- Page 8 TN198 Page 8 of 11 Routing of internal cables (dual Optic option shown) Note above pictures show spiral wrap, this is only fitted AFTER the connections have been completed to the Optocore PCB. Ensure all cables are routed to avoid sharp edges. The correct route takes the cables around chassis parts with protective plastic edging.
- Page 9 TN198 Page 9 of 11 Continue to re install the Engine tray. Tighten the fixing screws to the rear panel of the engine once it is fully home. Next re connect the Video, Local I/O and Linkport ribbon cables, via the hole in the PC base plate floor.
- Page 10 1) Quit both engines to Windows - On the A Engine - Open Explorer and make a backup copy of the complete SD7 folder in the D:\Backups folder. 2) Copy the new SD7 self extractor to the D:\Incoming folder – double click on this file and allow it to extract to D:\SD7.
- Page 11 9) Connect the Optocore equipped rack to the relevant engine and loop number and set the ID of the rack itself (eg Engine A – Loop 1 – Rack ID 30) 10) Check audio functionality of the inputs and outputs to the rack by selecting them in the SD7 channel routing panels under Port 5.
Need help?
Do you have a question about the SD7 and is the answer not in the manual?
Questions and answers