Table of Contents
Advertisement
Quick Links
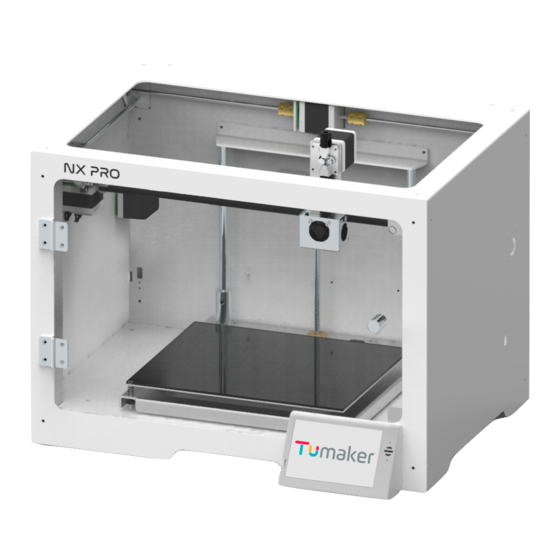
TUMAKER
PRINTERS
USER MANUAL
• Printer specifications
• Generic specifications
• Unpacking method
• Installation and set up
• Quick guide
• Calibration
• Adjust pellet extrusion
• Calibrate dual height
• Calibrate offset
• Dual options
• Nozzle change
• Externas SD Card
• Head cleanning and Simplify3D
• Security and recommendations
• Warranty
Index
VIDEO - TUTORIALS
2
4
5
6
8
9
11
12
13
14
15
16
18
20
21
Advertisement
Table of Contents


Need help?
Do you have a question about the NX Pro and is the answer not in the manual?
Questions and answers