Sign In
Upload
Download
Add to my manuals
Delete from my manuals
Share
URL of this page:
HTML Link:
Bookmark this page
Add
Manual will be automatically added to "My Manuals"
Print this page
×
Bookmark added
×
Added to my manuals
Manuals
Brands
Innova Manuals
Industrial Equipment
M Series
Manual
Innova M Series Manual
Hide thumbs
1
Table Of Contents
2
3
4
5
6
7
8
9
10
11
12
13
14
15
16
17
18
19
20
21
22
23
24
25
26
27
28
29
30
31
32
33
34
35
36
37
38
39
40
41
42
43
44
45
46
47
48
49
50
51
52
53
54
55
56
57
58
59
60
61
62
63
64
65
66
67
68
69
70
71
72
73
page
of
73
Go
/
73
Contents
Table of Contents
Bookmarks
Advertisement
Quick Links
1
Introduction
2
Machine Set-Up
3
Machine Operation
4
(M) Series Lightning Stitch User Manual
5
(M) Series Service Manual
6
(M) Series Parts Diagram
Download this manual
ABM International, Inc.
V1.0
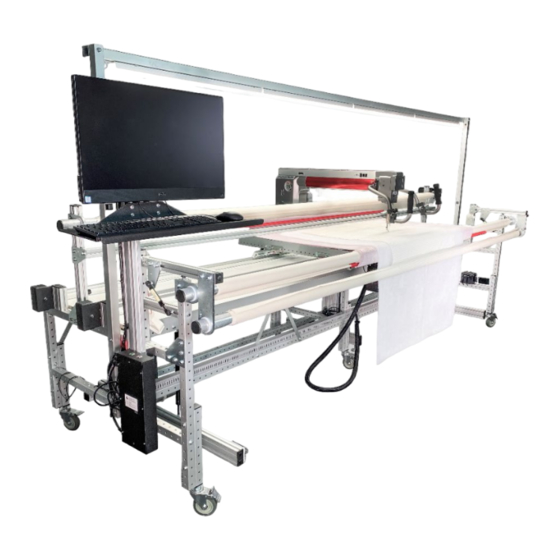
Model: (M) Series
User's Manual
Proprietary information of ABM INTERNATIONAL, Inc. furnished for customer use only.
1
No other uses are authorized without prior written permission of
ABM INTERNATIONAL, INC.
Table of
Contents
Previous
Page
Next
Page
1
2
3
4
5
Advertisement
Need help?
Do you have a question about the M Series and is the answer not in the manual?
Ask a question
Questions and answers
Related Manuals for Innova M Series
Industrial Equipment Innova M20 Manual
(73 pages)
Industrial Equipment Innova M24 Manual
(73 pages)
Industrial Equipment Innova M28 Manual
(73 pages)
Industrial Equipment Innova PantoVision T2 User Interface Manual
(53 pages)
Industrial Equipment Innova Well Seeker PRO Manual
(8 pages)
Industrial Equipment Innova XTIRPA IN-8020 Instruction And Safety Manual
Universal rescue system (31 pages)
Industrial Equipment Innova 5 Installer Manual
(72 pages)
Industrial Equipment Innova XTIRPA Buddy Roc Pro Instruction And Safety Manual
Mast (24 pages)
Industrial Equipment Innova XTIRPA IN-8002 Instruction And Safety Manual
1067mm (42″) portable manhole guard system for ppe (28 pages)
Industrial Equipment Innova eHPoca Installer Manual
Outdoor unit (48 pages)
This manual is also suitable for:
M20
M24
M28
Save PDF
Print
Rename the bookmark
Delete bookmark?
Delete from my manuals?
Login
Sign In
OR
Sign in with Facebook
Sign in with Google
Upload manual
Upload from disk
Upload from URL


Need help?
Do you have a question about the M Series and is the answer not in the manual?
Questions and answers