Hall Technologies HT-TRK1 Instructions Manual
Apollo technology room kit
Hide thumbs
Also See for HT-TRK1:
- User manual (4 pages) ,
- User manual (5 pages) ,
- User manual (29 pages)

Related Manuals for Hall Technologies HT-TRK1


Summary of Contents for Hall Technologies HT-TRK1
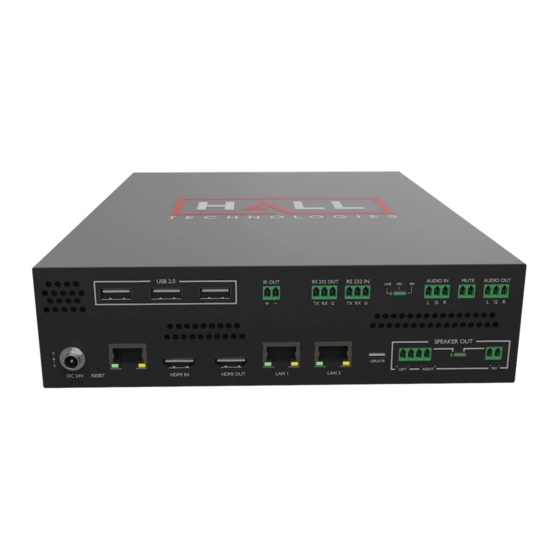
- Page 1 Hall Technologies • 1234 Lakeshore Dr Suite #150 Coppell, TX 75019 • halltechav.com HT-TRK1 Apollo Technology Room Kit Instruction for HT-TRK1 Manager...
- Page 2 Instruction for TRK Manager 1. Get Access to the TRK Manager 1) Make sure all TRK devices connected correctly, and all TRK devices and the PC are access to the same network and get the IP address from the DHCP server. 2) Install the TRK Manager tool (the latest version) on the PC.
- Page 3 A. IP Scan - Scanning TRK device by entering the specific IP address, an IP segment or multiple IP segments. There should be a comma symbol between two different IP segments. B. Multicast - Scanning by IP Multicast protocol. C. Manual (from a file) - Loading TRK system devices by loading the TRK devices list file. For example, Choose IP Scan and enter IP address segment 192.168.3.60-3.70, then click “Scan”...
- Page 4 A. Import/Export profile: It is used to import/export profile for the TRK devices. The profile file saved or uploaded includes settings about the TRK system devices. B. Search settings: It is used to open “Search settings” window for changing the scanning method and scanning the TRK devices.
- Page 5 Management about Device List: A. Click the room name, the system information will be shown on the right side. B. Right click the Building/Floor/Room name, there will be an option to delete them from the Device list. C. Right click the Room name, there will be an option “allocation location” for changing and editing the location information for the TRK device.
- Page 6 6) CONTROL/MONITOR Click “CONTROL/MONITOR” to access to the TRK device’s WEB UI home page. Click Settings button on the home page will access to the device’s WEB UI settings page for web UI control. Detail information please refer to the user manual.
- Page 7 7) SCHEDULE Click “SCHEDULE” to access to the following page to set schedule. A. CHOOSE A SCHEDULING FUNCTION: Choose scheduling functions from “DISPLAY POWER ON/OFF”, “SYSTEM POWER ON/OFF” and “INPUT SELECT”. B. Start: Select start time of the schedule. C. Recurrence pattern: Click the corresponding check box to choose recurrence pattern. D.
- Page 8 A. Version Information: Shows the version information of the selected TRK device. B. ARM Upgrade: Click “BROWSE” to select an upgrade bin file from local PC, and then click “UPDATE” to upgrade ARM of the selected TRK device. C. MCU Upgrade: Click “BROWSE” to select an upgrade bin file from local PC, and then click “UPDATE”...
- Page 9 A. FIRMWARE page is used for upgrading different TRK devices at the same time. Access to the FIRMWARE page, choose TRK devices needed to upgrade, and then select corresponding upgrade file to upgrade it. B. SETTING page is used for setting control for different TRK devices at the same time. Access to “SETTING”...
Need help?
Do you have a question about the HT-TRK1 and is the answer not in the manual?
Questions and answers