Table of Contents
Advertisement
Advertisement
Table of Contents

Related Manuals for Cooler Master GM27-CFX


Summary of Contents for Cooler Master GM27-CFX
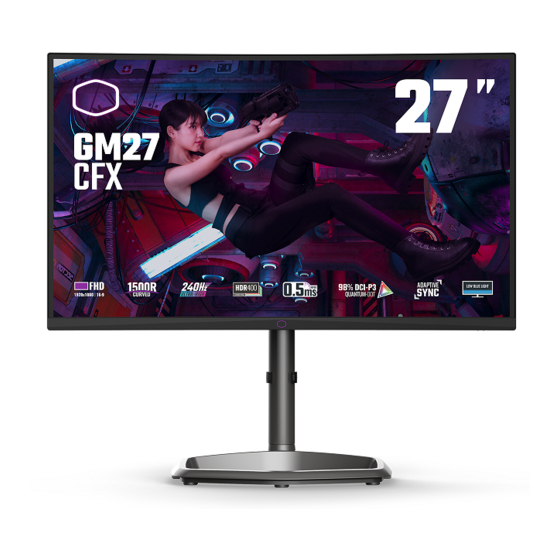
- Page 1 GM27-CFX Cooler Master 27" Gaming Monitor User Manual...
-
Page 2: Table Of Contents
Table of Contents ................1 Requirements and Safety Notice ................3 Important Safety Instructions ....................4 Package Contents ................5 Installing the Monitor Arm/Base ................... 7 Adjusting the Monitor ............... 8 Wall Mount Installation Instructions External Control Buttons ..................9 Main Menu ...................... -
Page 3: Requirements And Safety Notice
If assistance is needed, contact the distributor or a professional radio/TV technician. CE Compliance Statement Cooler Master Technology Inc. hereby declares that the monitor conforms to the following key standards and other related provisions: EMC Directive 2014/30/EU, Low Voltage Directive 2014/35/EU, RoHS Directive 2011/65/EU and Directive 2009/125/EC establishing a framework for the setting of eco-design requirements for energy-related products. - Page 4 限用物質含有情況標示聲明書 限用物質及其化學符號 Restricted substances and its chemical symbols 六價鉻 多溴聯苯 多溴二苯醚 單元 Unit 鉛 Lead 汞 Mercury 鎘 Cadmium Hexavalent Polybrominated Polybrominated chromium biphenyls diphenyl ethers (Pb) (Hg) (Cd) (PBB) (PBDE) ○ ○ ○ ○ ○ ○ 支架/外殼 - ○ ○...
-
Page 5: Important Safety Instructions
Important Safety Instructions Please read the following instruc ons carefully. 1. To clean the LCD monitor screen: Turn off the LCD monitor and unplug the power cord. Spray a non-solvent cleaning solu on onto a rag and clean the screen gently. 2. -
Page 6: Package Contents
Package Contents Monitor Support stand Support base Power cord (Optional) Power adapter HDMI cable(Optional) cable clip Base screws (Used for cable fixed in the (Used for installation of the DP cable (Optional) back of the support stand) support base and support stand) -
Page 7: Installing The Monitor Arm/Base
Installing the Monitor Arm/Base... -
Page 9: Adjusting The Monitor
Adjusting the Monitor For the best results, it is recommended to look directly at the front of the monitor and make any adjusts as necessary. Ensure that the monitor is mounted upright on the stand base. When adjusting the monitor viewing angles, avoid touching the screen and hold the stand in order to prevent it from falling over. -
Page 10: Wall Mount Installation Instructions
Wall Mount Installation Instructions 100mm VESA : 100 x 100 mm Screws : M4 x 10 mm... -
Page 11: External Control Buttons
External Control Buttons ① Menu/Navi/OK button Short press to turn on the monitor and Long press to turn off. When the OSD menu is activated,pull up/down/left/right the button to adjust the settings you need.When finished, you can pull the Button Back to return to the previous level or use the Button Exit to close the OSD menu. -
Page 12: Main Menu
Main Menu Input INPUT AUDIO PICTURE COLOR MANUAL SET UP SELECT ADJUST MODE ADJUST IMAGE ADJUST MENU HDMI 1 HDMI 2 Display Port Enter the input menu to switch the input signal. HDMI (2.0): 240Hz (MAX) and Adaptive Sync supported under 1920X1080 DP (1.2): 240Hz (MAX) and Adaptive Sync supported under 1920X1080 Audio Adjust INPUT... -
Page 13: Picture Mode
Picture Mode INPUT AUDIO PICTURE COLOR MANUAL SET UP SELECT ADJUST MODE ADJUST IMAGE ADJUST MENU Standard Black Stabilization Game Advanced DCR User Blue Light Filter Recall Movie Text Color Weakness INPUT AUDIO PICTURE COLOR MANUAL SET UP SELECT ADJUST MODE ADJUST IMAGE ADJUST... -
Page 14: Color Adjust
Enter the Picture Mode menu to adjust different picture modes. Standard: a. Black Stabilization: Aim to brighten dark areas without overexposing the brighter areas. The setting value is between 0 and 100. b. Advanced DCR: Detect automatically the brightness of the input signal, and the backlight module to improve the performance of the picture. -
Page 15: Manual Image Adjust
Color Temperature: Adjust between Bluish, Cool, Native, Warm and User Color settings which can adjust Red, Green and Blue value from 0 to 100. Color Domain: Adjust between Auto, RGB Mode and YUV Mode. Gamma: Adjust gamma curve between 1.8, 2.0, 2.2, 2.4 and 2.6. Color Space: Convert the color space between Auto, sRGB, Adobe RGB, DCI-P3 and BT.2020. - Page 16 INPUT AUDIO PICTURE COLOR MANUAL SET UP SELECT ADJUST MODE ADJUST IMAGE ADJUST MENU Auto Power Off Sleep ECO Mode DDC/CI Memory Recall Language: English, French, German, Spanish, Italian, Finnish, Russian, Vietnamese, Japanese, Korean, Traditional Chinese, Simplified Chinese are available options. Adaptive-Sync: Turn the Adaptive-Sync function On or Off.
-
Page 17: Specifications
Specifications Size 27” Pixel pitch 0.3114(H) x 0.3114(V)mm Brightness 400nits(Typ.) LCD panel Contrast 3000:1(Typ.) Viewing angle 178°(Horizontal)178°(Vertical) Response time 0.5ms MPRT ( motion clearness on ) Display colors 16.7 million colors Max. display frequency 1920*1080 @ 240 Hz(DP) (Resolution H*V/Fv) 1920*1080 @ 240 Hz(HDMI) Power On 18W (Typ.)**... -
Page 18: Supported Timing
Supported Timing Horizontal Vertical Pixel Port Mode Resolution Frequency Frequency Clock (KHz) (Hz) (MHz) HDMI IN DP IN 640x480@60Hz 31.469 59.94 25.175 640x480@72Hz 37.861 72.809 31.5 640x480@75Hz 37.5 31.5 640x480@66.66Hz 66.667 30.24 VESA 720x400@70Hz 31.469 70.087 28.322 800x600@56Hz 35.156 56.25 800x600@60Hz 37.879 60.317... -
Page 19: Product Outline Dimensions
Product Outline Dimensions 可 升 降 底 座 15° 130mm...
Need help?
Do you have a question about the GM27-CFX and is the answer not in the manual?
Questions and answers