Table of Contents
Advertisement
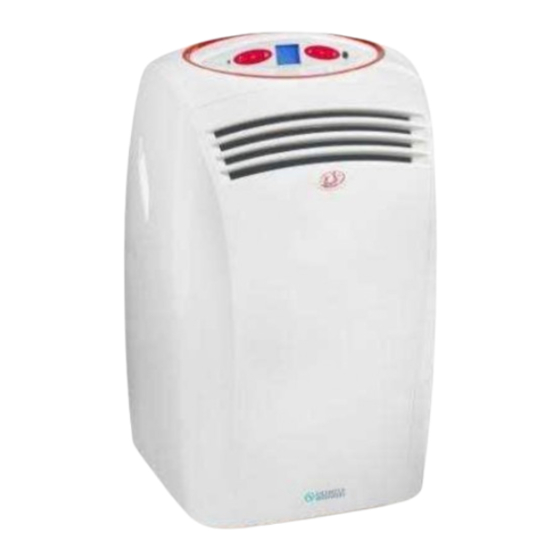
Quick Links
Advertisement
Table of Contents

Subscribe to Our Youtube Channel
Related Manuals for Olimpia splendid ELLISSE HP


Summary of Contents for Olimpia splendid ELLISSE HP
- Page 1 ELLISSE HP 1. Technical Specification...
- Page 2 2.Control Board • SW1: ON / Standby; • SW2: Working mode selection (cooling → automatic → fan only → dehumidification → cooling ….); • SW3: Fan speed selection (max speed → med speed → min speed → max speed ….); •...
- Page 3 3. Remote control 3.1 Remote control display...
-
Page 4: Standby Mode
4 STANDBY MODE. Can be selected by pressing B1 on the remote control or SW1 on the display unit (in the latter case, the key only puts the appliance in standby if the unit is switched ON and no alarms occurred). The corresponding LED L2 is switched ON to indicate that this mode is enabled and that all the outputs are switched OFF (4way valve only can remain ON until 2 minutes from previous compressor shut down have elapsed) (the display L1 and its backlight in this mode are switched OFF as well). - Page 5 following applies (only when the compressor is ON, otherwise the fan keeps its minimum speed): • if Troom < Tset+3°C the fan is switched to minimum speed; • if Tset+3°C ≤ Troom < Tset+6°C the fan is switched to medium fan speed; •...
-
Page 6: Dehumidification Mode
7 DEHUMIDIFICATION MODE This mode can be selected by pressing B2 or SW2 until the dehumidification symbol (only) is shown on both the remote control’s and L1 display. This mode works similarly to cooling mode except for: • internal fan speed selection, which is forced to run at minimum speed (B6, B7 and SW3 are disabled, no fan symbols are shown on both the displays), except during defrosting subprogram, see below for further details;... - Page 7 by means of B4/B5 or SW4/SW5 (if a Tset higher than 27°C was previously selected in cooling, when the heating mode is selected the Tset must be automatically set to 21°C), and its value is shown both on remote and local interfaces (by D1, D2, and S1+S2=’°C’). Once heating mode is selected, if Troom ≥...
-
Page 8: Sleep Mode
The heatmax subprogram starts when Troom ≥ Theatmax and ends when Troom < Theatmax - 2°C, and forces the external fan to periodically switch OFF and switch ON for t_heatmax_off seconds (OFF state duration) and t_heatmax_on minutes (ON state duration) respectively. After switching the unit from heating to any other mode (including stand-by), the 4 way valve must remain energized until Rest_time seconds from previous compressor shut down have elapsed. -
Page 9: Timer Mode
12 TIMER MODE This mode enables a delayed switch ON or switch OFF operation to the overall unit. The time delay can be set, enabled and canceled from both the remote control and the display unit as follows: 12.1 Timer ON setting from remote control: •... - Page 10 12.3 Timer ON setting from the display unit: o Switch ON the unit and select by SW2, SW3, SW4 and SW5 the working mode, set temperature and fan speed the unit will apply when it will switch ON; o Switch the unit to standby mode by pressing SW1. o Press SW6 to set the desired time delay (from 1 to 12 hours) after which the unit will switch ON (starting from timer confirmation).
-
Page 11: Warnings And Alarms
13 WARNINGS and ALARMS 13.1 Dirty Filter warning: Appears as soon as the internal fan has been powered for Tsf hours (in Stby mode, with intfan OFF, the dirty filter hour counter hasn’t to be updated). When this occurs, the whole appliance must anyway continue to work and the display unit (D1-D2) shows the relative warning code (‘Fi’,see the table below), except in stby mode when no codes have to be displayed (‘- -‘). -
Page 12: Special Functions
14 Warnings and alarms codes: ‘At’ Diagnostic mode ‘Fi’ Dirty filter warning ‘2’ blinking Room sensor alarm ‘3’ blinking Water level alarm ‘8’ blinking Internal motor fan alarm ‘13’ blinking EEprom data failure 15 SPECIAL FUNCTIONS 15.1 DIAGNOSTIC MODE: This function can be activated while the appliance is in STANDBY by pressing the keys SW4+SW5 on the display unit for at least 10 seconds. - Page 13 15. Wiring diagram...
- Page 14 16. Sensor data...
Need help?
Do you have a question about the ELLISSE HP and is the answer not in the manual?
Questions and answers