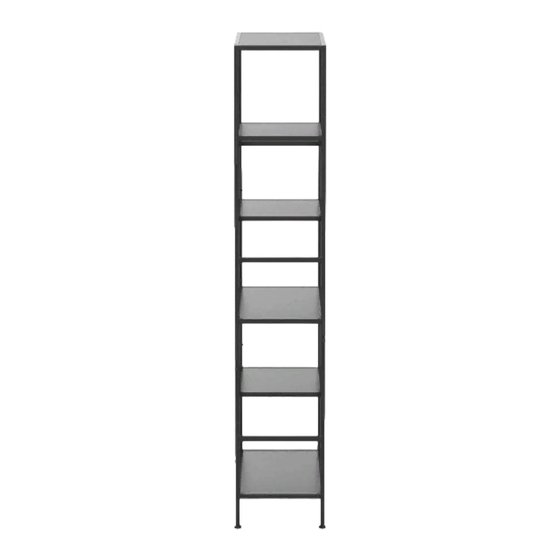
Summary of Contents for LINSY HOME LH027X3
- Page 1 LH027X3 ASSEMBLY INSTRUCTIONS - please keep for future reference. IMPORTANT - please read these instructions before assembly.
- Page 3 Safety And Care Advice Important – Please read these instructions fully before starting assembly. Please check if all the components and tools listed Please assemble the product as close toits on pages 3 - 4 are received. final position as possible. Please remove all fittings from the plastic bags and Do not place furniture directly in front of separate them into homologous groups.
- Page 4 Components Please check if all the pieces listed below are received. (A)*46 (B)*46 (C)*2 (D)*12 Two-in-one Cam Two-in-one Screws White furniture anchors L-shaped shelf support (Diameter 15mm) (E)*30 (F)*1 (G)*16 (H)*16 Wood Tenon Self-tapping screws Dual-function Screwdriver Back Plate Buckle (diameter 8*30mm) (M3*17mm) (I)*2...
- Page 5 Components Please check if all the pieces listed below are received. Parts list Number Description Specifications Quantity Material (MM) Top Panel 400*300*15 Melamine Faced Boards Upper-Left Panel 920*299*15 Melamine Faced Boards Upper-Right Panel 920*299*15 Melamine Faced Boards Top Backplane 879*378*3 Melamine Faced Boards Top/Middle 368*40*15...
- Page 6 Product explosion diagram Please check if all the pieces listed below are received.
- Page 7 Assembly Instructions Assembly Instructions Please use the screws correctly, otherwise the product will be seriously damaged! Step 1 (A)*22 (E)*15 (F)*1 (E)*3 (F)*1 (B)*6 Step 2...
- Page 8 Assembly Instructions Step 3 (F)*1 (B)*2 Step 4 (F)*1 (B)*2...
- Page 9 Assembly Instructions (A)*10 (E)*4 (F)*1 Step 5 Step 6 (F)*1 (B)*5...
- Page 10 Assembly Instructions (F)*1 (B)*5 Step 7 Step 8...
- Page 11 Assembly Instructions (F)*1 (B)*6 Step 9 (F)*1 (A)*6 Step 10...
- Page 12 Assembly Instructions (A)*8 (E)*8 (F)*1 Step 11 Step 12 (F)*1 (B)*4...
- Page 13 Assembly Instructions (F)*1 (B)*4 Step 13 Step 14...
- Page 14 Assembly Instructions Step 15 (B)*6 (F)*1 Step 16 (B)*6 (F)*1...
- Page 15 Assembly Instructions (G)*16 (H)*16 (F)*1 Step 17 (I)*2 (D)*12 Step 18...
- Page 16 Assembly Instructions Step 19...
- Page 17 Assembly Instructions Step 20...
- Page 18 Assembly Instructions (C)*2 (F)*1 Step 21 Large View at V The Wall The installation is complete.
- Page 19 Assembly Instructions Step 22...


Need help?
Do you have a question about the LH027X3 and is the answer not in the manual?
Questions and answers